[2021] The behavior shown in this guide is slated to change in upcoming versions after v0.6.7. At that time this guide will be update accordingly.
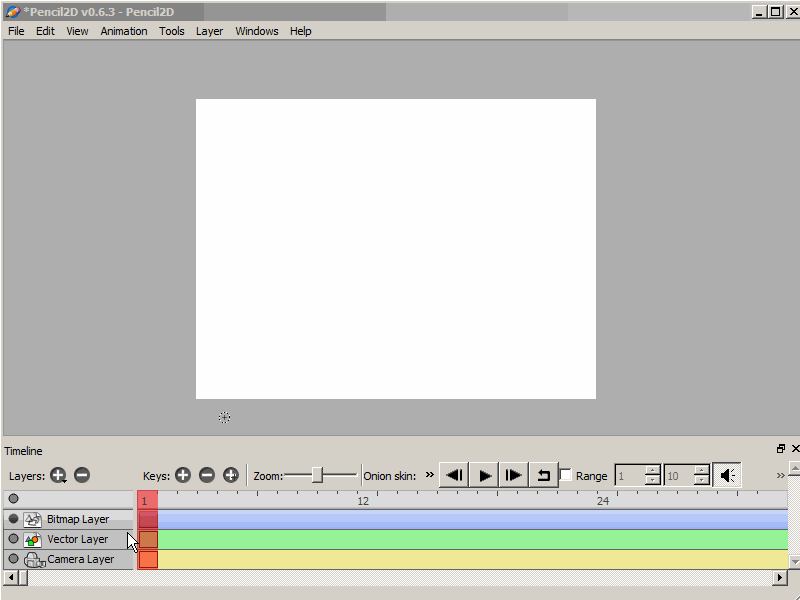
I’d like to provide a visual guide on how to use the Camera layer for various scenarios.
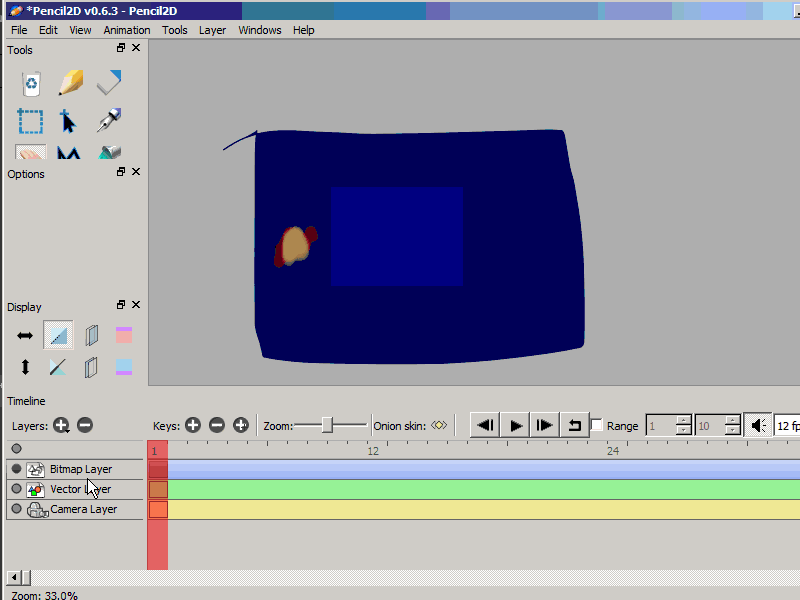
First is manipulation. When using the hand tool so while drawing and when a “drawing layer” is selected (either bitmap or vector) you’ll be in what I’ve coined as CANVAS VIEW mode.
On the contrary when you have the camera layer selected you’ll be in CAMERA VIEW mode, which will work a real-sized preview of how your animation will look, including the actual output resolution and camera motion.
When drawing you can zoom / pan / rotate the CANVAS (what you perceive as the white box / paper), but when the camera layer is selected you will be effectively moving, zooming and tilting the CAMERA, which is meant to create animated camerawork like “pans” or “tilts” (Note: We recommend you read on basic camerawork for film to understand more about this)
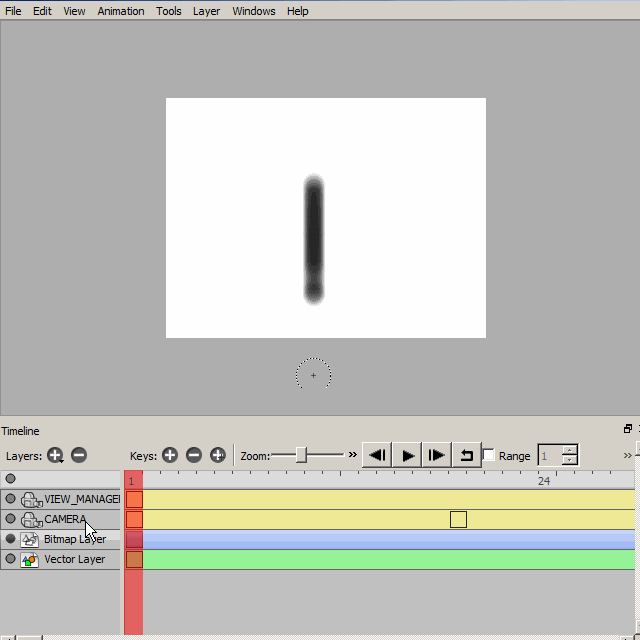
These three gifs are what I had handy, and while they show similar states, they have a different focus, and should help communicate better how the camera and drawing modes work.
The view / camera modes part 1 - Canvas View vs Camera View
The view / camera modes part 2 - Changing the camera size
The view / camera modes part 3 - Camera transforms
Animating a camera layer - Pan
Using a second camera as a “PEG” to Preview the MAIN Camera Motion & Size
Also, when selecting the camera the you will see the ABSOLUTE resolution you chose (to change camera size you double click the camera, because the canvas is theoretically infinite) and you won’t be zooming out your canvas, you will be moving away from the canvas, quite literally.
If you have any other question, you’re welcome to ask around or on our discord server found at http://pencil2d.org/community 