Has anyone noticed the difference?

The secon was drawn using bitmapped graphics and has 3 clean edges and the 4th edge has the overlap of the graphics and the stage edge.
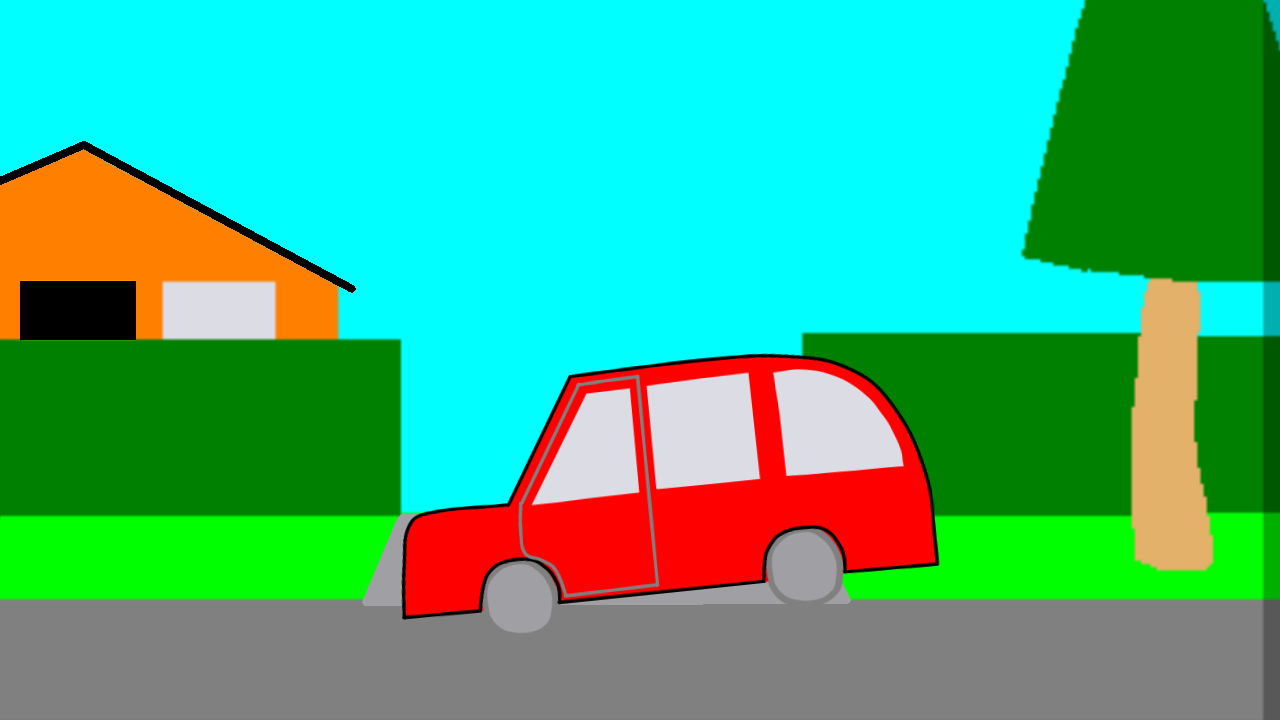
The 1st animation was drawn using Vectors and has 4 clean edges.
Has anyone noticed the difference?
The secon was drawn using bitmapped graphics and has 3 clean edges and the 4th edge has the overlap of the graphics and the stage edge.
The 1st animation was drawn using Vectors and has 4 clean edges.
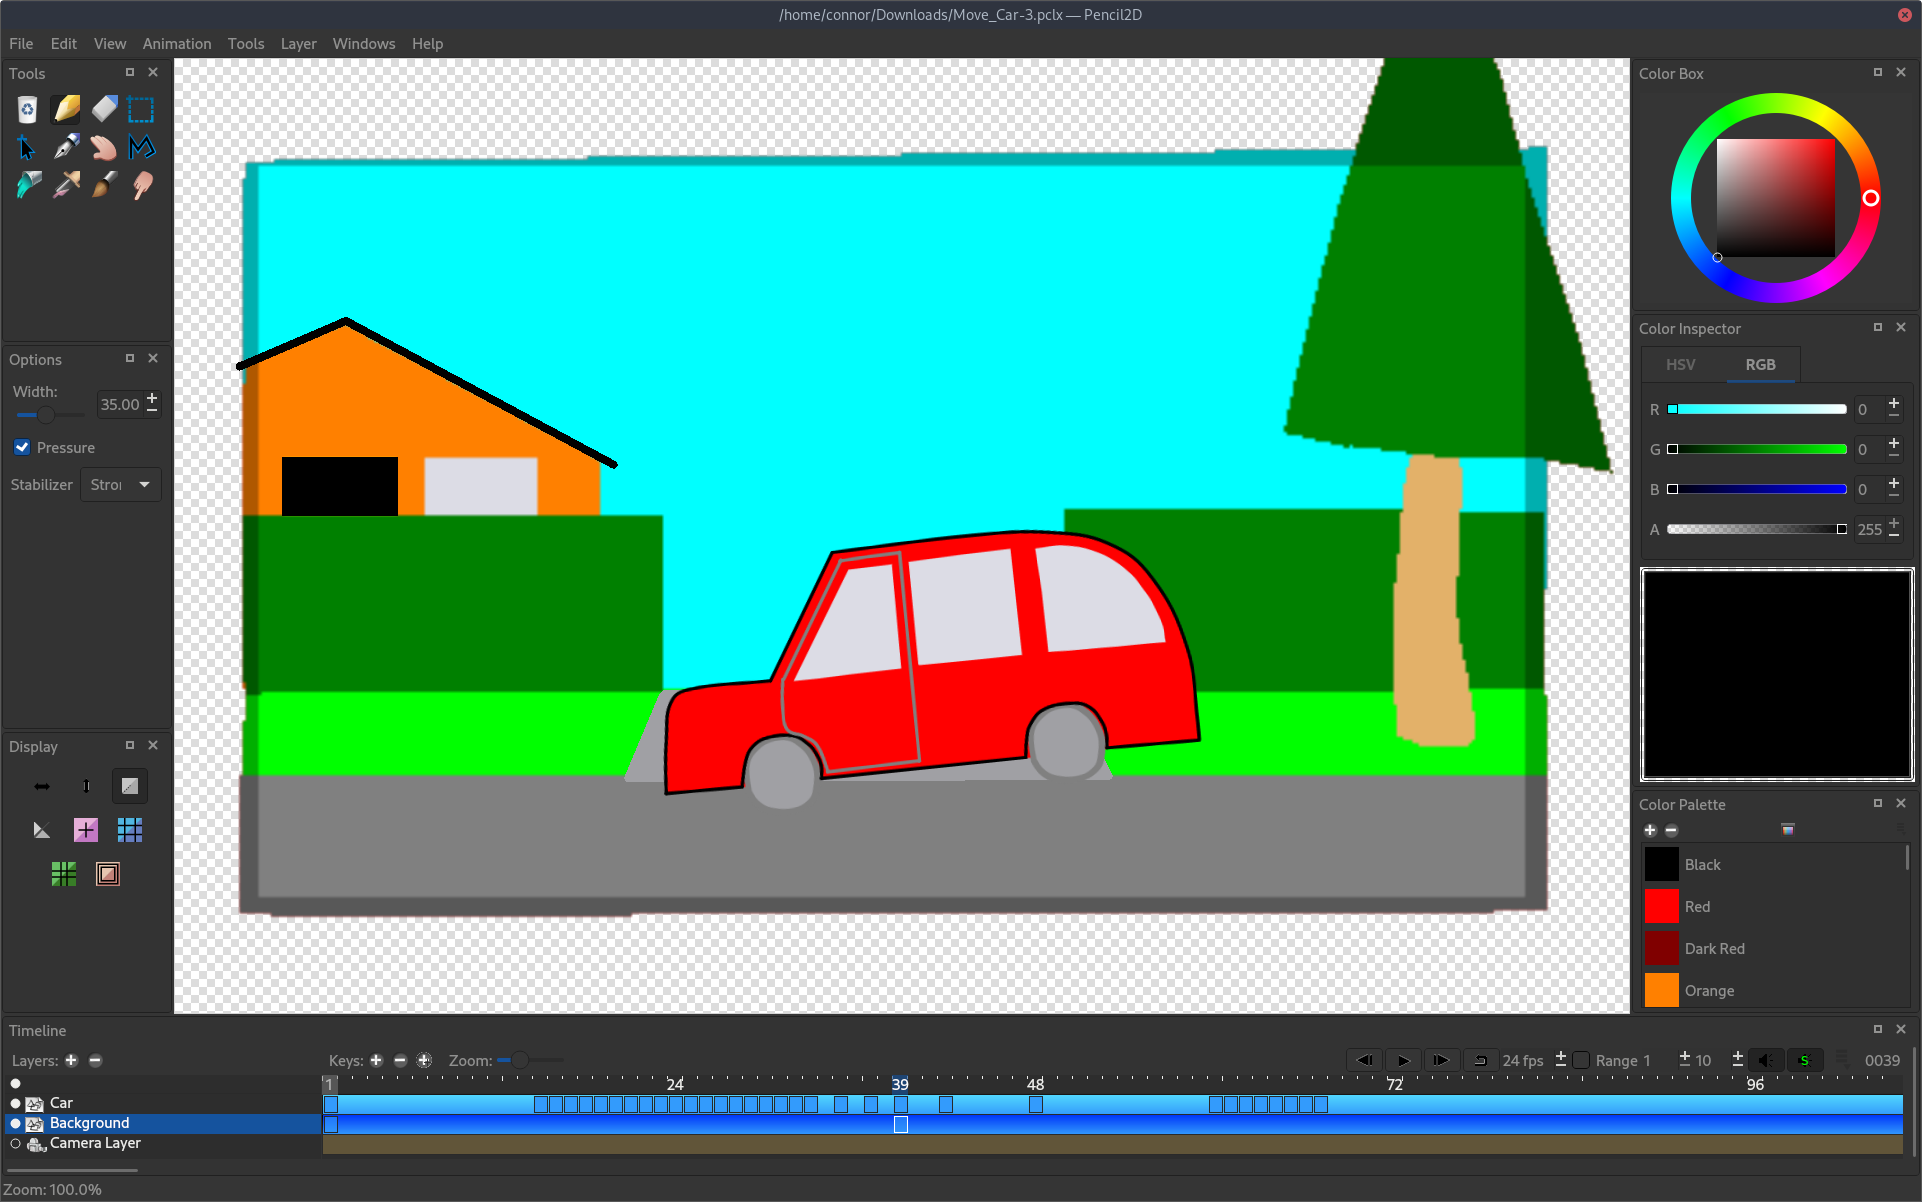
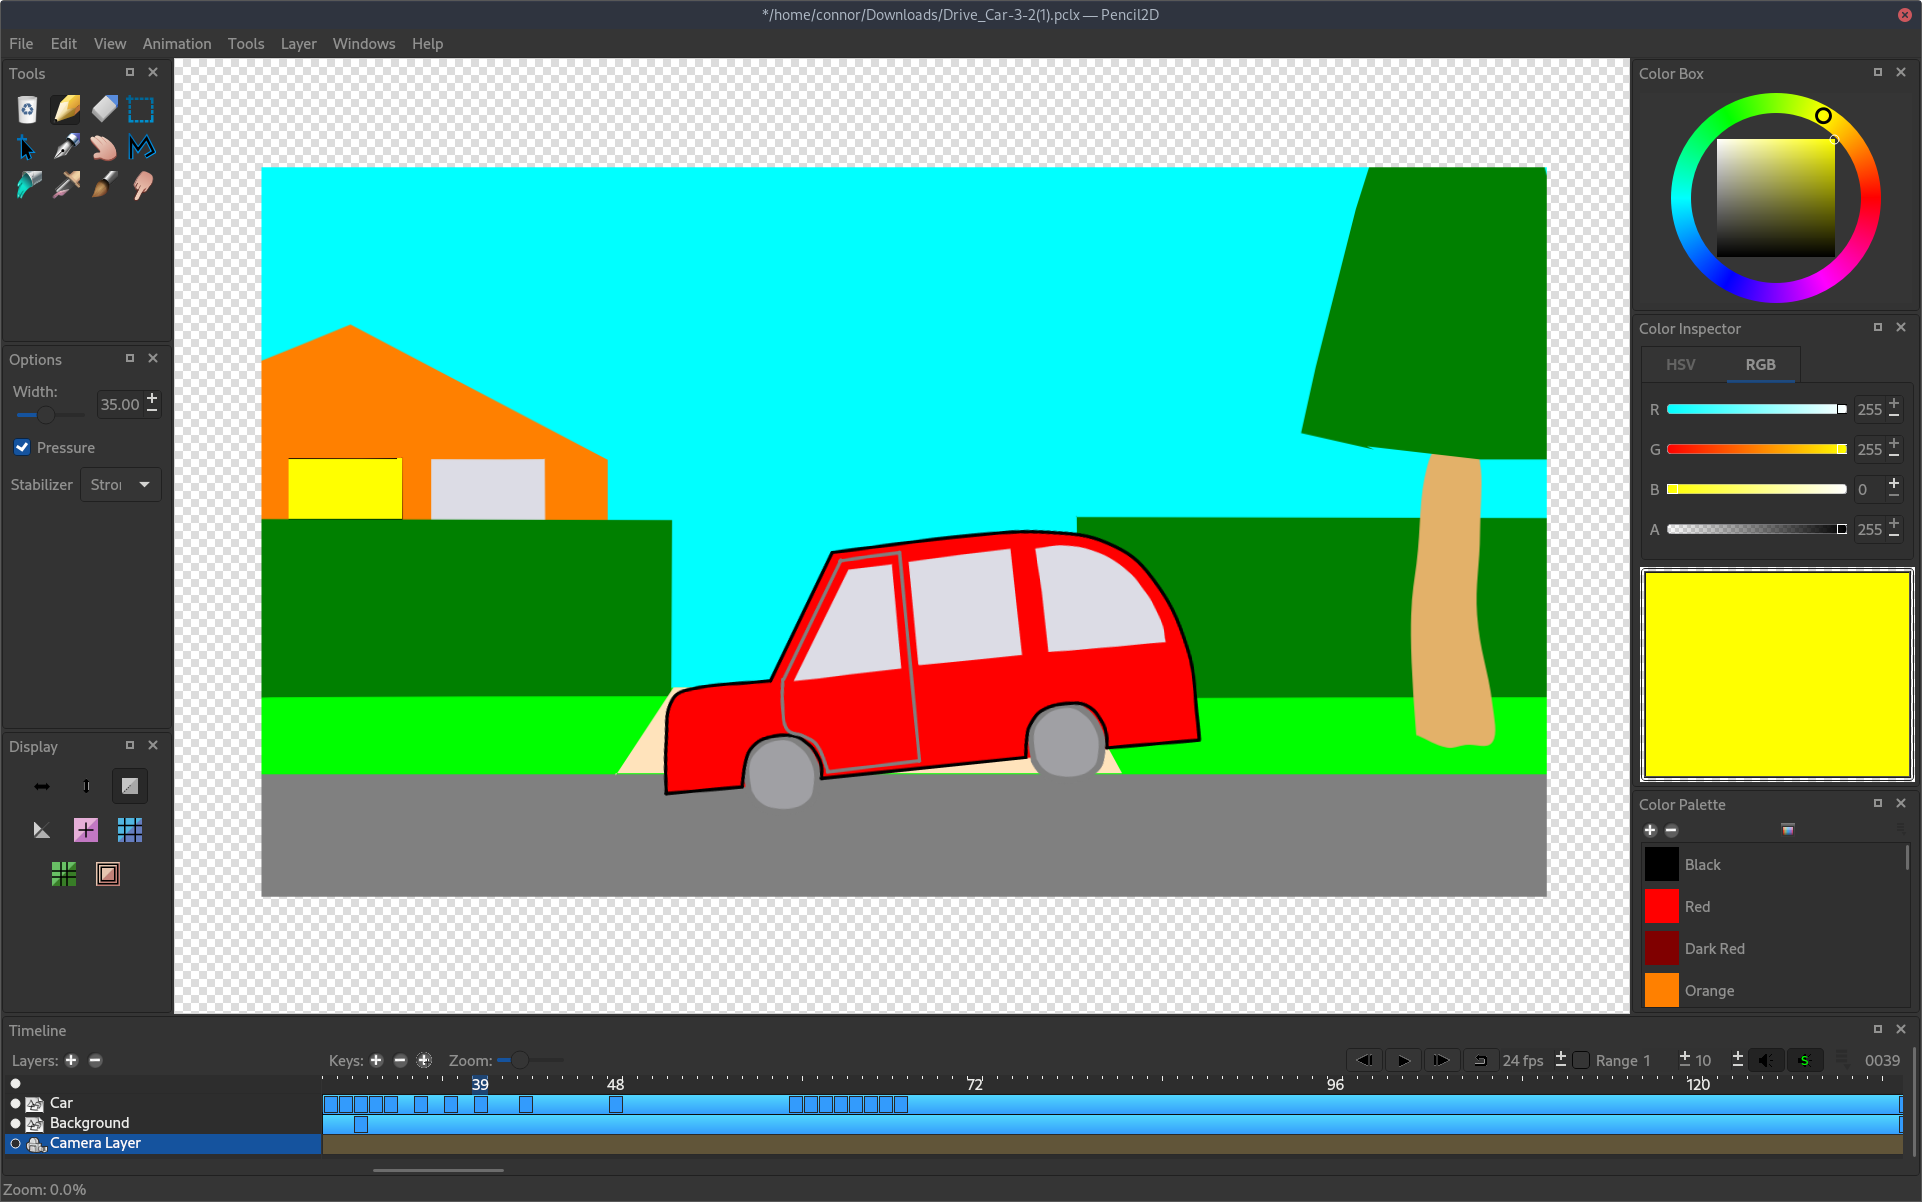
This is what the screen looked like within Pencil2D.
Sorry the roof tiles, coloured black, should have been included in this image, that’s my fault.

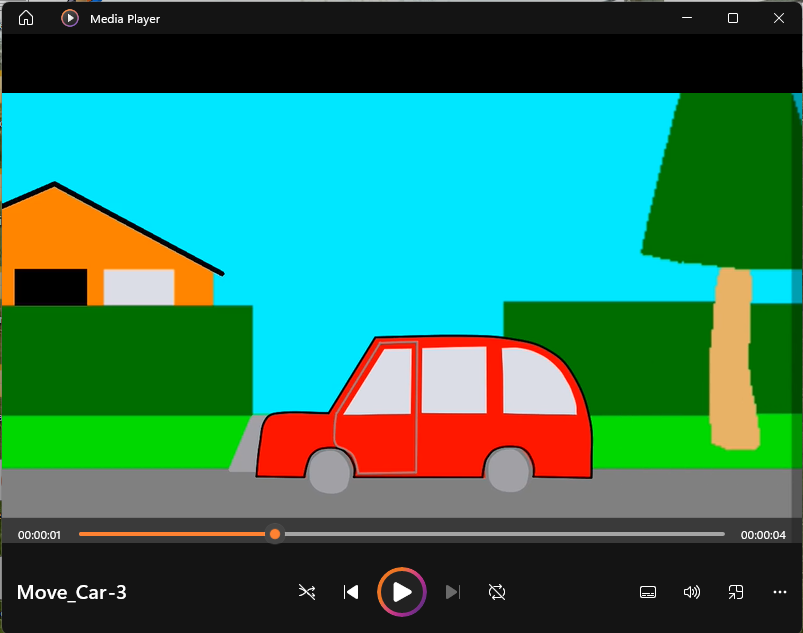
The mp4 file converted to GIF file.
Is this from exporting using the built-in File > Export > Animated GIF… menu option in Pencil2D? If so, can you please share the project file and tell us which version of Pencil2D you are using to export this animation. If the passepartout is being displayed in the output, that is a bug with the camera or exporter.
Yes this has been done using Pencil2D as downloaded. The only external software used was to convert the .mp4 file into .gif format.
Please feel free to use my materials. You can contact me via email.
Hi Scrible
Yes, in the case of the first example and in the case of the second gif file it was exported as a mp4 and then converted to a gif, using an external application.
The mp4 file was exported using the Export mp4 option.
StopMotion
hi StopMotionVector
We still need some vital information in order to continue. What version of Pencil2D are you using?
If you’re using the latest stable version 0.6.6, could you try reproduce the behavior in our latest nightly build. This will help us in figuring out whether to spend time on the bug or not.
Since we’re a small team of volunteers with limited time, the more descriptive the bug report, the better.
Hi Oliver
I was using version 0.6.6.
Stop Motion
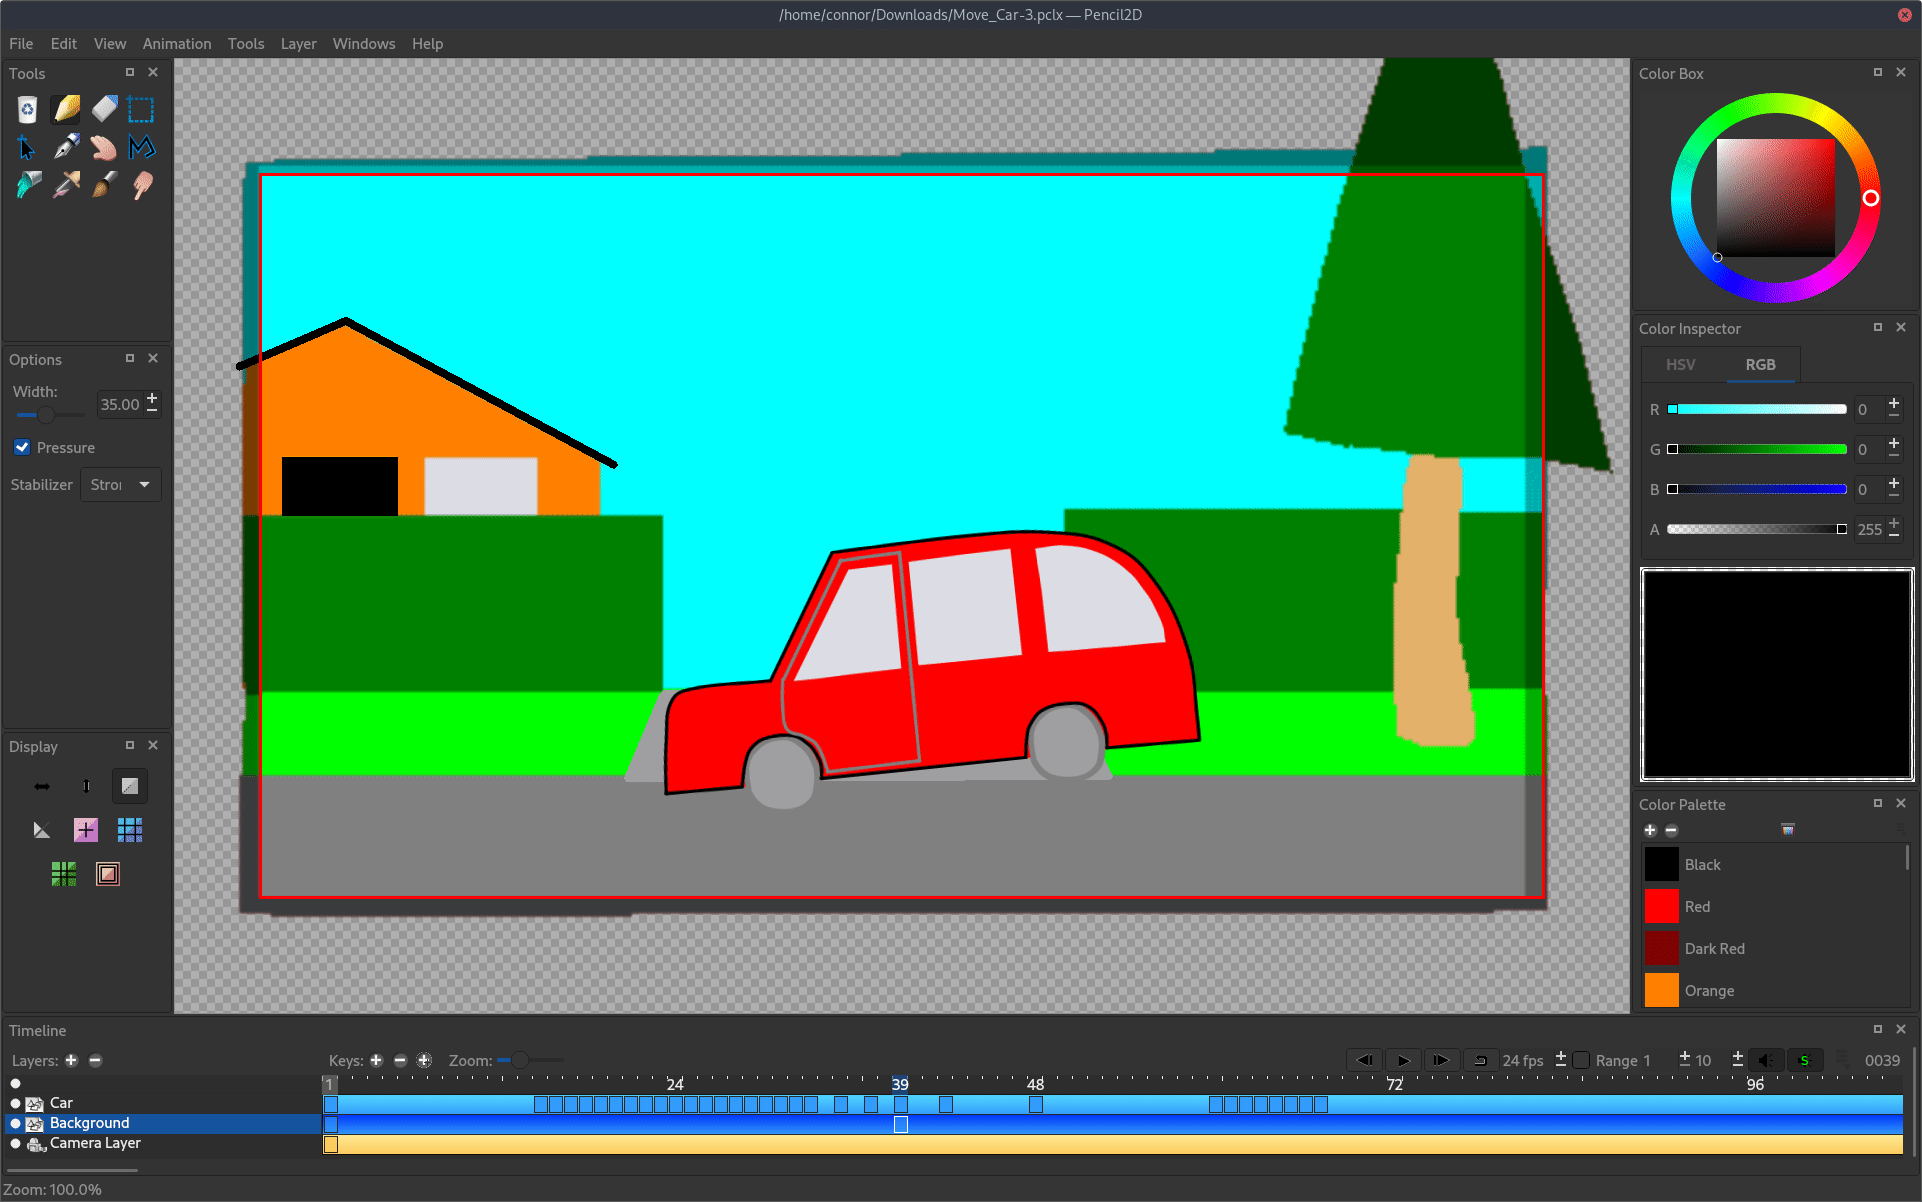
The attached pclx is the file I’m using to create the animation!
Move_Car-3.pclx (988.0 KB)
I’ve now traced the bitmapped graphics using Vector Tools an then exported the animation in GIF format.
Drive_Car_Vector.pclx (377.5 KB)
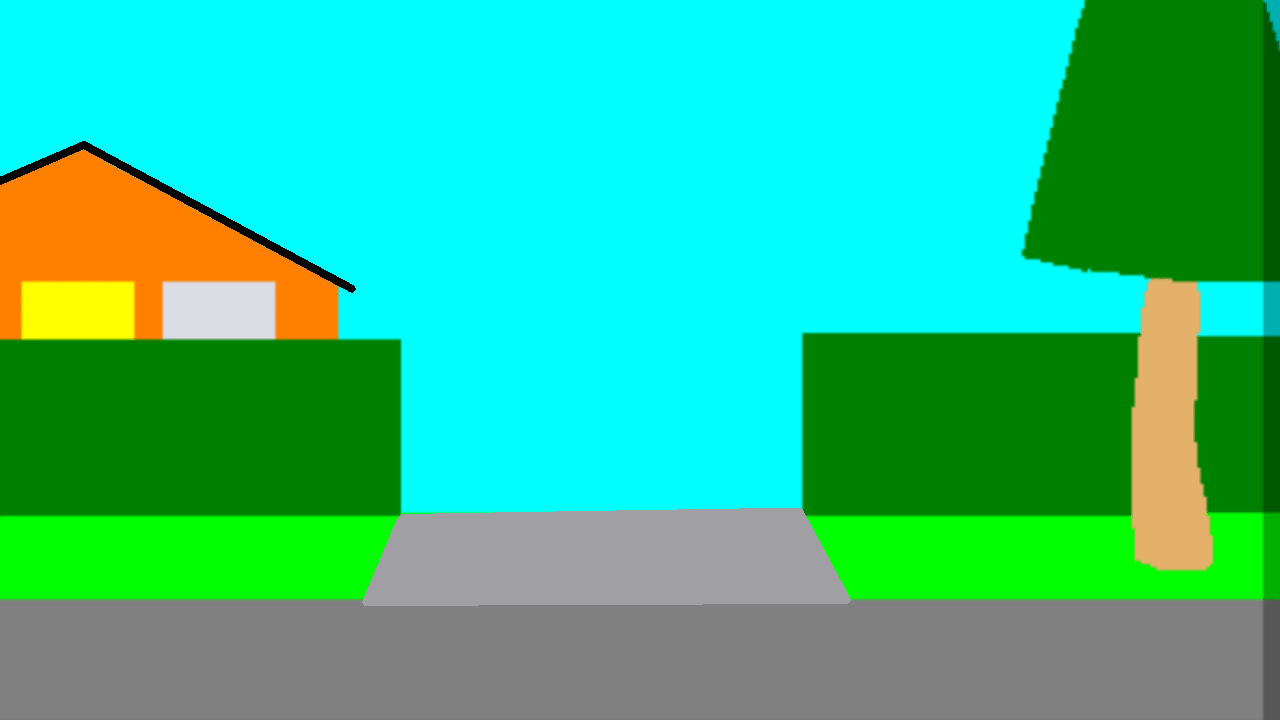
Rhe next stage was to modify the background in tge bitmapped version, by using Gimp to crop it to the visual area of the stage.
Drive_Car-3-2.pclx (1002.5 KB)
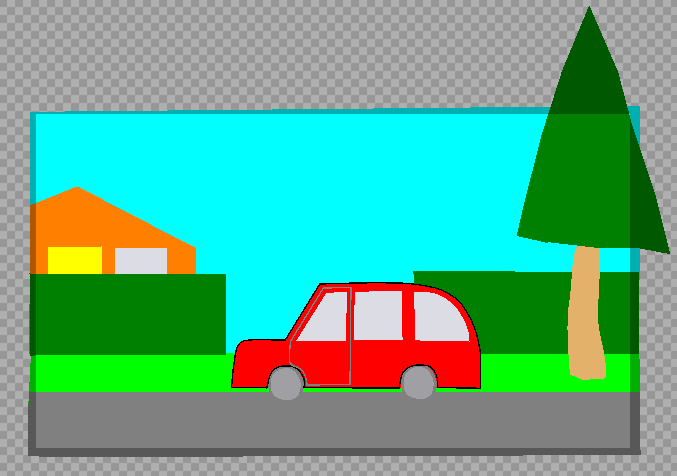
The resulting GIF animation is shown below.
I forgot to turn the light out!
It a personal view, but I think the problem comes from they method of transferring the images from the internal player file via ffmepg to the output file.
I’ve just noticed that the problem also exists with exports of MP4 files too.
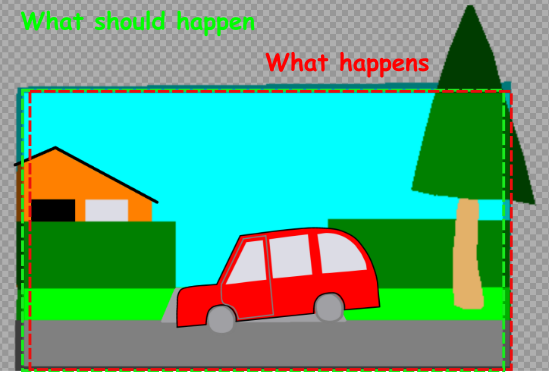
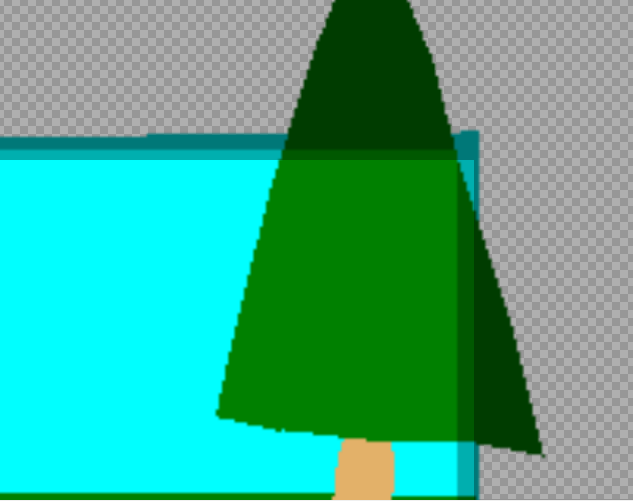
The above illustration shows what is happening, the area being selected for transfer to ffmpeg for output as GIF and MP4 is as shown by the red line. The selection should use the green line.
If we save the background, by just saving without using the ‘dotted line tool’ the selection Pencil2D saves the area bounded by the green line.
The above is not quite true, because Pencil2D saves an area about 6 pixels smaller in width and height.
If we select ar area of bitmapped image to be saved, as a PNG file then Pencil2D saves the selected area.
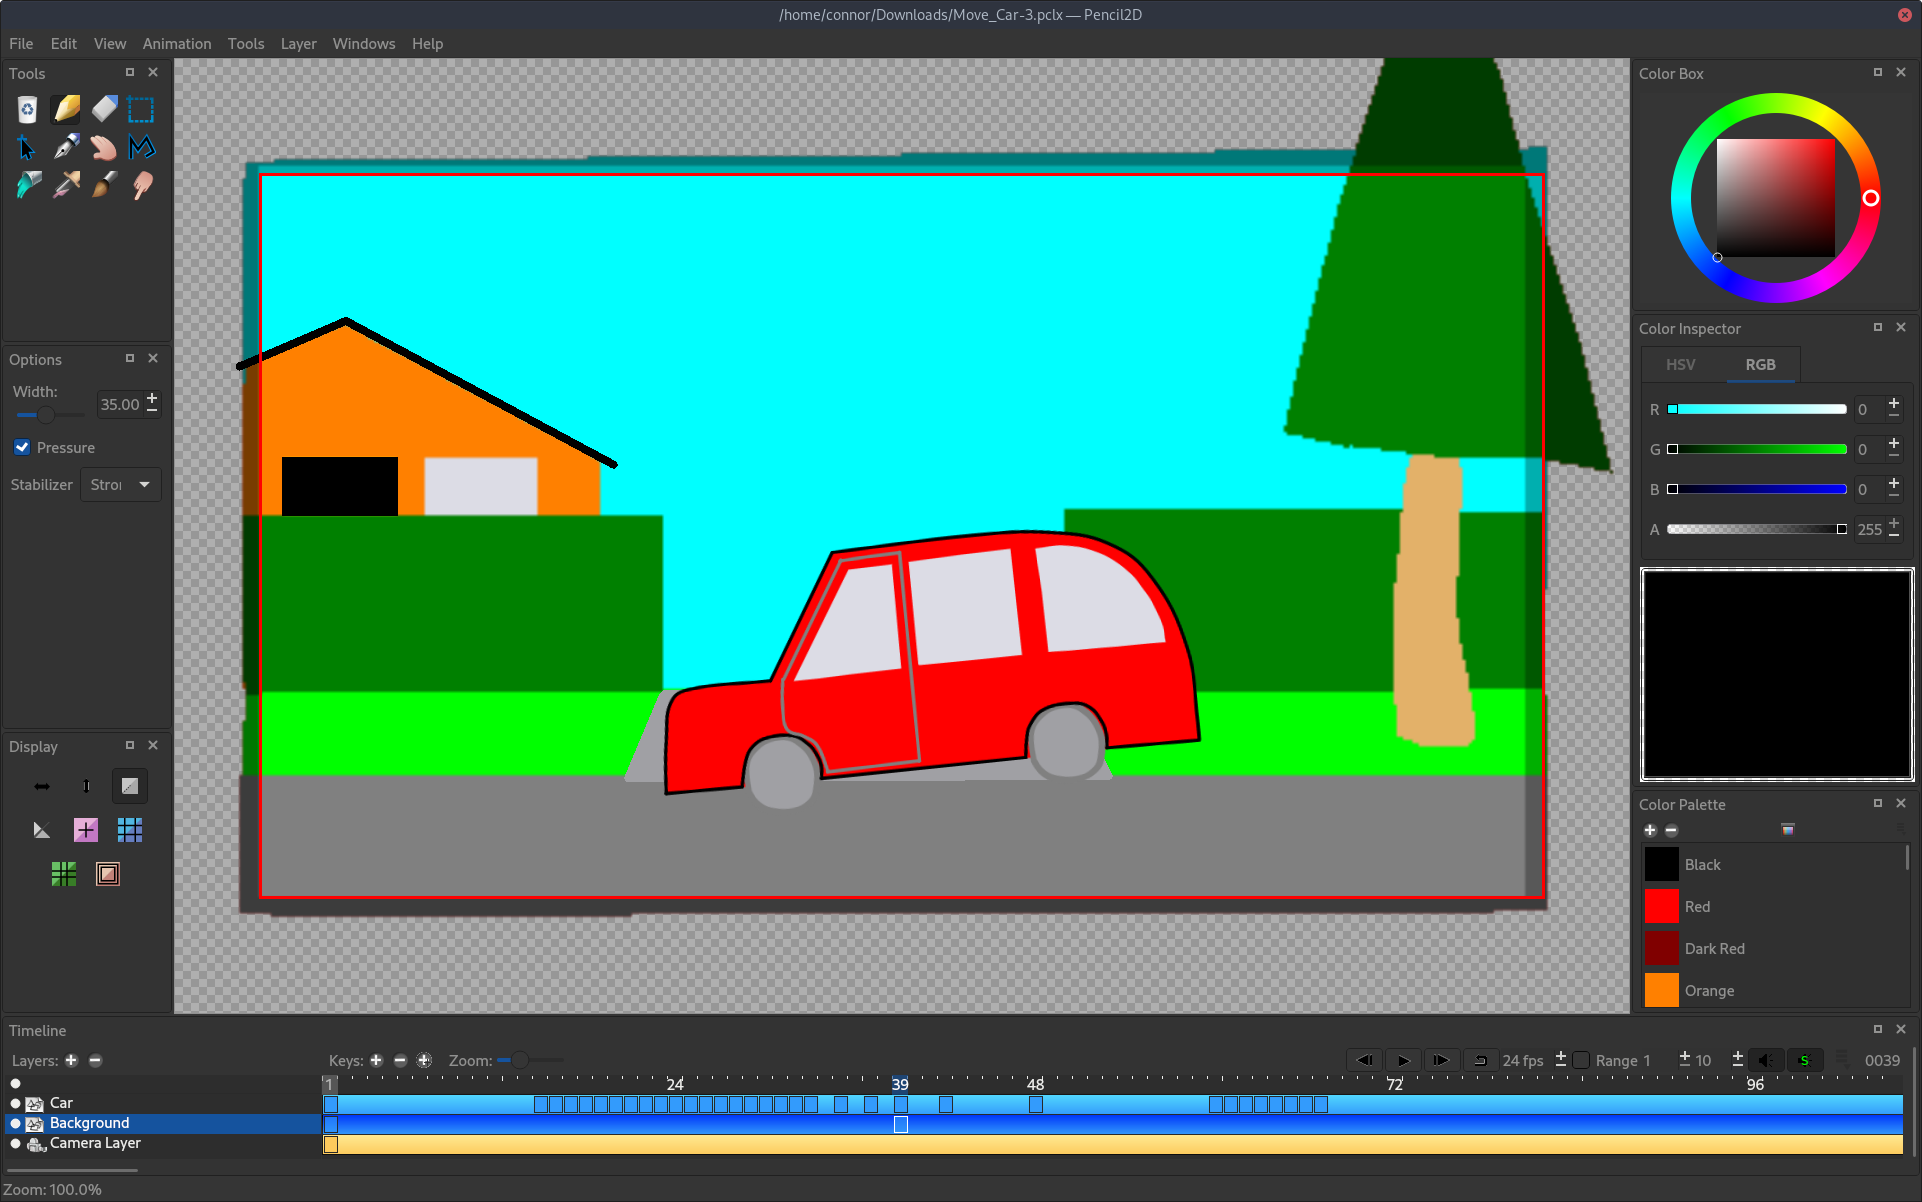
The project you shared is exporting exactly as it should be. If you want it to be exporting only the brighter area, then your camera and drawings are not aligned in the first project. If you zoom into the corner like this in the first project you uploaded:
You can see the edge of your camera represented by a 1px black border (this is only in the nightly build, on 0.6.6 you will just see a difference in brightness) and that it does not line up with the darkened border in your content. The camera is down and to the right of the bright area of your drawing. Toggling the visibility of the camera layer on and off to see your entire canvas without the shading of the passepartoute to help you figure out what shading is part of your drawing and what part is added by Pencil2D.
What you are infuring is that the drawn area must be a rectangle! In this instance the Vector drawing tool are significantly more powerful.
The image, shown below is a screen grab of the project. I have never installed a ‘nightly build’ on my personal computer. Indeed I have used a ‘nightly build’ on a work computer, in the past. The computer manager insisted it was installed, by his staff in a ‘sand box’. When the project was completed, and signed off, his staff removed it from my work computer.
I think that scribblemanac loaded my supplied file into a ‘nightly build’ and took the screen shot, as part of an investigation, but now they don’t recall doing so.
I have double checked by zooming into my supplied image, in a previous posting and it definitely doesn’t have the characteristics shown in the previous posted image.
This is a problem which goes back to Pencil 0.4.4, written by the original Pencil team and their code was converted from Pascal to C++ by the Pencil2D Team, as a basis for further development.
Still there is a ‘workaround’, make sure that your background image is rectangular in shape! I just didn’t think that my background shape would be a problem. The best laid plans of mice & men and all that!
No. This has nothing to do with the shape of the drawing area. This has nothing to do with whether bitmap for vector layers are used. The nightly build will add the camera border to the preview in Pencil2D, but it will not export any differently than 0.6.6.
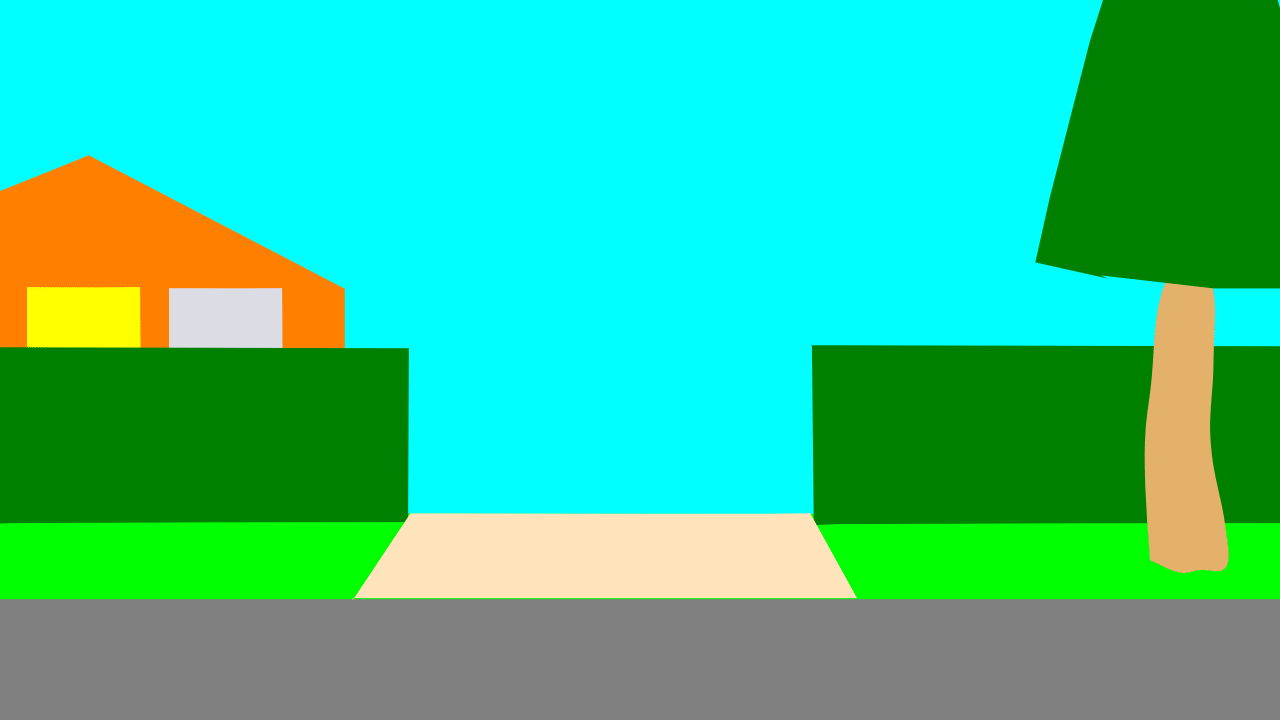
Here is Pencil2D 0.6.6 displaying your project at 100% zoom with the camera layer hidden:
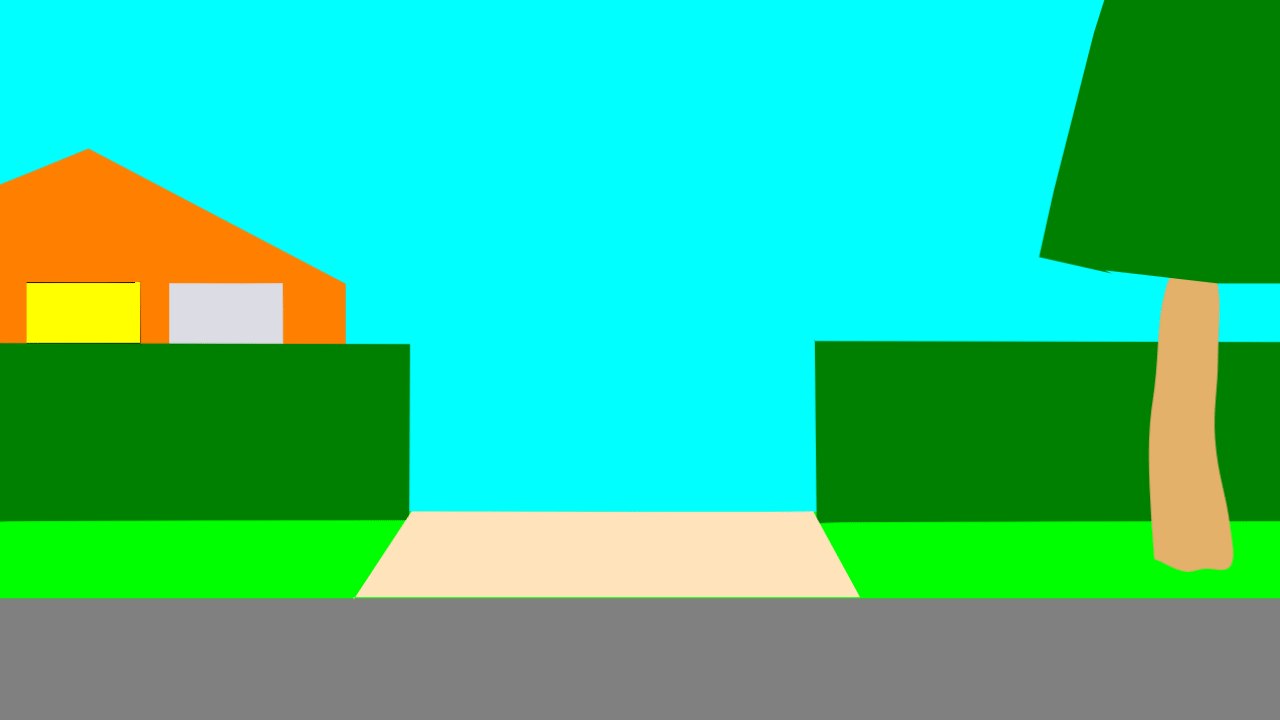
The shaded outer region of the drawn content above is a part of the drawing, and is not darkened by Pencil2D. Below is the same image with the camera layer visible:
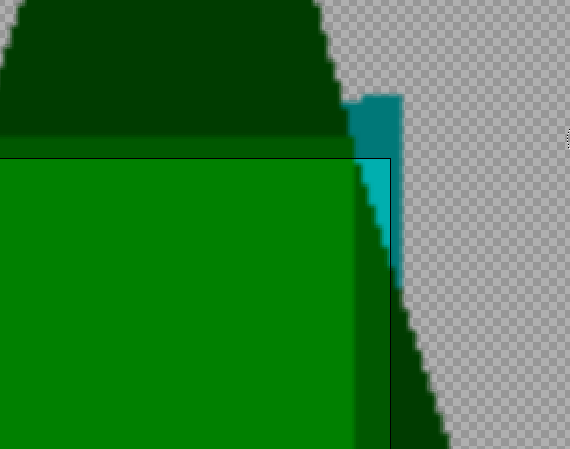
Note that there is a rectangular region which remains exactly the same, and everything outside of that region has gotten darker. The rectangular region is what is seen by the camera. Everything that is outside of that region will not be part of the exported image. Now here I’ve added red border around the outside of the camera view to make it clearer for you:
If you put the image above into GIMP, and crop it to exactly within the red border, you will get this:
And here is what you get if you export that frame with Pencil2D:
These last two images are pixel perfect identical images. Pencil2D is working exactly the way it should be. I don’t know how I can make this any clearer to you.
P.S. Pencil has always been written in C++. A person named Pascal worked on it at one point, but it was never written in the Pascal language.
How do you explain the resulting animated Gif produced from Drive_Car-3-2.pclx in a previous posting. This has no edge shadow.
This was produced by cropping the background and then using the cropped image to replace the original one.
Because A) That content of that project does not have any shadows on its edges:
And B) The content is positioned lower and further to the right relative to the camera:
The source you cropped to make the Drive_Car-3-2.pclx is clearly not the same image you are using in Drive_Car-3.pclx. In addition to the difference of shadows on the edges, the quality of the image differs greatly, particularly around the tree.