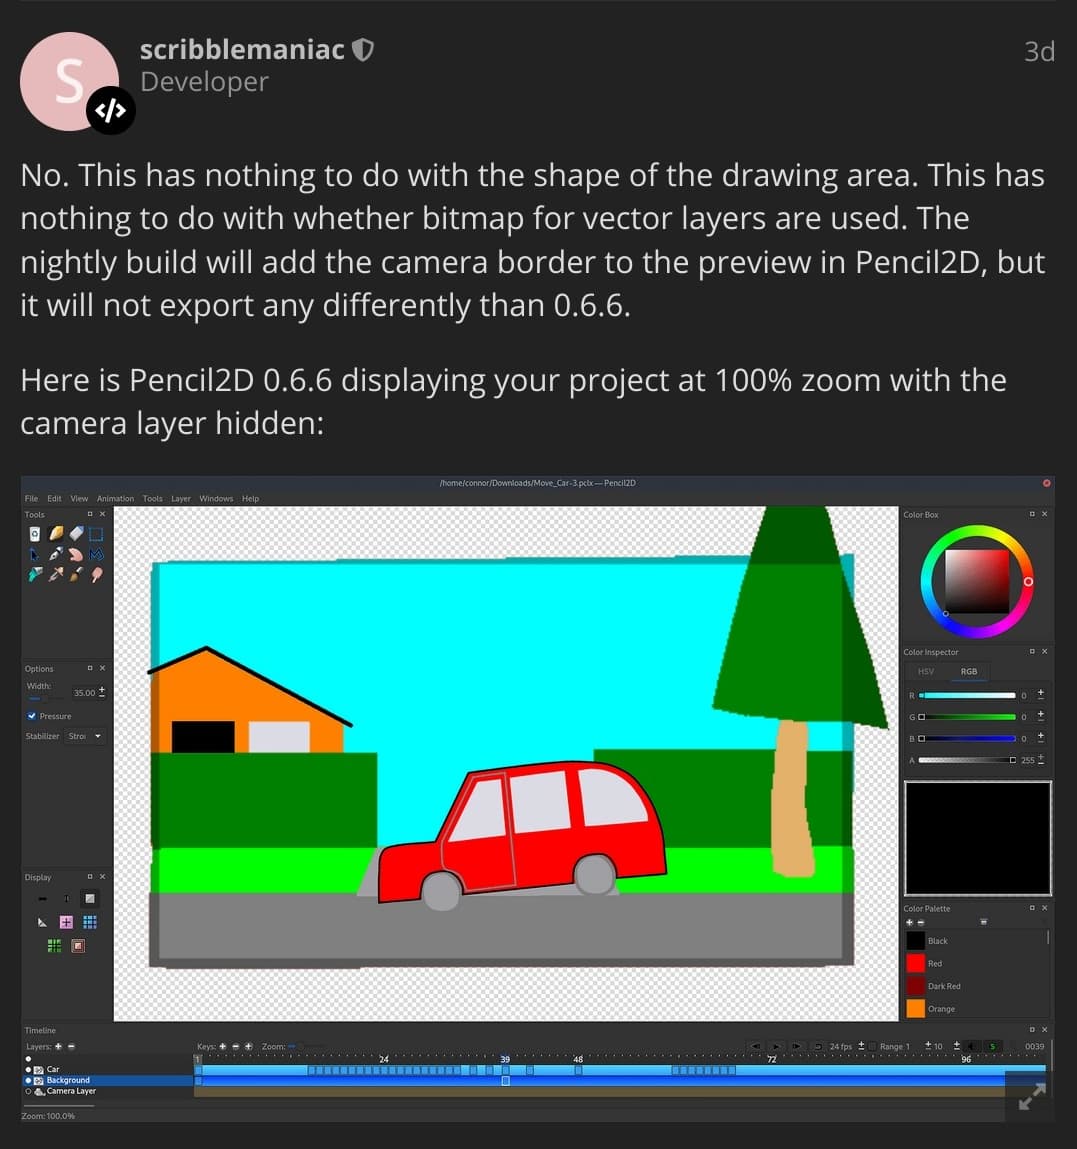
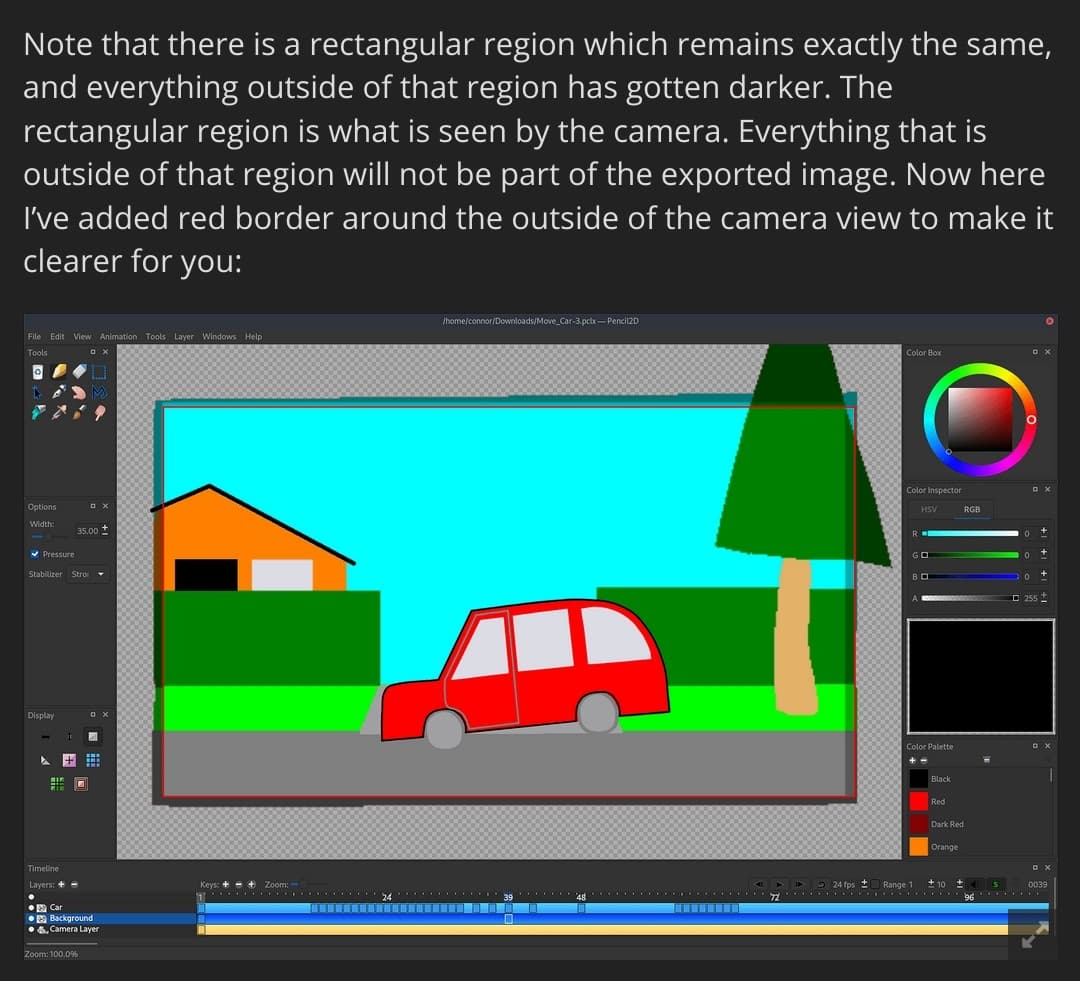
The reply below, is an earlier responce from the Pencil2D developer. The first 4 images, shown below are scribblemanac’s responce. I’ve had to upload the responce in 4 files, because when I attempted to upload the reply as a single image, the image on screen was very tiny and the text was unreadable!
If you read it carefull and then look at the final screen grab, you’ll see the problem.
I have done more experimentation since and the result if now have a better idea of the nature of the issues involved.
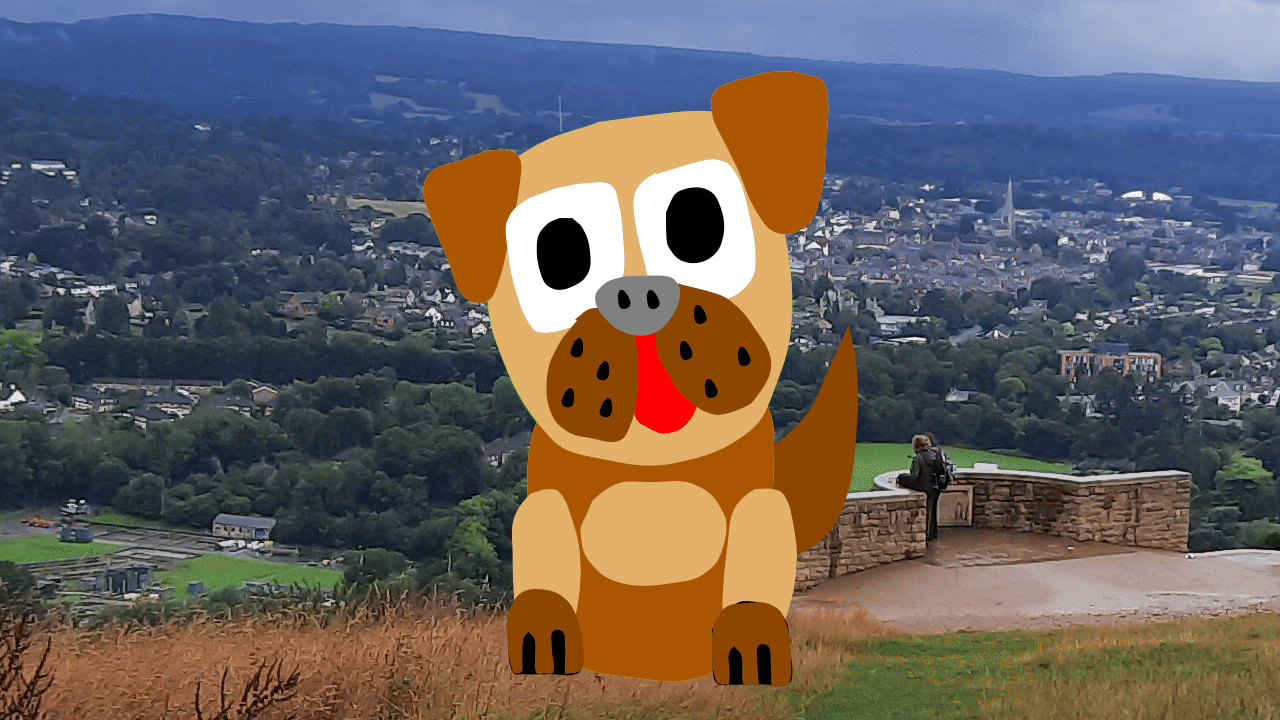
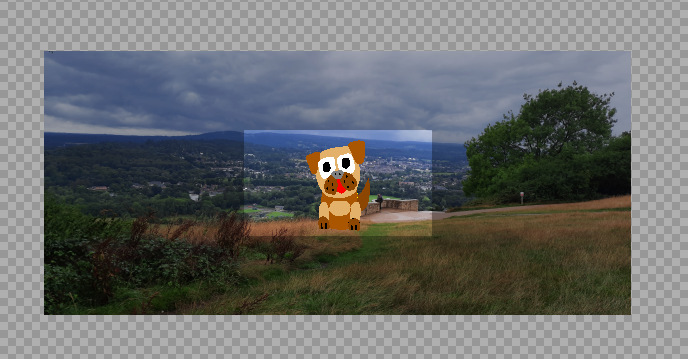
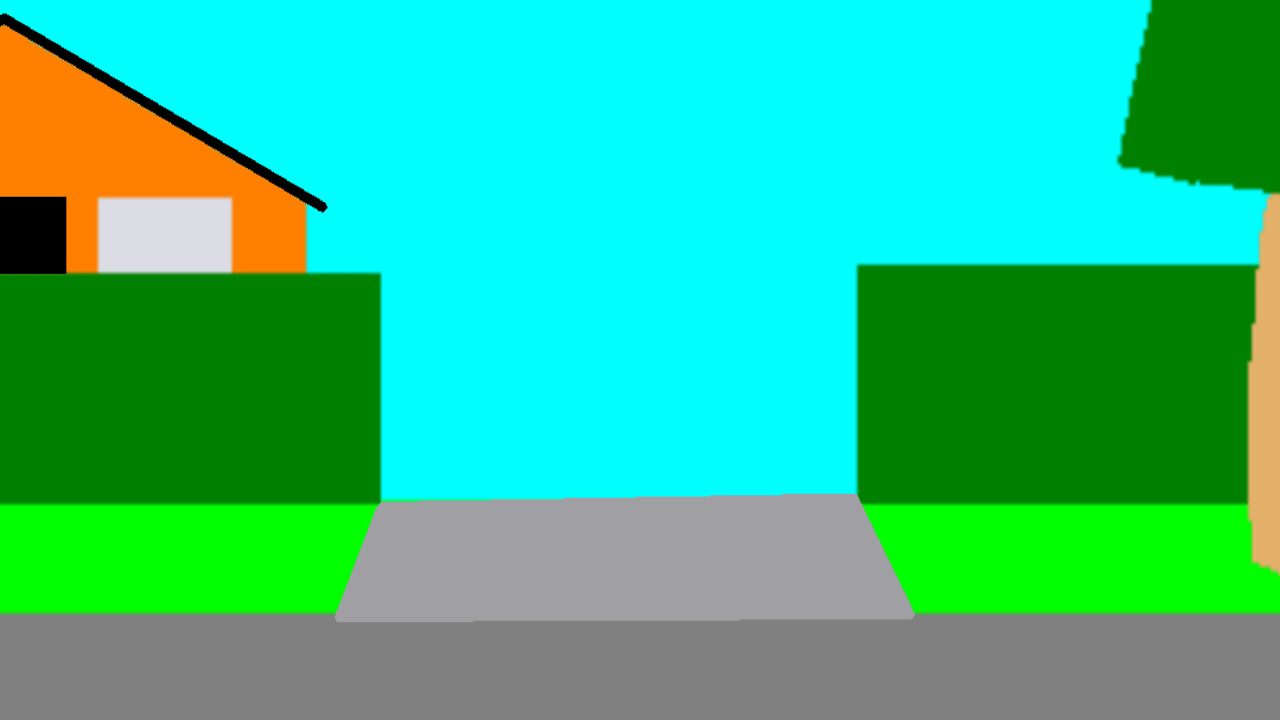
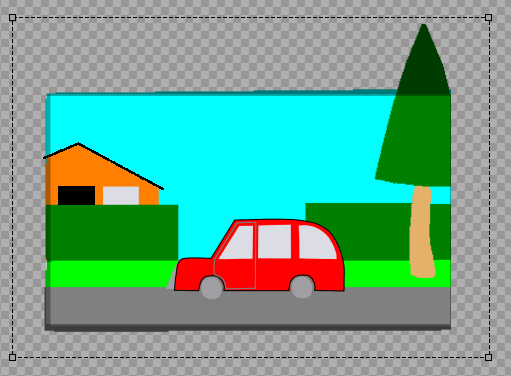
With the graphic, the background image, in this case the road, verge, the house and the tree, the right hand edge of this image, if it is not a vector based image will need to be exactly inline with the right hand edge of the stage. This is the ligher area, which is surrounded by a darker area, outside of the animation stage. In the screen image above, all areas not drawn on, will be shown as the checkerboard pattern.
Drive_Car-3-2.pclx (978.4 KB)
Load the .PCLX file above and examine frames 47 and 48. Frame 47 the background has not been cropped and if all background framesare like this there will be a darker strip down the right hand edge.
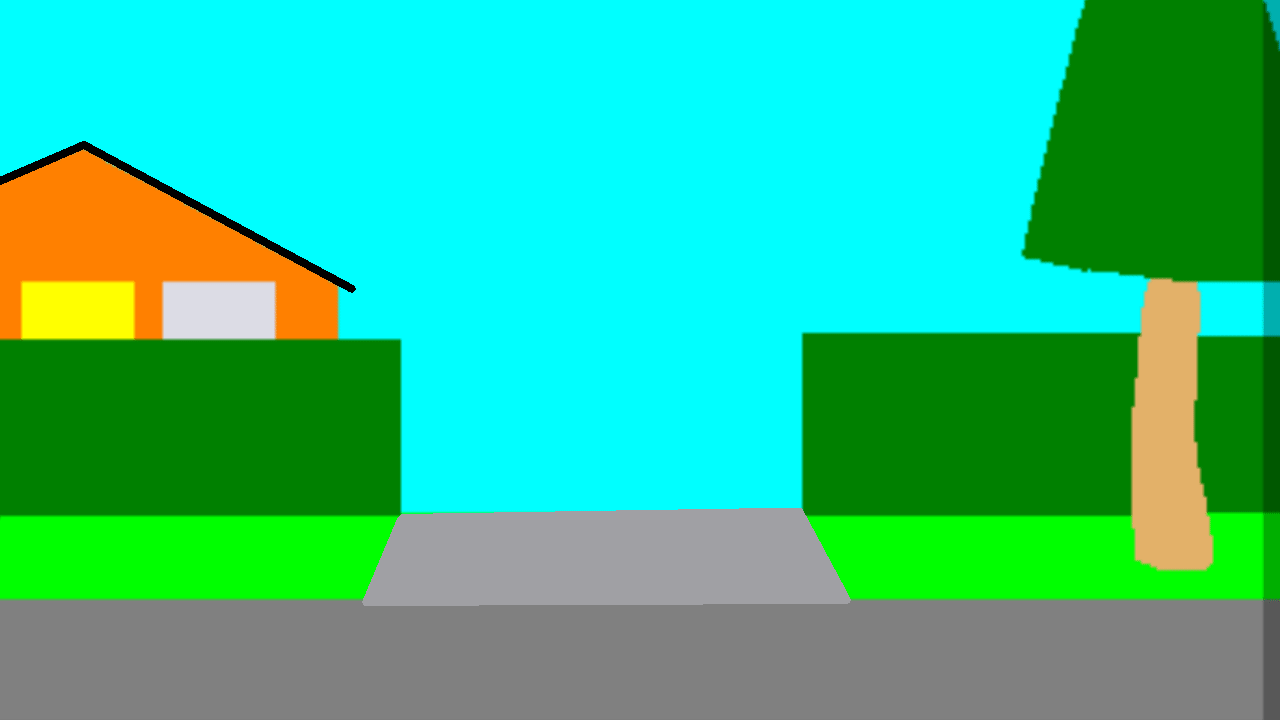
in frame 48 the image has been cropped and the right hand edge of the background image exactly lines up with the right hand edge of the animation stage. If the background frames are like this, then the darker strip down the right hand edge will not exist.
Feel free to export this project as a animated GIF or MP4 file to prove this to your satisfaction.
I realise that what i have done, is not a solution but a ‘work around’, but it is a solution, that removes the dark strip down the right hand edge of the animated GIF and the MP4 file output.
Drive_Car-3T-6.pclx (1.0 MB)
The output from the above file is shown below.

But you are most welcome to verify it, by outputting the project as an animated GIF or MP4 file.
In summig up the background image can overlap the top, left or bottom edges of the animation stage, but not the right hand edge!
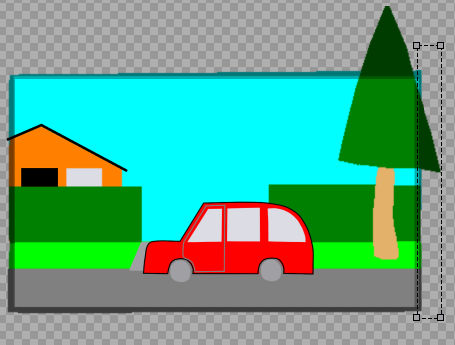
The 2 images below are of the process to crop the right hand edge of the background.
The result of the cropping process, with Pencil2D.
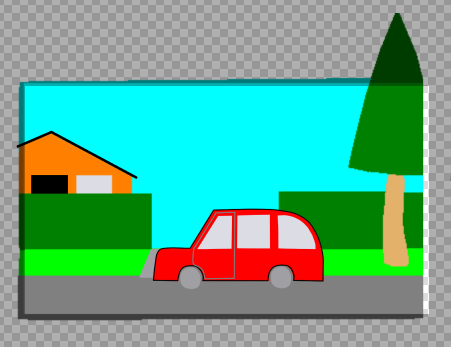
The image moved into the final position, so that when the project is output, the desired results is acheived, that is no dark strip down the right hand edge!
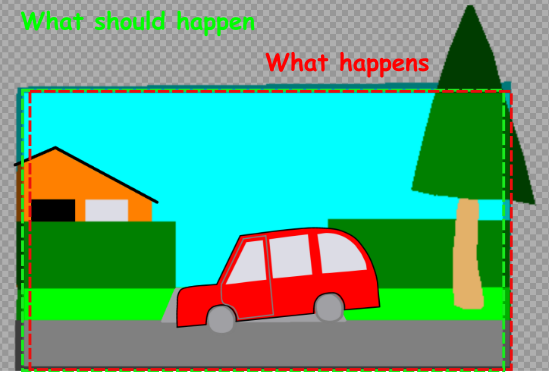
I think that the above graphic i drew earlier is a true respresentation of how Pencil2D see’s the background image.