@JoeyH Hey, first off thank you for your comment 
Hmm this “excess” of paper you’re alluding to, is often referred as the “overscan”, and what you’re saying would make sense If Pencil2D had a clear way to define “page size” or “canvas size”, however my recommendation is that you simply set the camera size to the actual video output size you need, which is the "visible part of your layout paper, and not to worry about the “drawable” part unless you need to zoom out or move the camera (since that has a different way of planning).
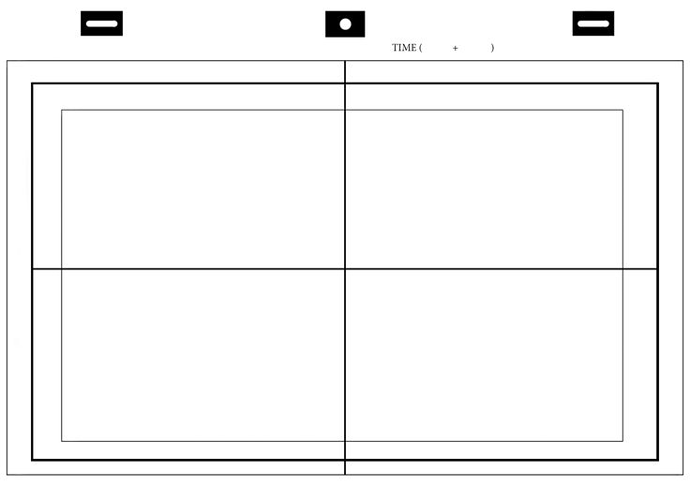
If we see something like the following image:
The bold black line is where we should match the camera field given by the software, the outer guideline or over scan will then always remain outside of the camera field while drawing digitally with Pencil2D, as such it won’t be rendered so I personally feel it’s a bit unnecessary to have a specific guideline since the canvas can be quite large and accommodate your drawing unlike usual templates.
In Pencil2D you’re always meant to be drawing for the final output, unlike something like Clip Studio Paint where you draw the entire page, with overscan and all, and then setup the camera to frame the output size and render the scene.
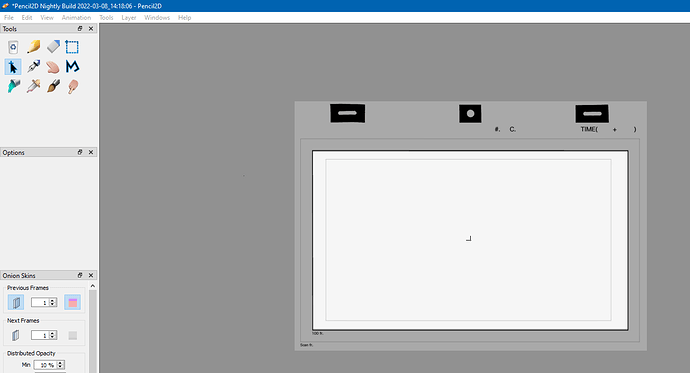
Something I personally would do as well (and that I know other animators do) is simply import the L/O paper as a background reference, use the light table and draw over it in a different layer, particularly in case the studio supplies their specific layout template (which many do). You can even create a Pencil2D preset that includes this template by default so this can act as your overscan guide, if that’s what you want.
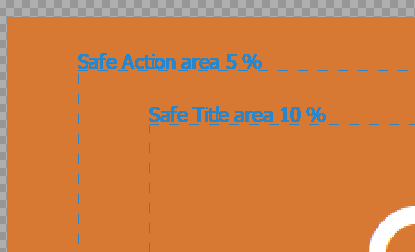
To explain my reasoning, the thing is that the safe areas depicted in the program right now are meant solely for checking against the final video requirements for broadcast delivery, and are not necessarily meant as guides for drawing purposes like the Layout paper guidelines are, even though they can overlap (particularly the “action” safe area).
In this case the innermost layout guideline might overlap with the “action” overlay safe area, however this isn’t always the case, and it depends on the resolution definition you are working for.
For compositing or video editing software (e.g after effects or premiere), the safe areas are used to let the artist know how much of the physical TV or Monitor screen will show your image, and this depends on the image definition standards. The older the TV is, the less image it shows.
For 16:9 ratio HDTV standards the action frame you can go as low as being roughly 3.5% of the output resolution. In that layout template it’s actually larger (about 5~6%) in comparison.
If you’re drawing by hand, and scanning the paper you are already using the actual overscan guideline. But if you draw digitally, I feel this really isn’t necessary and it worsens if you purposefully work with a larger paper to create camera work (e.g drawing twice as big to allow close-ups), in that case though you’d need to have the image be 200% larger and then zoom out to 50% so it’s twice as far from the paper (or visually half as big)
In the latter example Overscan guidelines would be less preferred and it might be better to have a “true canvas guideline” instead so we can input a real resolution only to let people know how big they’re working, but that one might be a tad more difficult. Might need to ask the devs about that 


