Just 4 Fun - Experimenting with Pencil2D V 0.7

Is this the 1st posting in Showcase of a project done using Pencil2D V0.7?

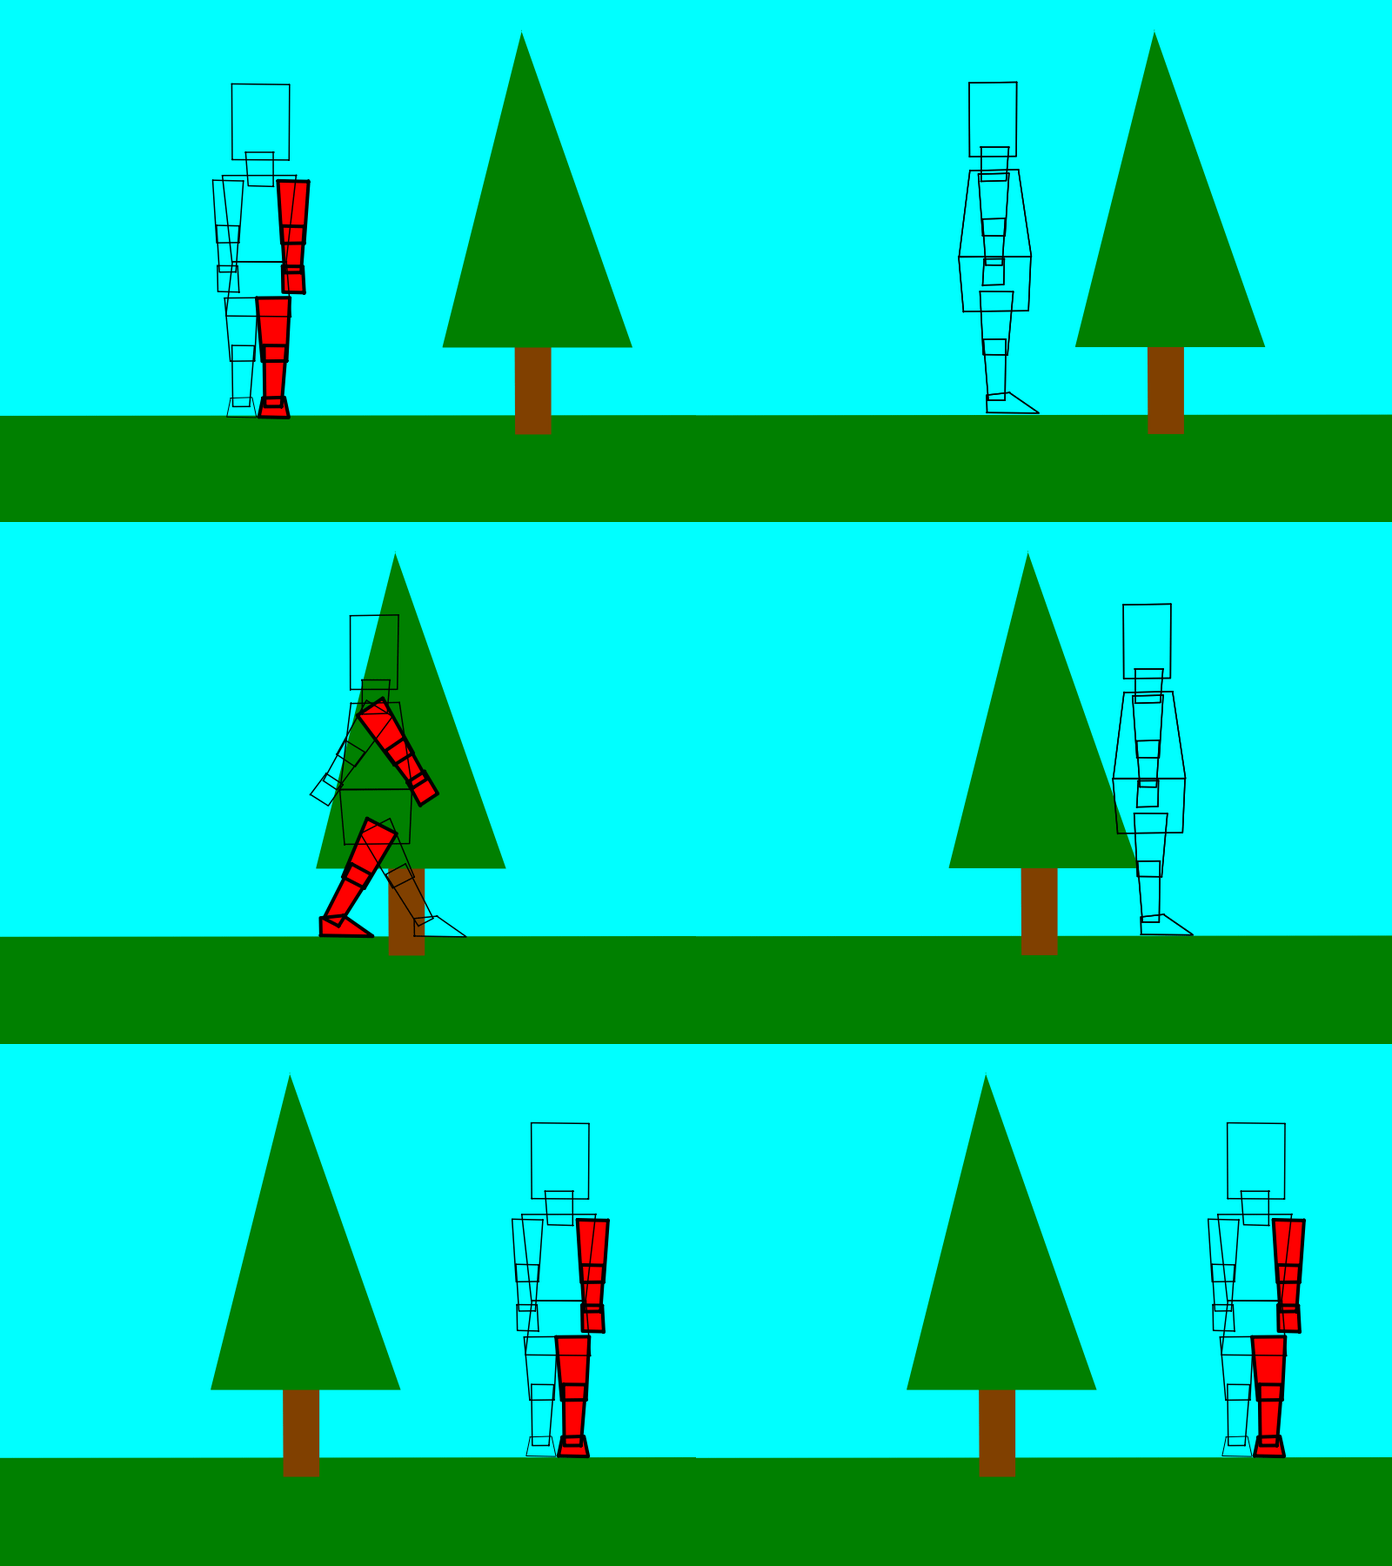
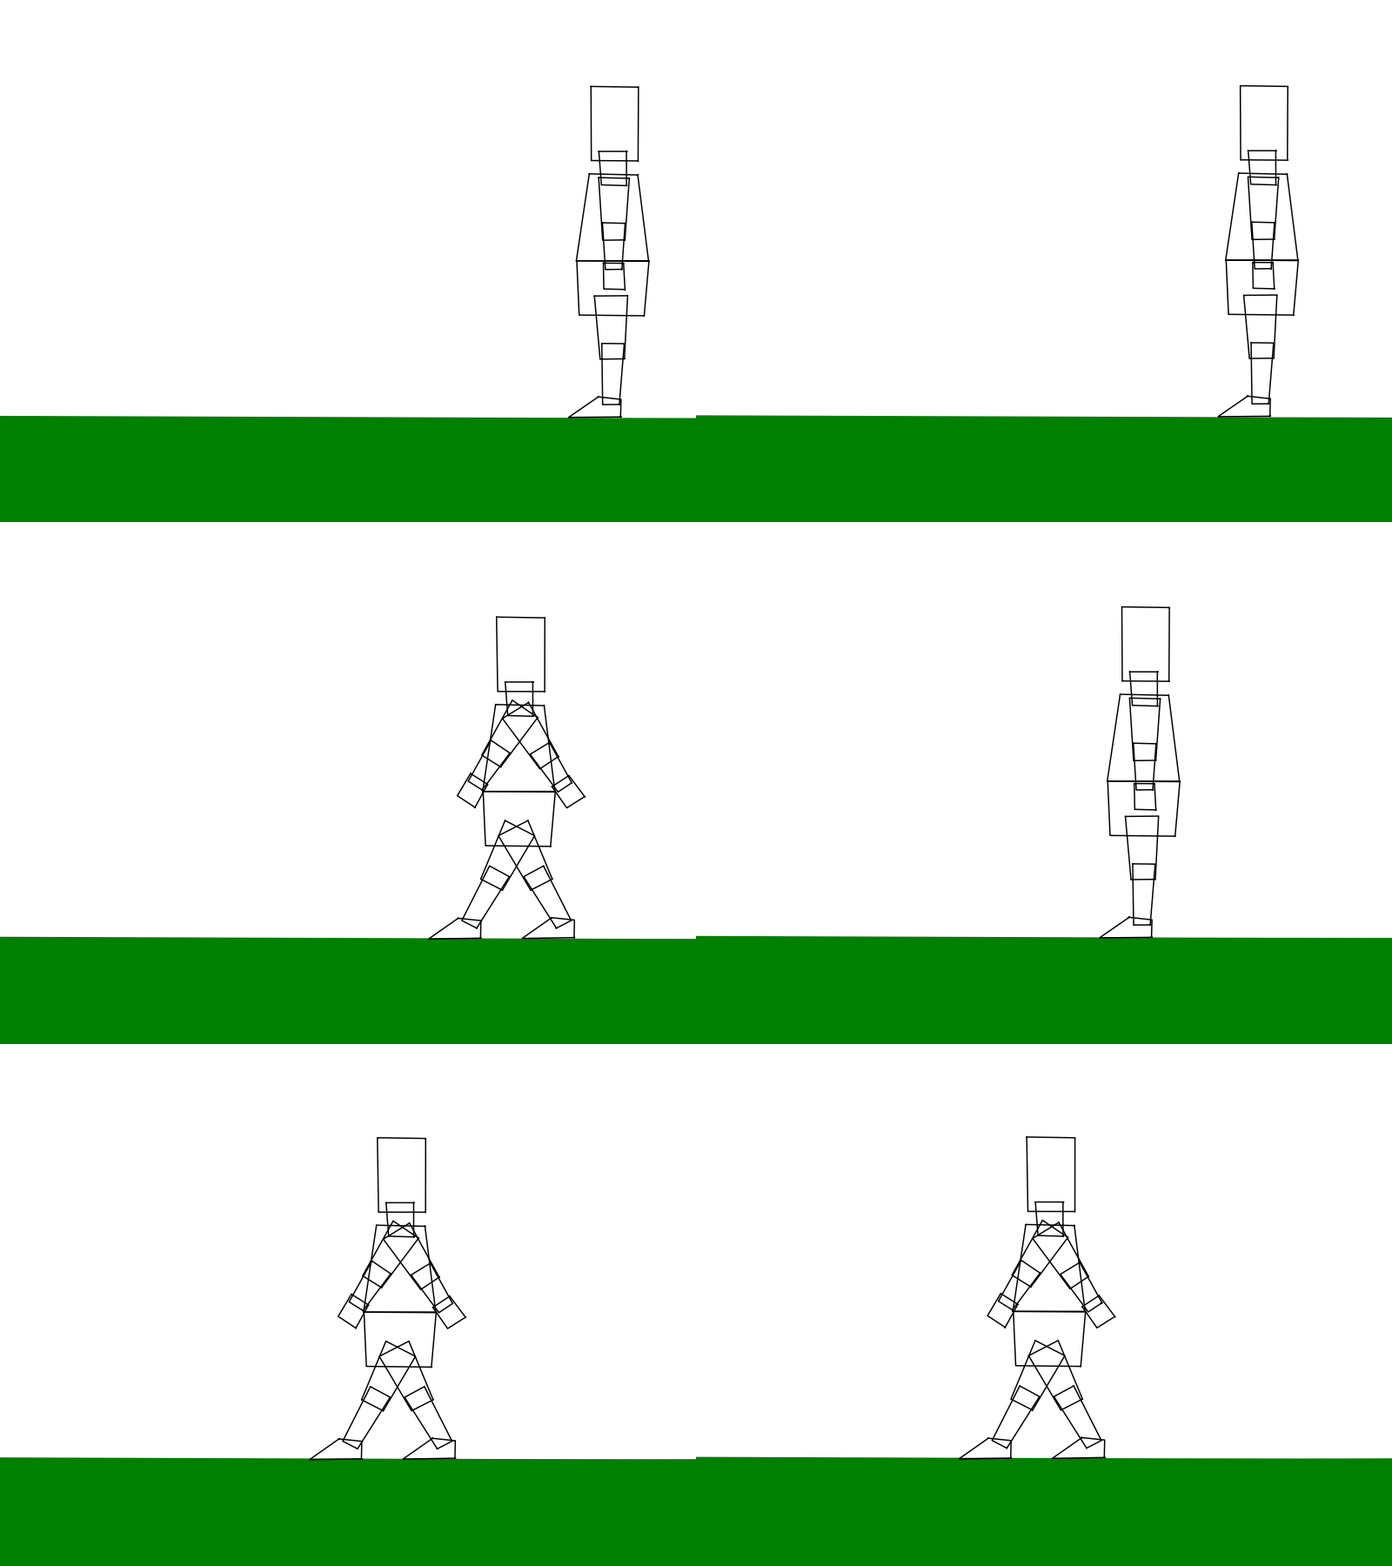
I have not shown how the mannequin is draw because this mannequins is drawn using the same techniques as the previous one. But I have modified the body drawn by spitting it into 2 parts. Each component is composed of 4 straight line, for simplicity and easy of drawing.

Mannequins are used to explore movement and body positions, the final characters will be overdrawn on another layer to produce the final animation.

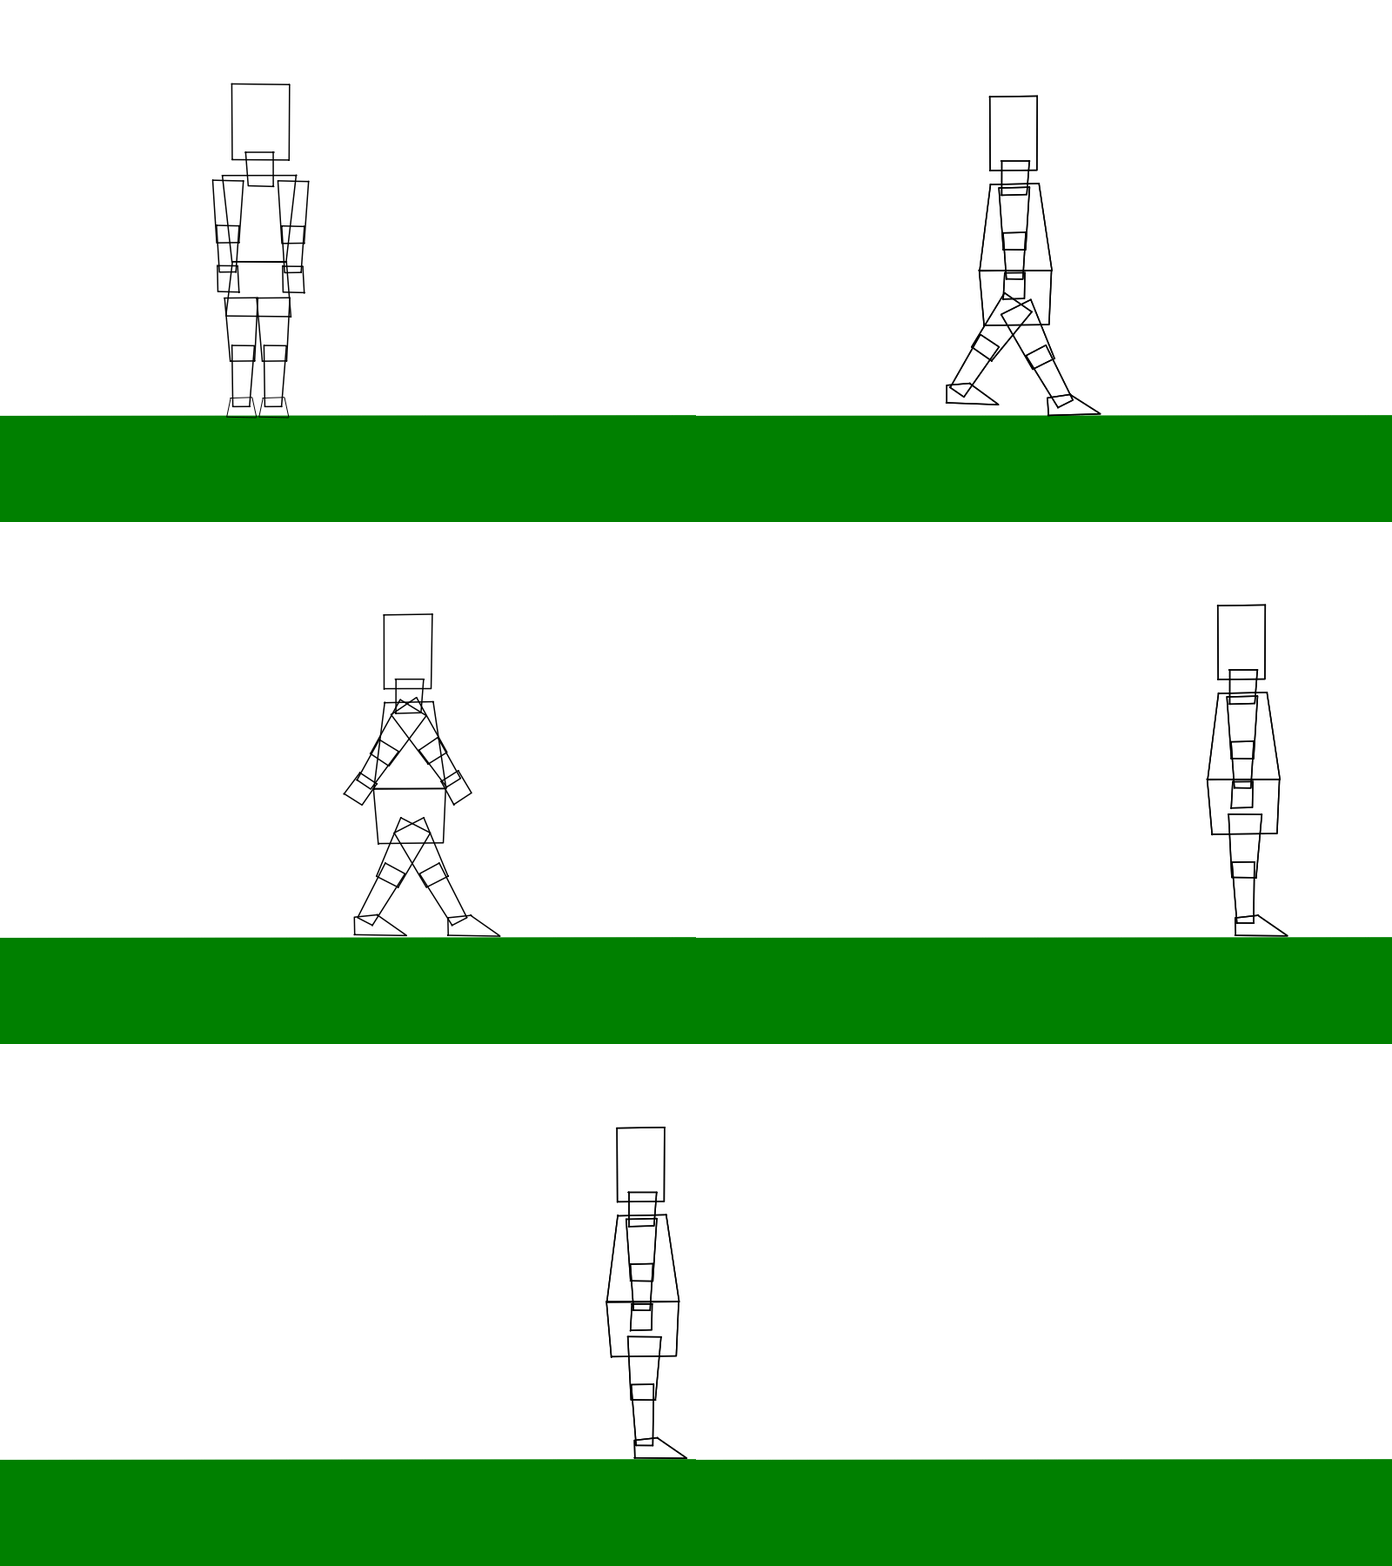
The images below are the 4 keyframes in the animation. As yet I haven’t added any of the tweens!

This carries on from my previous experiments using vector based mannequins. You’ll notice that you cannot tell visually which arm or leg is the right or left. For this exercise that doesn’t matter. For this is my first attempt to use the new camera feature of version 0.7.

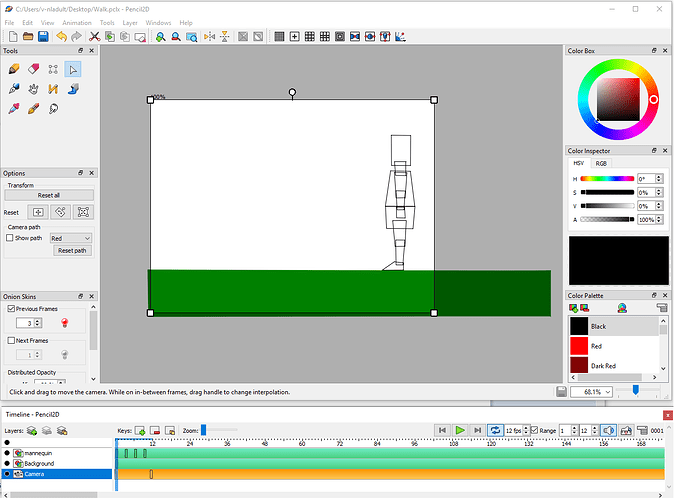
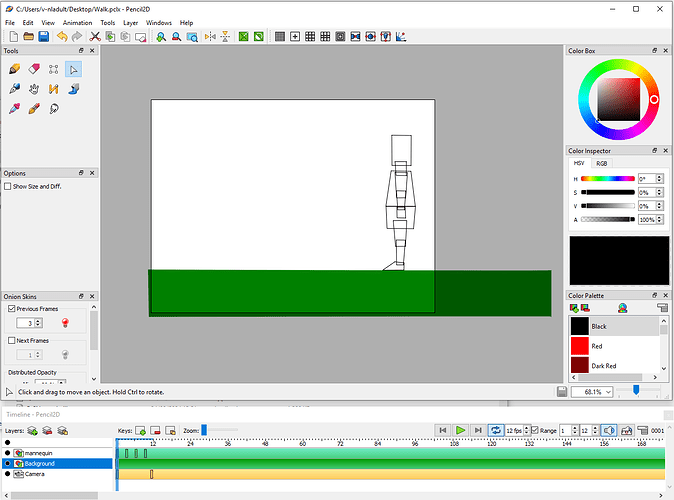
The illustration below is shows that the background layer need to be wider than the width of the frame because of the camera movement.

This image shows the Camera layer selected for Frame 1.

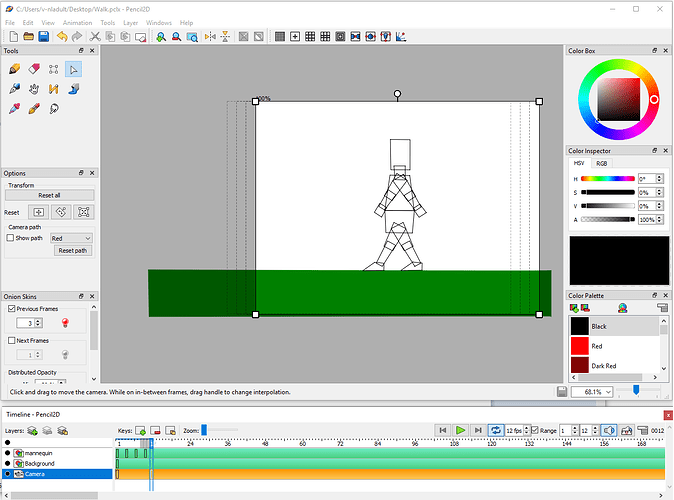
The illustration below shows the screen with the last key frame in the sequence selected. Each 1 of the rectangles represents each of the keyframes in the sequence, from the Camera Layer perspective.

The animated image below is the resulting .GIF file produced when exporting the project.

This is frame 12, the last frame of the animation sequence, this is not a keyframe, but extra empty frames are added for timing purposes.
Walk This is the project file Walk.pclx (18.0 KB)
1 Like

Thank you for sharing, will use this to start leaning :smiley:

You will notice, if you are observant that the character slides backwards after each step forward. I have posted below

My favourite type of animation is minimum frame animation. I’m continuing my experiments with the straight line mannequin. This style of drawing makes editing the mannequin straight forward, because each shape is defined by a set of four straight lined, which are controlled by four control points.

This animation starts with the character looking towards the viewer and then turning and walking off stage right.

At present there is no attempt to differentiate between the leg and arm in front or those behind the body. That is a project for the future.

Turn&Walk-6

The project file is Turn&Walk-6.pclx (82.8 KB)

The next step in the animation process will be to over draw the mannequin, on a separate layer with the final drawings complete with lines and coloured fills within.

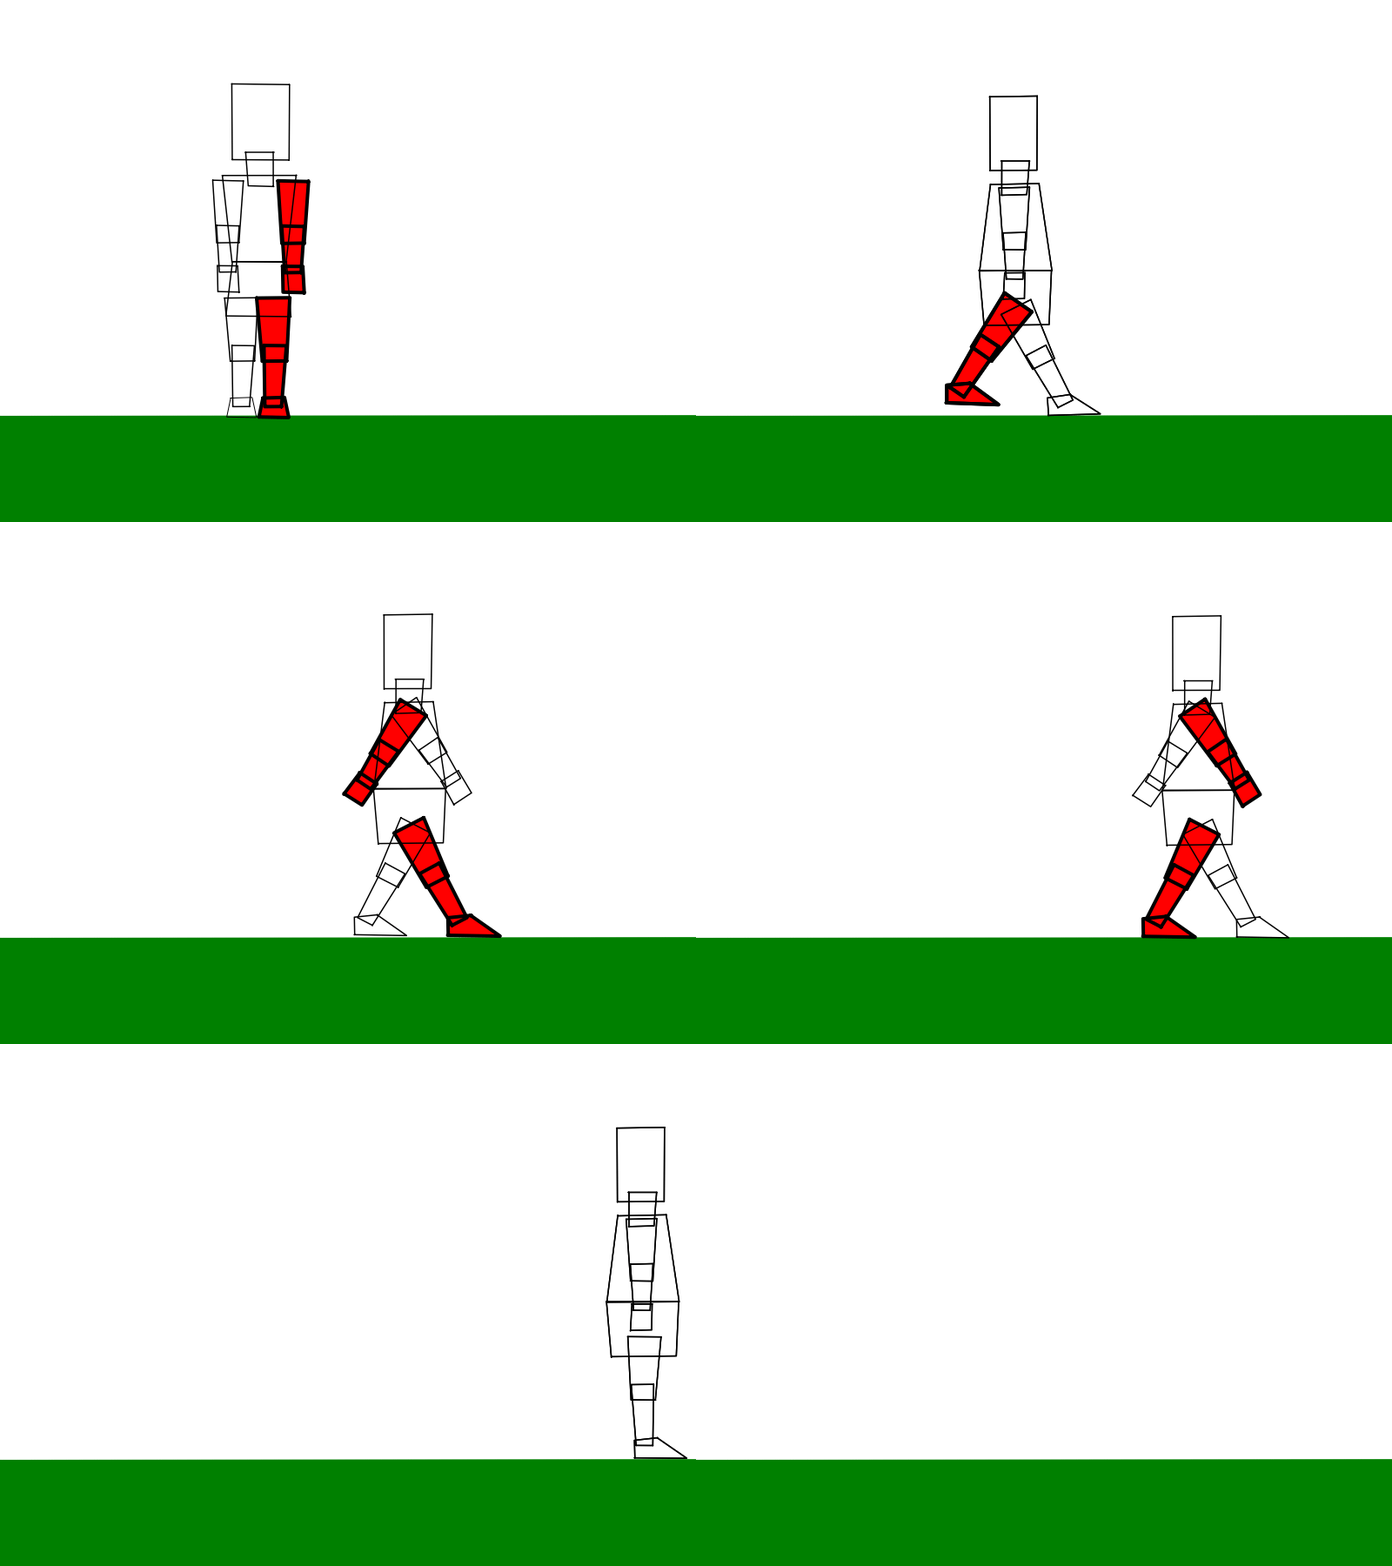
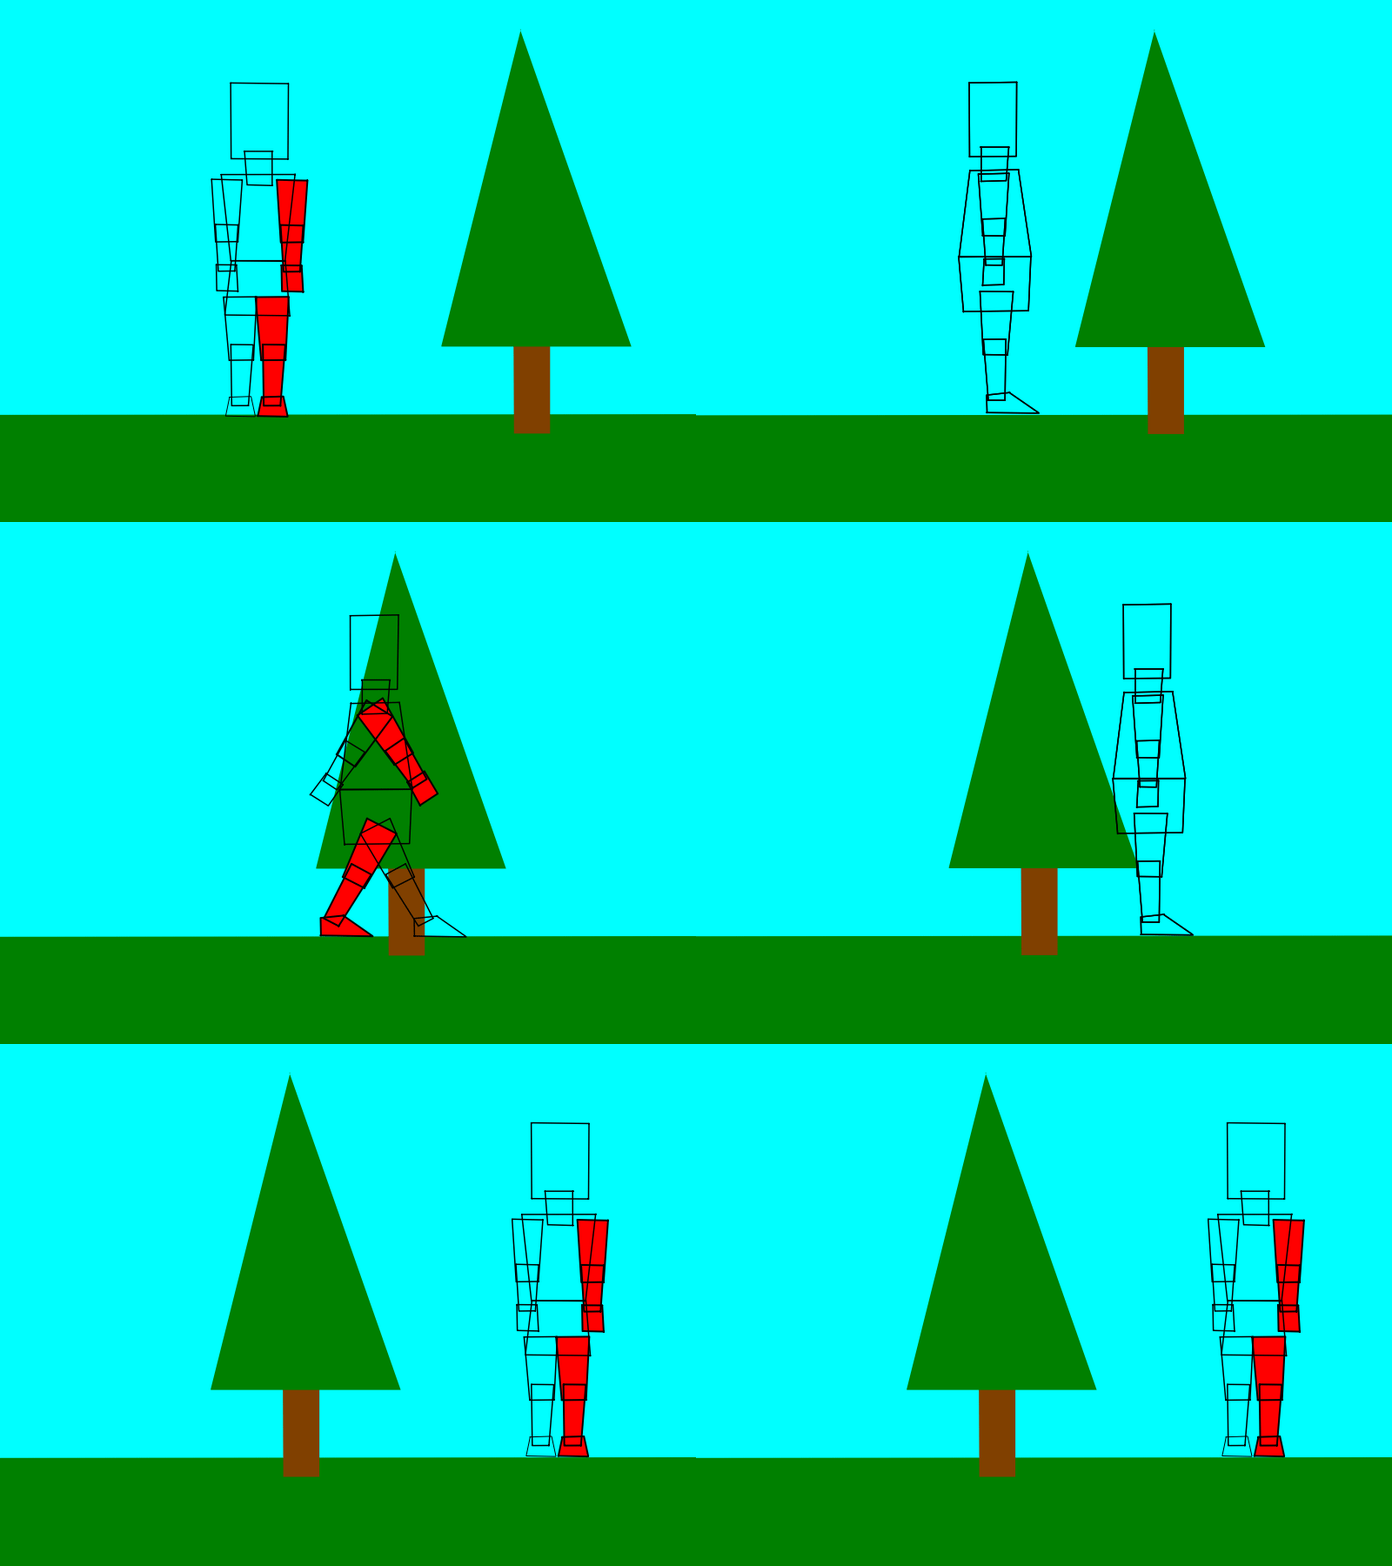
On my previous posting, I indicated that there was no visible distinction between left and right legs and arms. I have now coloured the left leg and arm red. This indictaion was added to make it more clear, what is happening. This is important when the character is being overdrawn, once you the animator is happy with the motion.

you’ll also notice that not all frames have the arms swinging. People often talk about the arms always working in the opposite position to the leg position. This is not always the case because it is possible to walk with one’s hands in pockets. Then there’s the situation where the person is carrying, say a tray of tea!

Turn&Walk-6B

The project file used is Turn&Walk-6B.pclx (85.0 KB)

I have just realised that if you do not have any background other than the ground, then if you shot include camera panning then this will not be apparent to the viewer. Thus I have added the tree.

Turn&Walk-6C

The ammended project file is Turn&Walk-6C.pclx (80.1 KB)

When I started to use the new version Pencil2D V 0.7 I found it slightly difficult to use, but now i have more experience I am getting excellent results, particularly with the new camera features.

I have not yet explored the easing out or easing feature. When you look at a person starting to walk, they don’t go from stationary to full walking speed instantaneously, they accelerate gradually.

I have now found how to adjust the line width when using the Fill Tool.

The modified project file is the modified Turn&Walk-6C.pclx (80.2 KB).

Turn&Walk-6C

Personally I add and extra frame in the Camera Layer to indicate the end frame to either the .GIF or .MP4 export via ffmpeg utility, which is triggered from the Export menu option of Pencil2D.

When I am making posts, I produce my text in Libra Office Writer because this has a spell checker.

I think that I’m approaching being able to use Pencil2D V 0.7 for production jobs, in my case this is assignments for my college course.

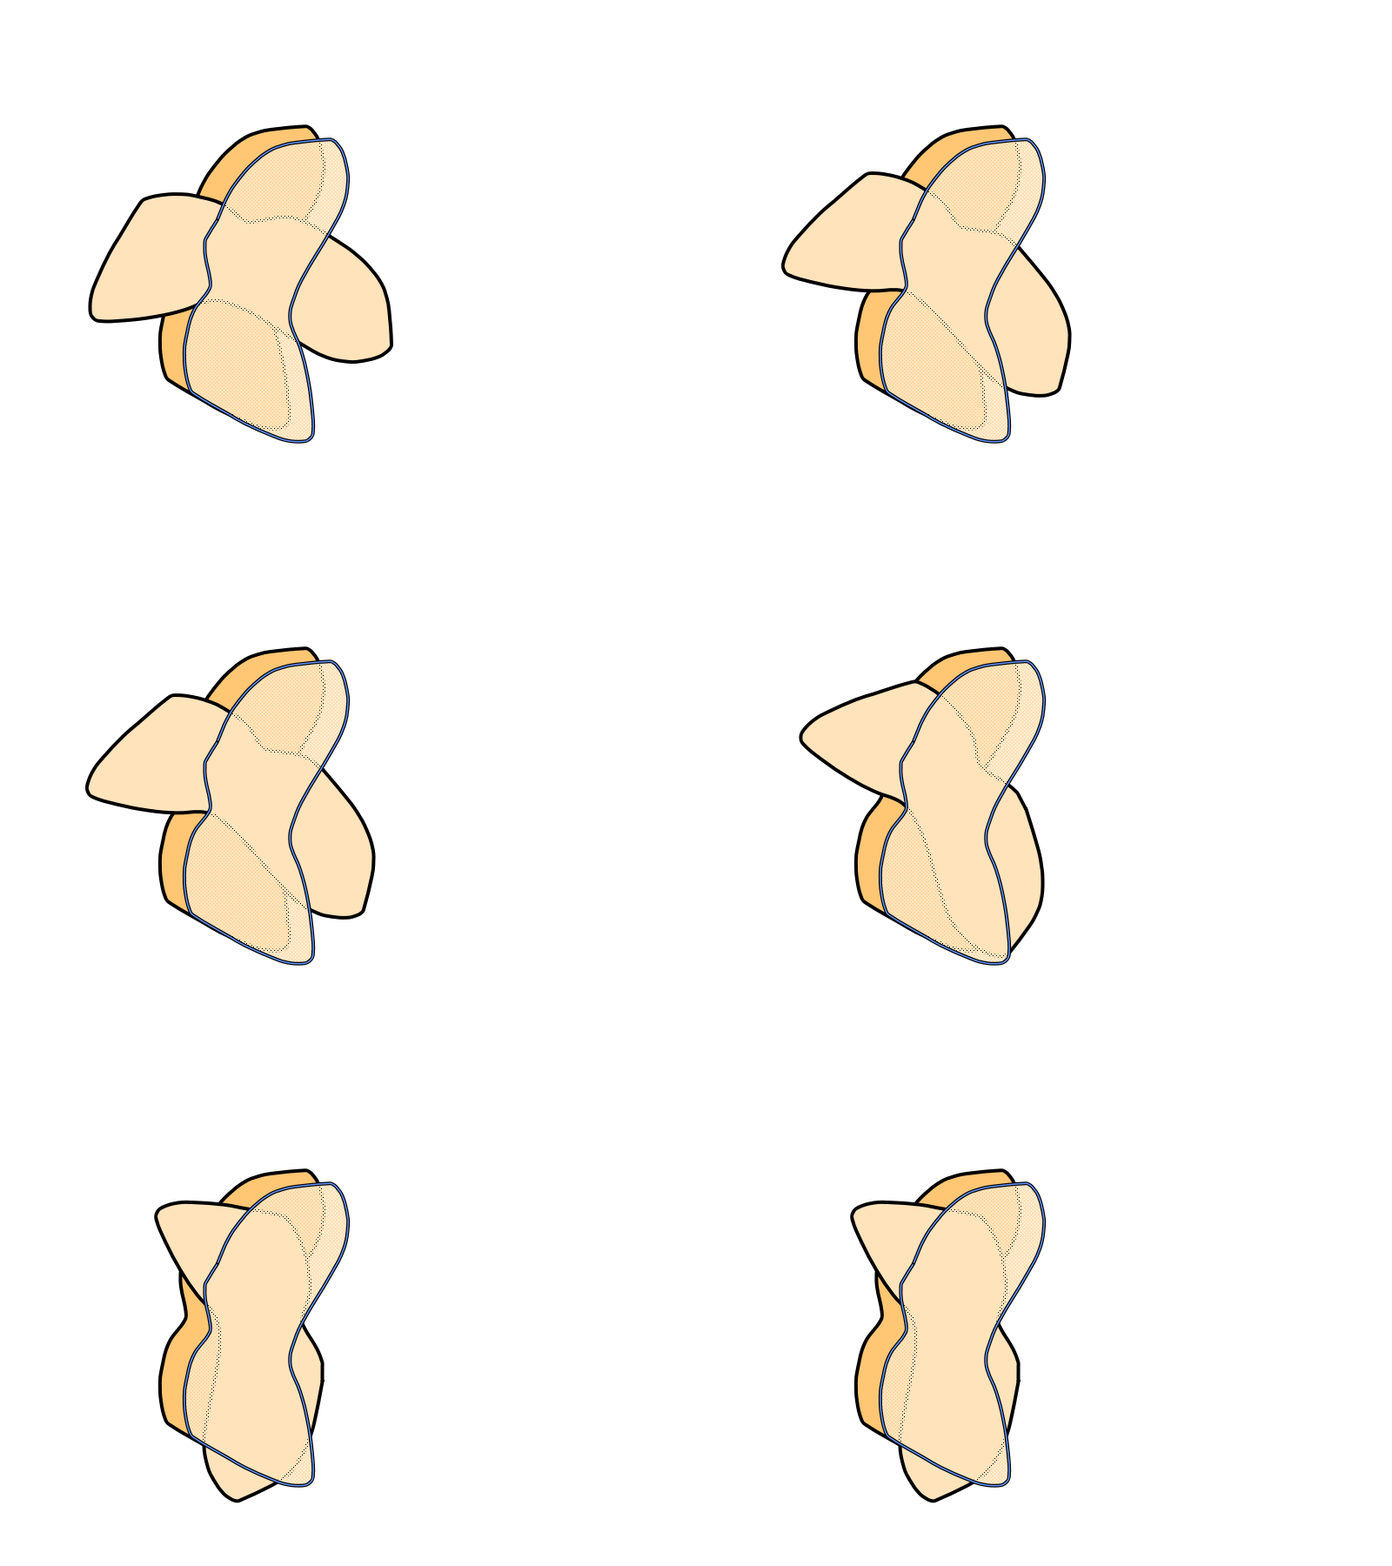
What’s happening here?

Why the transparency?

Why is the image which I have uploaded have it’s size reduced?

Transparency

The project file is Transparency.pclx (15.6 KB)

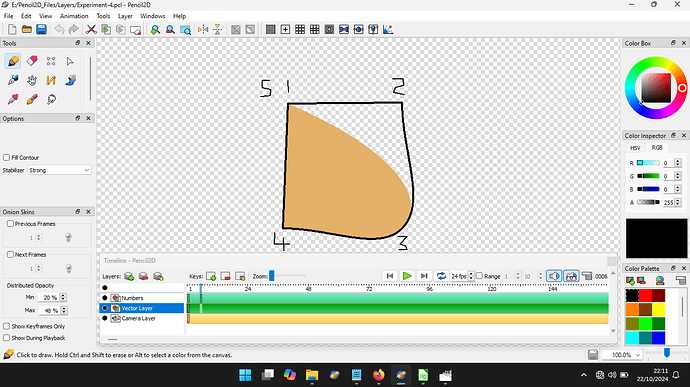
Today I’ve been examining the initial line in a simple vector path.

This is what the line looks like, in Pencil2D is consists of 5 points.

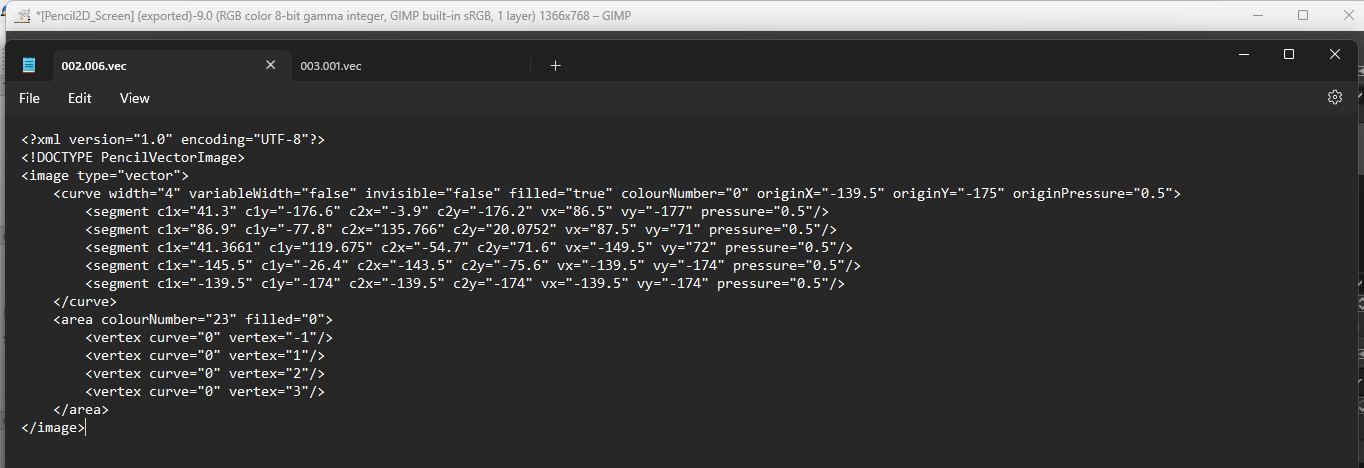
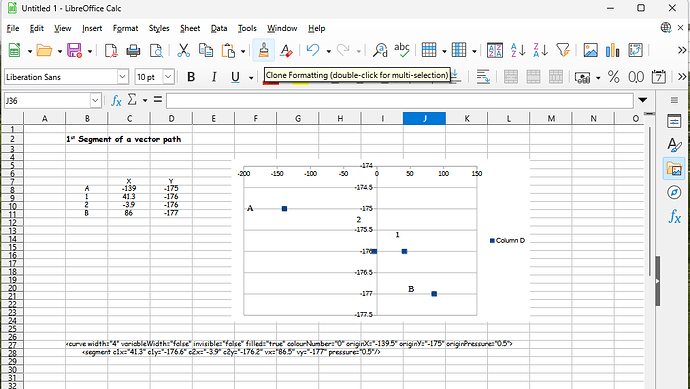
The whole .VEC file is listed below, but we are going to concentrate on the line starting with <curve and the line below. For now we are only interested in the originX=“-139.5” originY=“-175”. On the second line we are interested in c1x=“41.3” c1y=“-176.6” c2x=“-3.9” c2y=“-176.2” vx=“86.5” vy=“-177”.

Looking at the coloumns of figures, you will notice that the numbers in the Y column are very simular in size. The A points is the originX=“-139.5” originY=“-175”. The B point is the vx=“86.5” vy=“-177”.

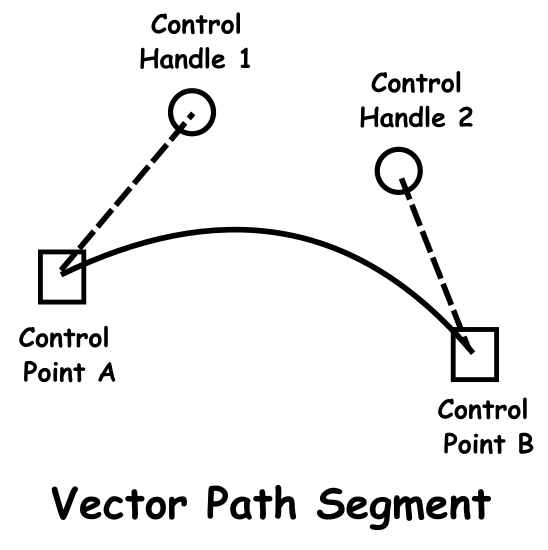
The control handles, this is SVG terminology are defined by c1x=“41.3” c1y=“-176.6” c2x=“-3.9” c2y=“-176.2”. See the diagram below.

The reason the initial segment is usually a almost a straight line is due to the Y values being almost the same value.

Incidentally the Data held for the complete path, if plotted on a normal XY axis would be upside down, i.e they are reflected about the X axis. They appear correctly on the Pencil2D screen because the data and the axis when plotting are mirror reflected about the X axis.

1 Like