Very simple paper animation test

One of my goals in life is to animate productions on paper-and-cel. I have some resources for it now, but not enough to use cels (I don’t have coloring supplies). So I just pulled out some 10f acme animation paper, and whipped up 3 simple movements (nothing fancy, though).

My first capture of this turned out so bad that I had to do it again- next time I’ll fix the problems I had this time (this here is my 2nd capture), like the strange decolorization. Please tell me what you think, and ask questions, if you have any.

Okay, Here’s the result as a GIF:

Paper Animation 1C

2 Likes

The animation reminds me of early rubber hose animations. Come think of it, that might be an animation style that fits you most, especially considering that it is getting a revival right now with the Cuphead game and nostalgia for early animations.

I think you need a proper rig and setup to get better output.

There seems to be a lot of shaking which means the camera isn’t steady or you are trying to align the drawing manually in post. I think you can make a simple rig for your camera from a cardboard box and use a remote control (you can buy one or attach your camera to a computer) to make things easier for you.

Lighting is also very irregular. Camera automatic adjustments might be a cause (set your camera manually so the settings doesn’t change with each photo). You might also have poor lighting setup. You can set up a cardboard box and lamps to create a lighting studio.

This video might provide you some idea:

Of course, adapt to your needs.

Thank you @Ralmon for the tips! Personally, I’m going to say that the slight jittering of the camera adds a lot to the style I’m going for all-around (including my digital animation). Eventually, though, I’m going to get a more professional camera (mine is just a teeny point-and-shoot) with a greater image buffer (and a better memory card) and an external capture button so I can minimise the shaking. For now, I’m going to enjoy it’s real old-fashioned look.

However, the lighting issues were a pain! I captured this in the dark with the camera flash, with all of the settings manually input- but the lighting issues persisted. I suspect I was unaware that keeping my flashlight on while shooting made these inconsistencies- and next time I’m going to turn off my flashlight (or at least do a better job dousing it) and see what happens.

The last thing I’ll say is an excuse - It was 1 in the morning and I was very tired. Maybe I should blame my problems on that (not seriously, though. But I want to). And my setup is horrible. I’ll watch that video you sent.

Thanks again!

I fixed the lighting and made a second one:

Paper Animation 2

Anything?

The animation is okay overall. The overall lighting is definitely better.

The animation is kinda stiff and hard to read. I think it needs some exaggeration and a more proper staging.

Still, overall, the animation is well done. Movements are smooth and the character maintains proper form throughout. Well done! :+1:

2 Likes

How do you even do this because this is fire for low budget production

I work with what I have and what I know.

( Also, I prefer doing/watching paper animation WAAAAAY more than digital animation- although I don’t have a lot of experience, budget, help, or supplies, I still like it better though. )

1 Like

I was asking like, how does one create an animation such as this? Like what’s the process?

Oh! I believe it’s very important to understand the old way of doing these things. So over a lot of time I have put all the pieces together on cel animtion and now know exactly how to do it if I had the supplies/funds (I have never seen a video that explains everything about it).

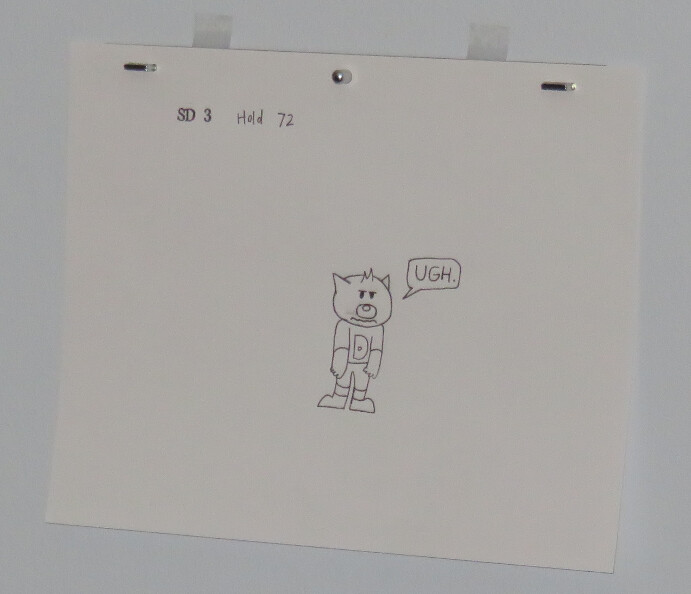
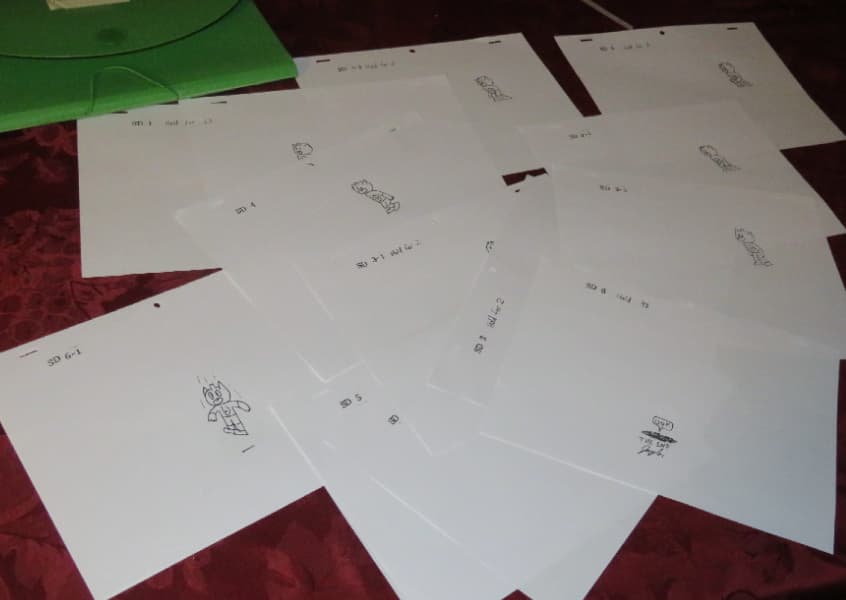
The process is kind of complicated when you are learning about it, but I start by using a light-pad/light-box and my acme-prepunched animation paper to draw, and an acme* pegbar to keep them in alignment. I went by using my light box to make the keyframes in pencil, and labelled them as you see here:

frame

I then went and did all of the in-betweens in pencil as well, labelling them as ‘SD 1-1’, ‘SD 1-2’, ‘SD 2-1’, etc. After all the frames were done and after making the necessary fixes I drew the final drawings over it with my trusty PILOT G-2 gel pen on the paper. Then, I let the ink dry first before erasing the draft pencil drawings under the pen.

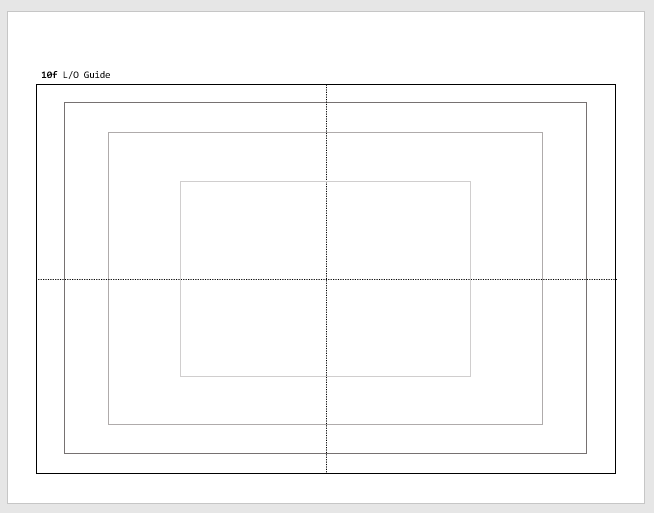
After this, I mounted my pegbar (in the first one I mounted it to a wall late at night, the second was on the shelf in a closet at evening). I made sure it was pitch-black in the room, and set up my camera stand (Canon PowerShot SX710 HS, not the best camera, but functional) and made sure it was secure and level. I checked the position and zoom with a guide I made myself for the drawing and printed on a sheet of animation paper.

Then to actually shoot, I carefully put the frame on the pegbar and captured the picture with the flash on (in the pitch-black dark), with the camera set to manual (in shutter speed, aperture, white balance, and focus). After I took the picture (once or multiple times if needed in the animation), I turned on the light, exchanged the frame with the next one, then turned off the light and captured. I repeat this until I’m done shooting all the frames, I then put the photos straight into Pencil2D and exported it. And you see the result. These are the frames:

This is hard to explain without visuals, I might make a video about this if I ever use cels for an animation.

Some things I did to make this easier: I used 640x480 in image size. I made SURE NEVER TO BUMP THE CAMERA DURING CAPTURE!!! I ensured I had consistent camera settings by setting them all manually.

Things I could to better: The actual animation on paper. It takes some getting used to. I’m better at drawing on paper than drawing on something I’m not even looking at (drawing tablet). Also, I need to fix the layout guide to be the same aspect ratio as my camera (4:3)!

ANY QUESTIONS? I can PM you some videos/links that taught me a lot of what I know, if you want.

The final result with sound

*‘acme’ is a hole-punch configuration used in professional animation

2 Likes

100% send me links to videos that taught you how to do it. I personally draw way better physically too. Itd be a cool art form to mess around with when I’m not on my computer

1 Like

@JoeyH that is a good beginning and you don’t have to throw away your drawings. You work hard not smart. You could easily digitize your drawings in pencil2d and the outcome would be better. A drawing tablet would be needed.

FraFra