First of all an apology, when I started to use this forum I mistyped the login name and email address. A new account has now been created with these corrected. I’ll now start again from steo 1!
This is a teaser image, an indication of what is to follow.
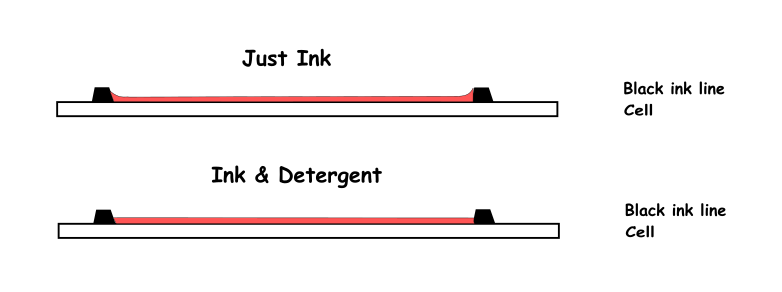
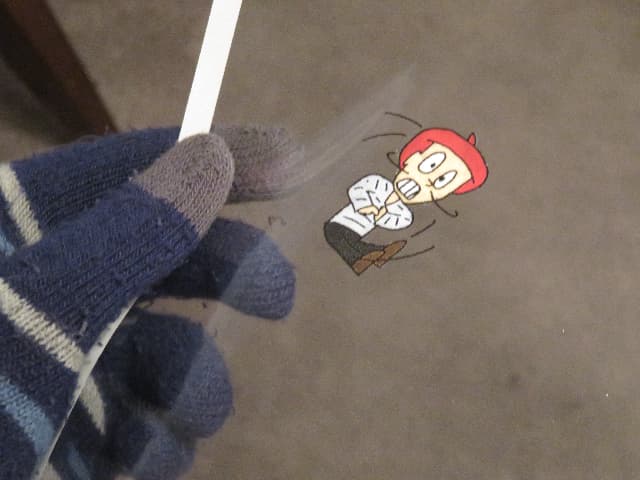
In animation if you want to fill a shape, if the line has gaps then the fill colour will leak out. The diagram below shows the difference between a continuous and contiguous lines. Not to leak requires the line form a contiguous shape. Contiguous us a mathematical term.
The black lines are not just added for ascetic reasons, they form a dam to contain the coloured Indian ink, which was placed using a pipet!
When filling a shape in traditional cell based animation the line must of course be contiguous. If the colour, normally coloured Indian ink, has to have a small amount of detergent added. This reduces the surface tension of a liquid to acheive a equal depth all over. Without this the surface tension pulled liquid towards the edges. This ment that when the ink dried the colour was darker around the edges.
This is why the colouring in traditional animation is referred to a flat colours.
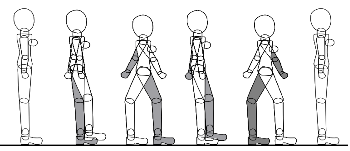
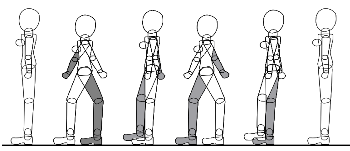
In traditional animation using drawings on cells, transparent sheets, left to right poses were converted into right to left ones by simply turning the cells over.
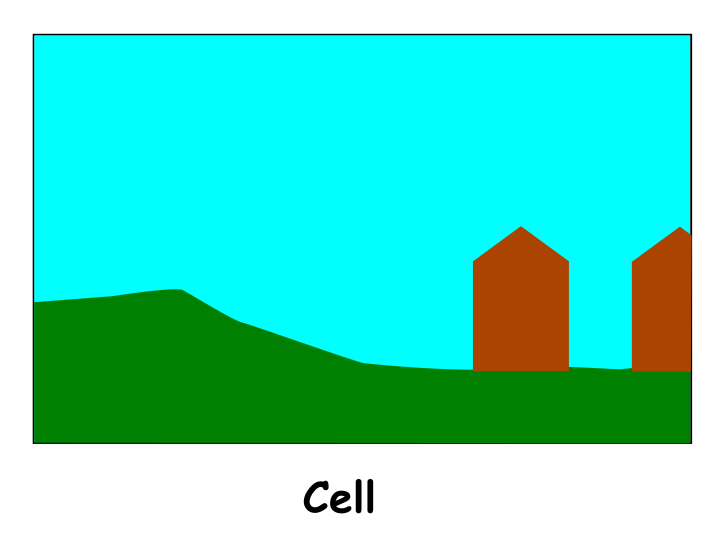
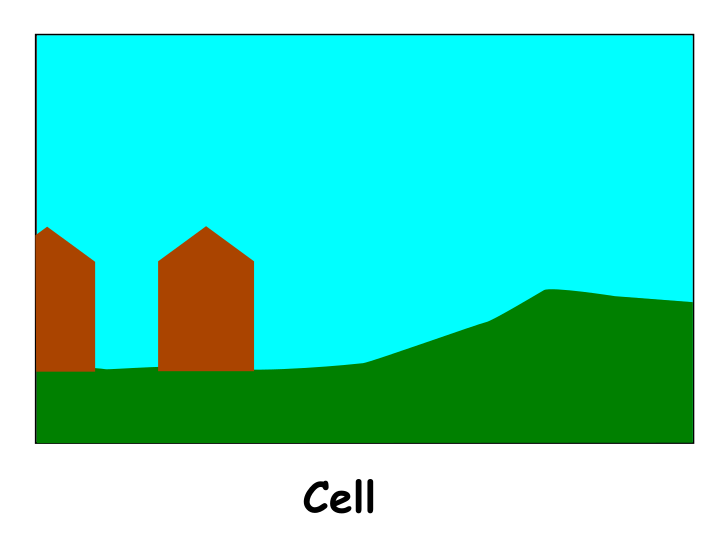
The backgrounds in traditional animation were also flipped. This increases the variety for a very small extra effort.
Because of the flipping of both character cell and backgrounds neither use any form of shadows to increase the volume appearance of the drawings
Have you heard of the research that was carried out at Trinity College in Dublin about adding shading on traditional style, thus giving it a more 3D appearance?
NB sometimes you have problems linking documents. I’ve hit brick wall after brick wall! Attempting to link the research paper.
Wait a minute… Cels aren’t painted on the same side they’re inked, they are painted on the backside… And when you say they flipped the animations, they just flipped the cel? The back of cels were not presentable (because the paint was not settled the same way) and would not be used in such a way… Unless you meant they were re-traced?
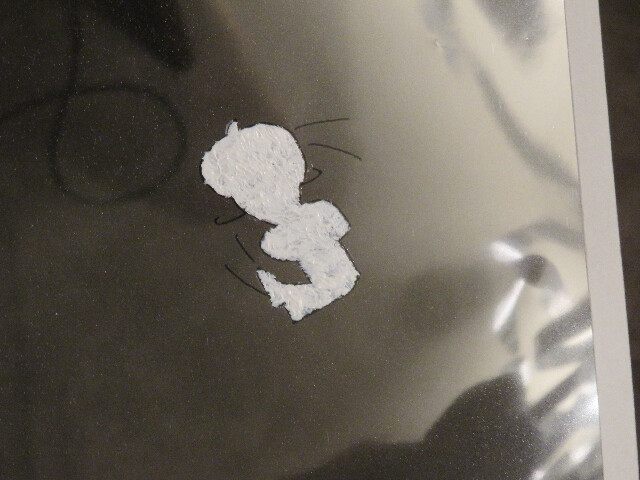
My cels
This is one of the cels I replicated from one of my animations:
And this is the back of it:
Could you send a link on where you got this information? Maybe some people actually did it the way you’re talking about and I just don’t know… After all, I shouldn’t assume otherwise right away.
The advantage of adding shadows to both characters and background adds realism to animations. The shadows can be symbolic, simplified, but they add volume.
Adding them for the traditional animation house’s would have been difficult, but now we use computers adding them is much easier.
So in summary we can add shadows to characters, backgrounds and of course to the ground to indicate volume and show the
direction of lighting in the scene.
The light is from directly above, either sunlight or overhead electric lighting.
How I have acheived this is Pencil2D is I drew the character on one layers and then used a separate layer for drawing the shadow. These shadows were drawn using a transparent black colour.
If I wanted to add highlights, I would use a transparent white colour.
I am of the opinion that adding both shadows and highlights to a drawing would make it appear too busy. Remember the drawings are often only displayed for a few frames.
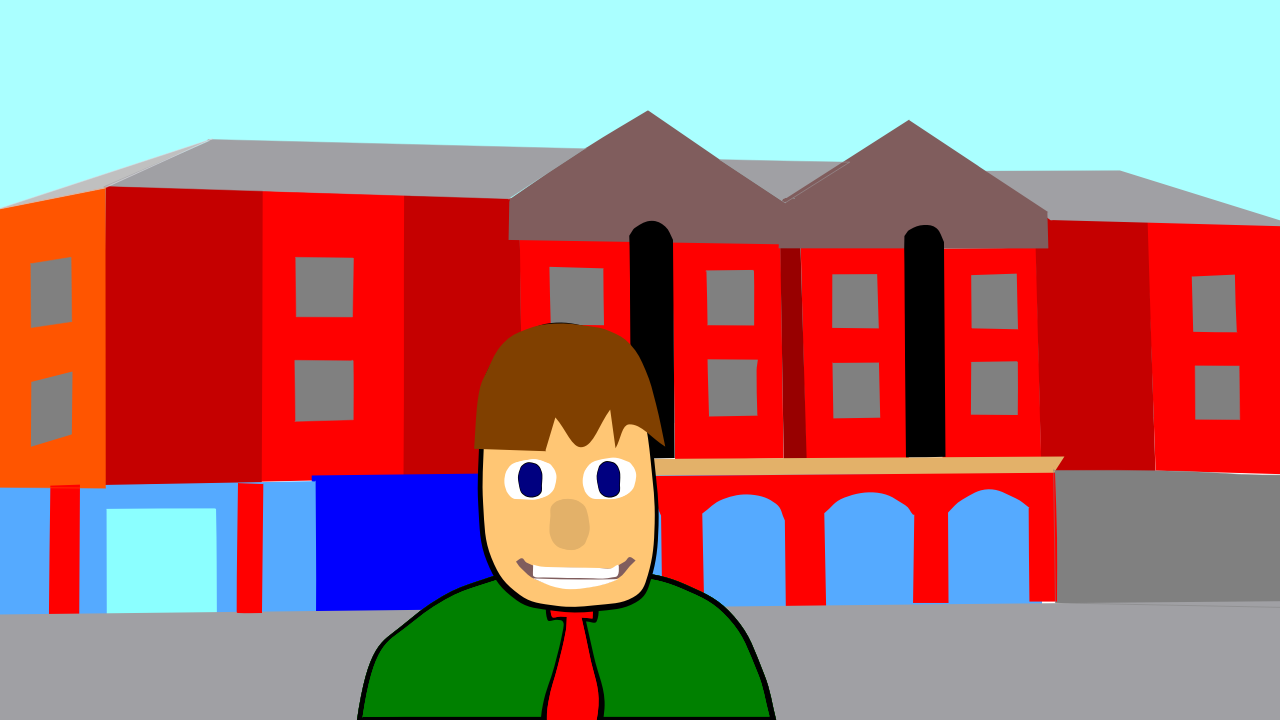
I’ve been given permission by Animator Elisa to use this single still from one of her animations. This is because it illustrates, that you can add a knod to perspective on an animation background.
Yes as far as I can tell cel animations were typically inked on one side and colored on the other, not flood filled on the same side (which likely would affect the consistency of the lines). So just flipping them over would not work.
Theoretically a painted cel could be flipped using a mirror or lenses when exposing it to film. However after looking at a bunch of resources, I can’t find any evidence such an approach was ever used. If you don’t want the whole frame flipped, that seems nearly impossible to me. You could probably do something with mattes, but painting a new frame seems like It would just be easier at that point.
Yet another approach could have been to flip the lineart only. If they were using a xerography to transfer the pencil drawings to cels, they could xerox the sketch twice, once with the sketch in a normal orientation and once with it flipped. Otherwise, they could xerox the lineart before coloring if they planned ahead. They would have to color both cels separately.
Given all these limitations and the the fact that that none of these approaches would allow the image to repositioned, I doubt this was used much, if at all, in traditional animation. Such shortcuts are much better suited to digital animation.
I have no intention of having an argument with you!
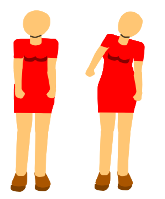
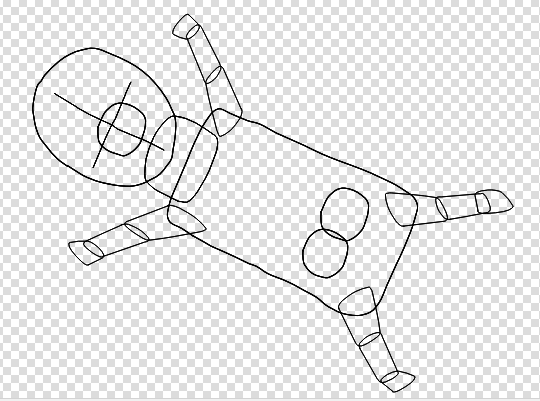
You don’t have to limit use of the mannequin to human figures, the illustration below is of a dog lying on it’s back waiting for someone to stroke it’s tummy.
It is composed of the same components, with the addition of a snout and the breasts moved to the appropriate position.
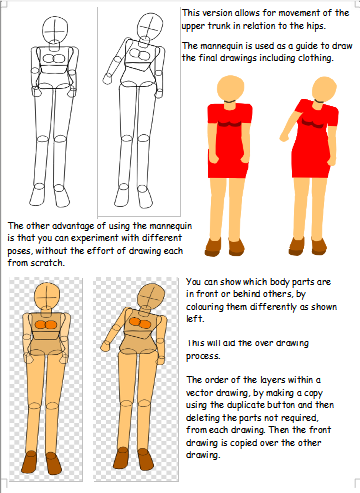
The mannequin is used as a guide to drawing. Rhe drawing layer is most lickey to be a bitmapped on, but can also be a vector layer. The choice is the animators.
I have realised since the contributions from scibblemaniac that in the last years of traditional animation that the colouring styles of the tradition of Manga and Anime and western animation forked.
Mt background in animation is from the Manga / Anime tradition and My talking about flat colours is not applicable to western traditional animation techniques.
But if you search for colouring anime on the Internet, you see the same references and YouTube video, giving the impression that the same techniques are used in both.
The fork in traditions happened because ‘Hollywood’ executives decoded that the flat coloured animation was OK for children, but that adults needed a more sophisticated style, if they were going to watch animation.
This painting style was simular in concept to the use of a ‘line layer’, which is overlayed a ‘colour layer’, when using Pencil2D. The latter due to colour fills having to be feathered.
In traditional animation in both traditions when the colouring used ink or thinned paint applied with a pipette or other dropper, the character cells and or background could be reverse, by flipping them over.
This was used extensively during the early ‘Hollywood’ era and continued to be used in Anime.
You might think that you have to draw your final hand drawn animation drawing using vectors when using the mannequin, not true you can do them using bitmapped tools too.
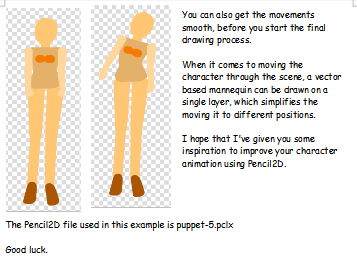
The advantage of the mannequin being drawn using Vectors is that the components are individually adjustable, but the mannequin lives on a single layer.
This makes it easy to move it, as in drawing a walk cycle, for example.
I’ve just noticed, that when I edit an animation project that’s too large for the screen. If I select a layer, in this case puppet upon which are the dog mannequin drawings that boundary of the camera area is shown, by the lighter rectangle.
You can use the zoom in this case, with the puppet layer selected until the screen to look as show below.
It’s therefor possible to check if the view through the camera is as desired.
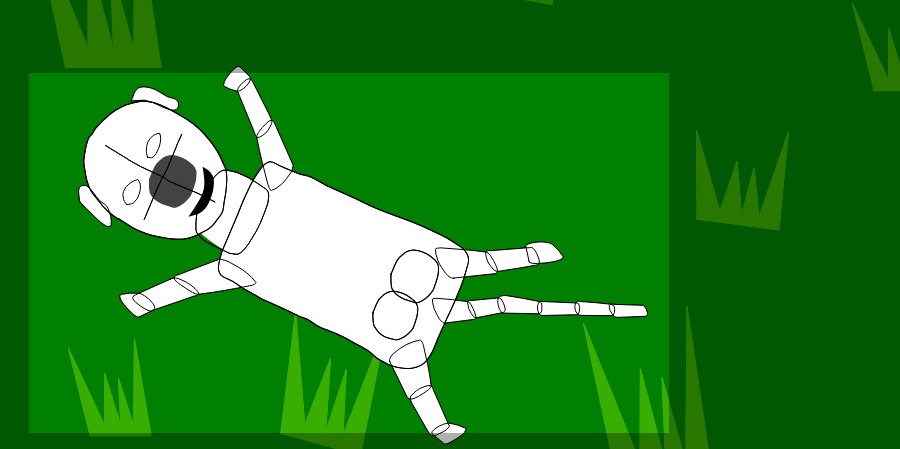
Just an illustration using the software mannequin to explore a animation sequence, before putting in the work to draw the finals drawings.
People with extensive sketching skills could achieve simular using their sketching skills. But for those with less skills, the mannequin could prove useful.
She saying “piss” to draw the attention of viewers and then she say “My stomach doesn’t stroke itself”. The pss is verbal anticipation!