Stop Motion Animation part 2

When you load Smuffy-Start.pclx (571.6 KB)

You’ll find that i have modified frames 128 to 155 to add to the flow of the animation. Examine the changes that i have made. I used the techniques which i describe below.

This is the Pencil2D screen when Smiffy_Start.pclx is loaded and the frame selected is between 34 and 55.

The aim of the first part is to illustrate how the stop frame technique can be employed to add an extra frame between the above frames to enhance the animation.

This frame is the start frame of this sequence.
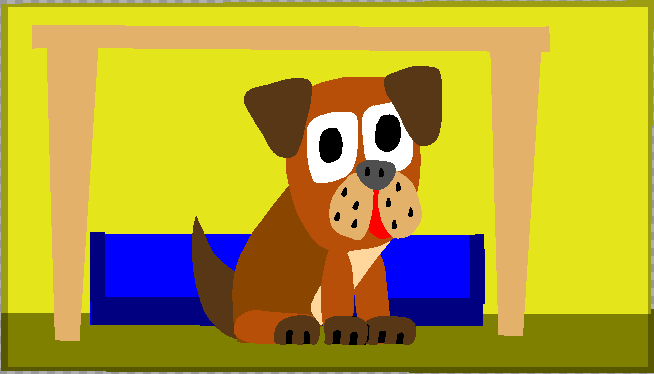
Move_Start

This frame is the finish frame of this sequence.
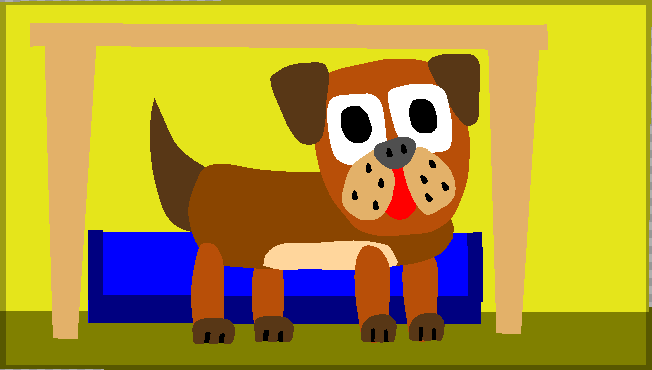
Move_Finish

The animation below is the result we’re aiming for. For simplicity I’ve made the leg a single unit, rather than 2 jointed parts.

I then made 2 copies of the start position drawing, that in frame 43, using the duplicate button.

Selection of the parts to be manipulated is done by using the selection tool. When selected the outlines become a light blue line. Rotation is done by pressing the and moving the mouse. To move the part, or parts simply click right mouse button and move with selection tool within the outline of the part.

Selection_Tool

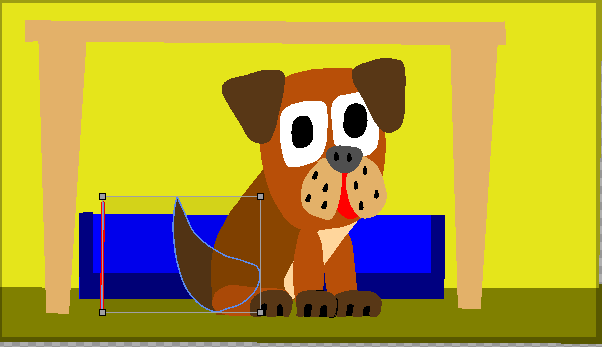
I then selected the body of Smiffy including her tummy patch and her tail and then rotated them into the mid position in frame 43 and frame 55. It was then necessary to reposition them because the axis if rotation is the center of the objects being rotated.

I then moved the leg nearest to the camera to the required position, including moving the paw.
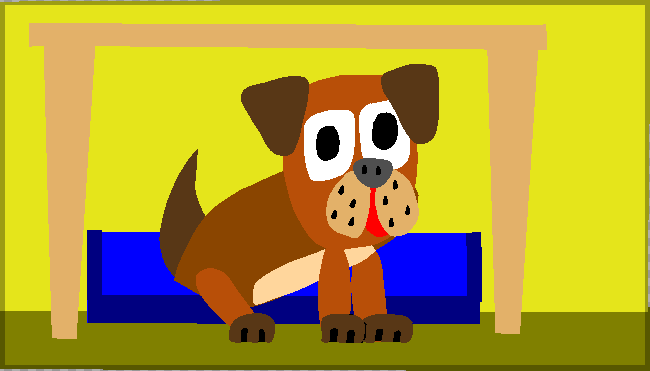
Move_Back

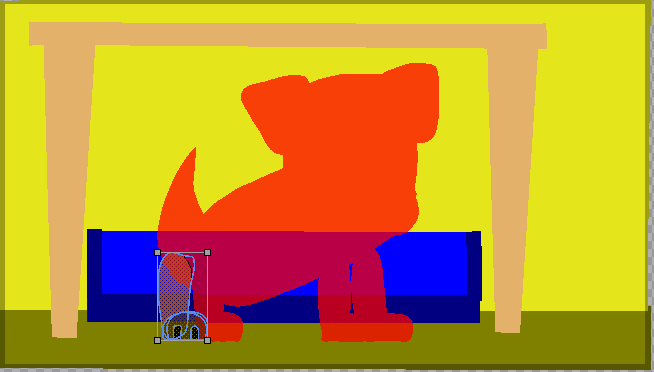
I then deleted all body parts of Smiffy in the second frame except the hind paw. Using the onion skinning set to 1 previous frame is positioned the paw, party hidden by her body.

To delete a part or parts select then and then use the Cut function from the Edit menu.
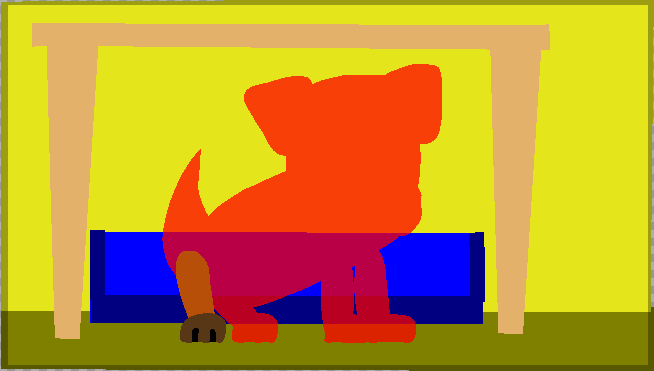
Move_Hind_Leg-2

When I was satisfied with the effect, I copied the first image and pasted it on top of the second, thus making the completed drawing.
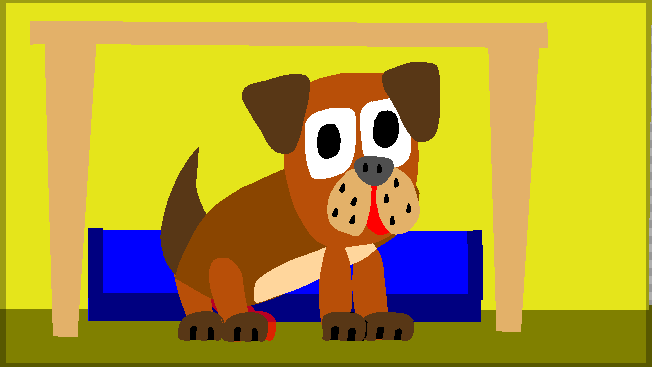
Move_Hind_Leg-3

The animation below is the result of adding the extra frame.
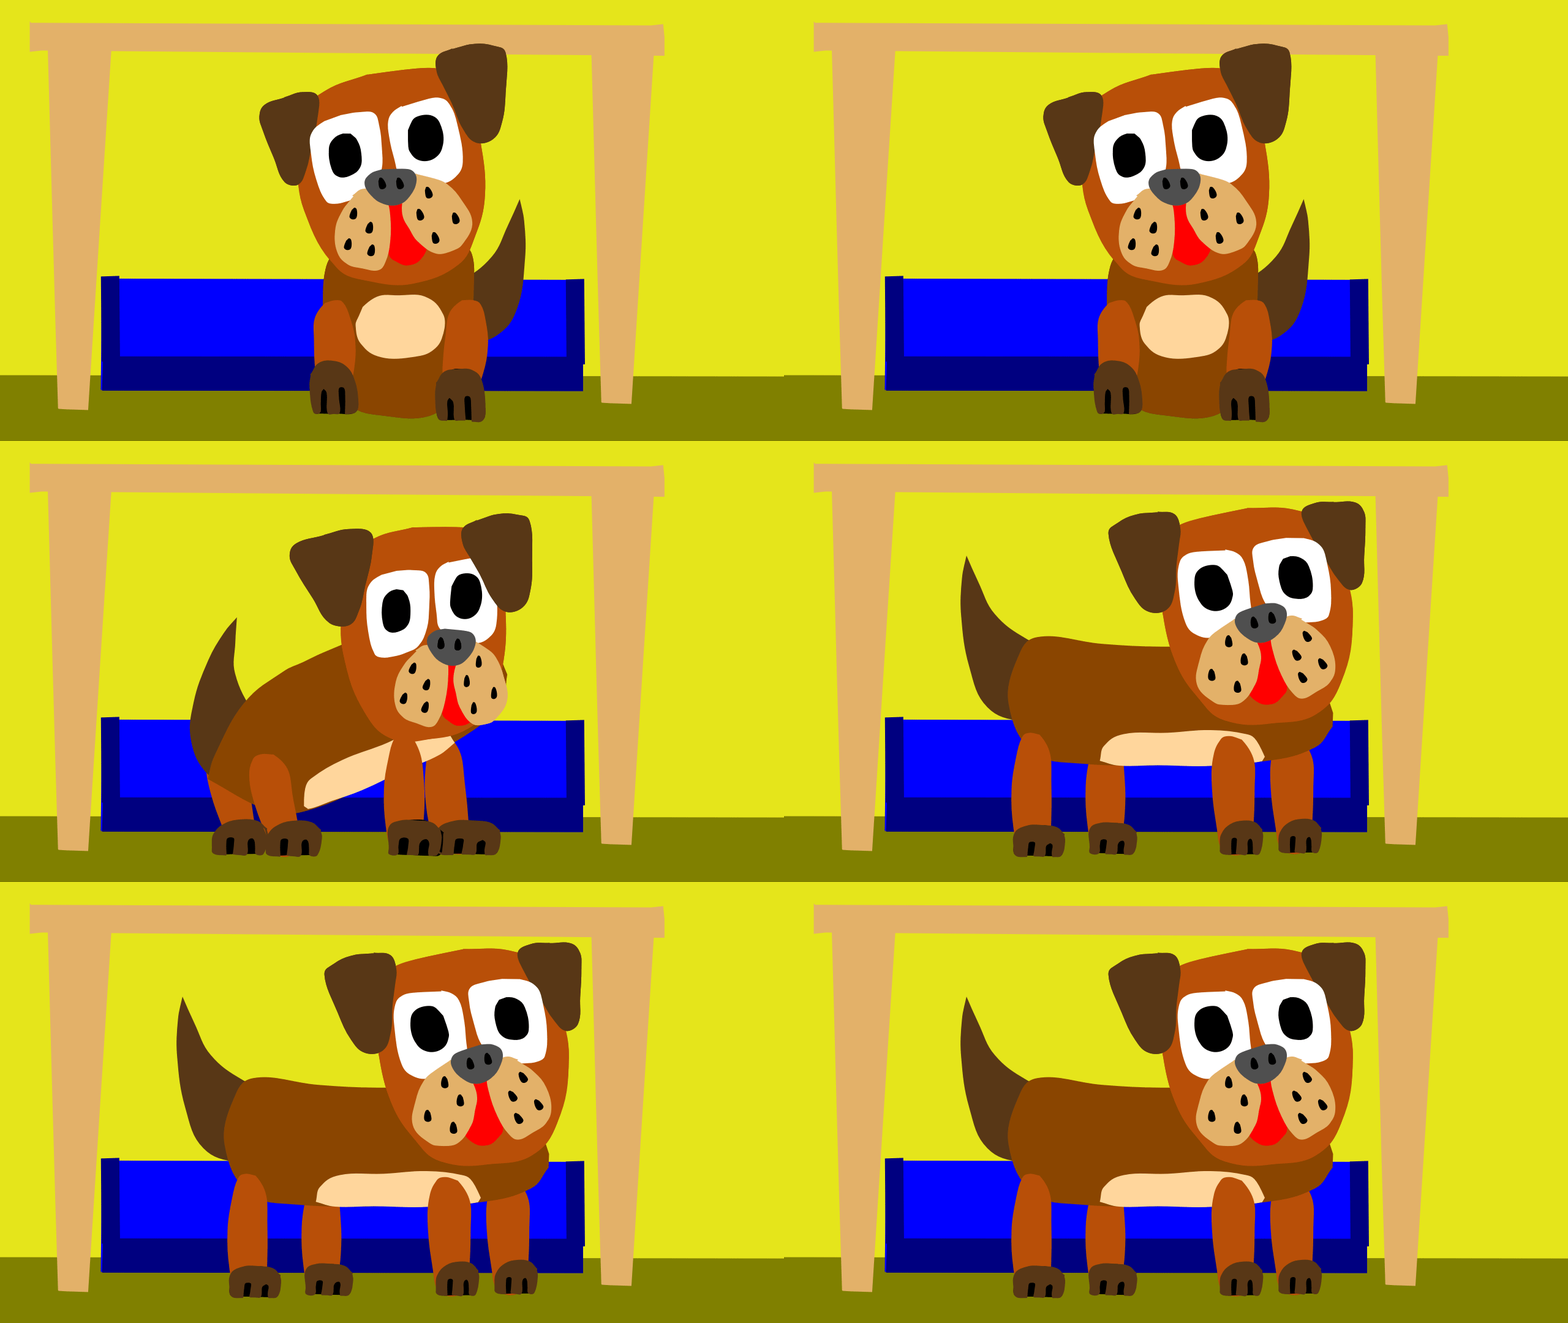
Smiffy-14-30-78

I’m using vector drawings because this simplifies the process. I will however show you how the same task can be acheived using bitmapped drawings.

Your next task is to apply these techniques to frames 126 to 225 to show Smiffy reaction to her mistress returning. You could make her tail wag, move her ears up or rotate her head, from side to side. You could do all of the above, of course!

The final stage of this part of the assignment is to polish the animation, to make it flow and tell the story.

In the next installment I will show you how to acheive the same results when your drawings are bitmapped and not vector ones.
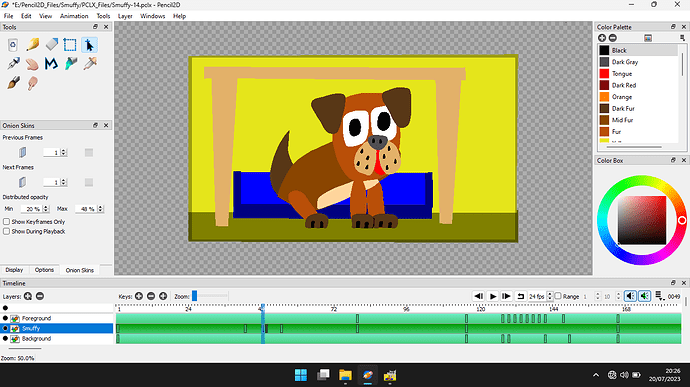
Now let’s go intoi more detail, of the process of doing stop motion animation using vector images.

Rotate_Selection-2

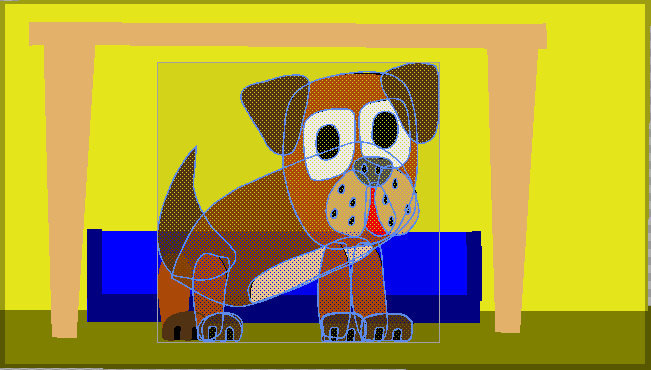
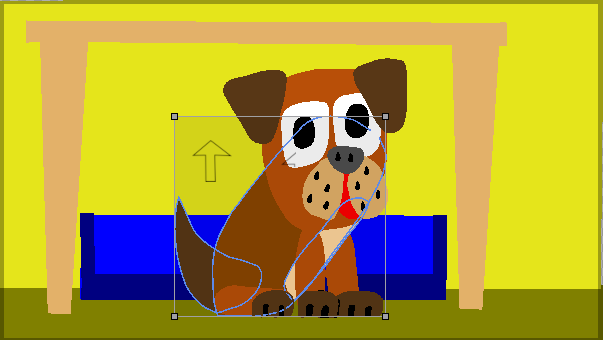
The illustration above shows the selection of the body including the tummy and the tail. This can be achieved using the dotted line selection tool or by pressing and clicking on individual parts.

Once this has been done the selection bounding box is displayed. You can then move, rotate, re-size or delete the selection. Rotation is achieved by pressing and pressing the left mouse button and then moving the mouse horizontally.

The size of the selection can be adjusted by grabbing one of the four bounding boxes, at the corner and by pressing on the left mouse button and moving the adjustment is made. A selection can be cancelled, by using the smudge tool, clicked outside the selection.

A selection can be deleated by using the Edit and Cut function via the Pencil2D menu bar.

The selection can be move by holding down the left mouse button and moving the mouse.

Large_Selection

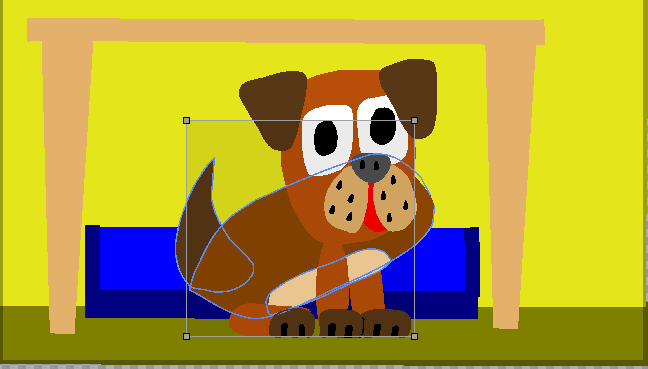
In the above pictures, these show the movement of the body of Smiffy into the required position. This rotation is about the center point of the selection.

Move-1

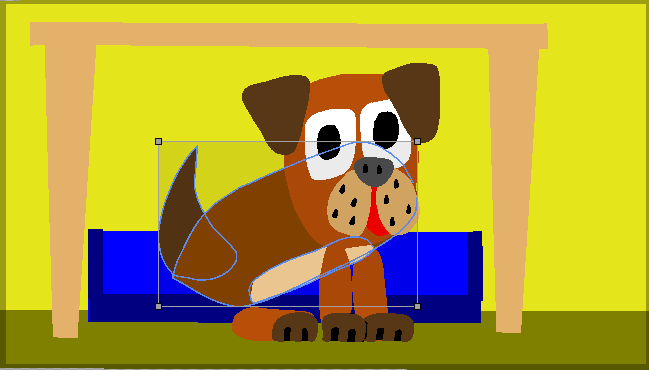
We now need to move the selection into the required position, by moving it slightly to the left.

Move-2

When you have finished using a selection, the selection can be de-activated by using the smudge tool, located outside the selection and a left mouse click.

Then we need to move the back paw, closest to the camera view into the required position. This is done in two stages, first we move the leg and then the paw.

Move_HLeg

We select and rotate the leg and then move it into position. We then selevt and move the paw into position. Note we don’t have to rotate the paw. You must be sure to select both the paw and the shadow behind it!

Add_Body_2_Leg

The above view is what we want to acheive, but this cannot be done in a single operation. First we make a duplicate using the duplicate button, on the top of the timeline.

Timeline

Then we select and delete all parts except the required hind paw and leg, on the new copy of smiffy. Using the onion skin feature, set to 1 frame we can see both the frame with the hins leg only and the frame containing, the rest of Smithy.

Move_HL_2_Pos

Thus we can adjust the hind leg. We can then copy the first of these 2 frames on top of the second and then when we’re sure that we are happy with the composite frame, delet the first of these frames, the one without the second hind leg.

Correction-1

At this point I realise that both hind legs, were not quite in the reqired position. They can be both selected and move together. This is one of the advantages of working with vector images, in Pencil2D.

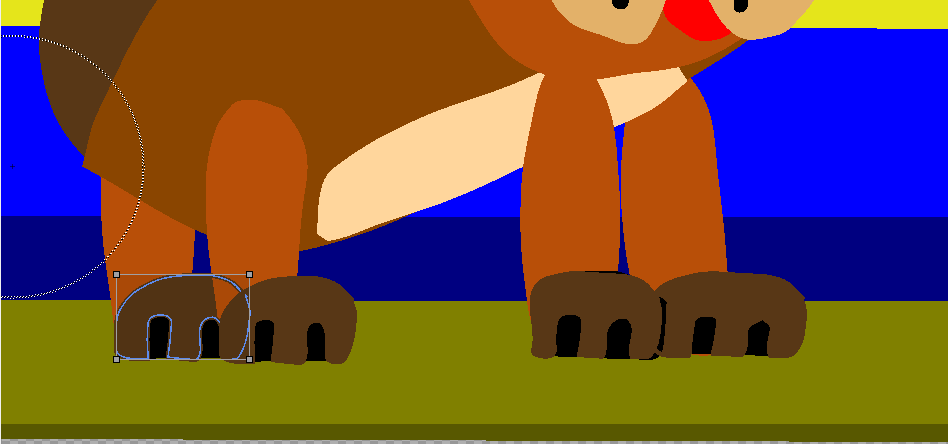
At this point I realised that there is an unwanted line around the hind paw, which is partially behind Smiffy’s body. This is caused by a slight bug in the vector graphics of Pencil2D.

It is easily fixted, within the colour pallet of Smiffy-Start.pclx (571.6 KB) attachment](upload://mqQNfjyDYSkCdYyYiF07zkhBig8.pclx) (571.6 KB) there is a colour called Invisable, to hide the line you simply select it and using the colour Invisable you re-colour it and it is now invisable.

All lines are added above all the fill layers, instead of fill and line, and then fill and line etc. This is easily overcome if you want to draw traditional lined characters, in Pencil2D.

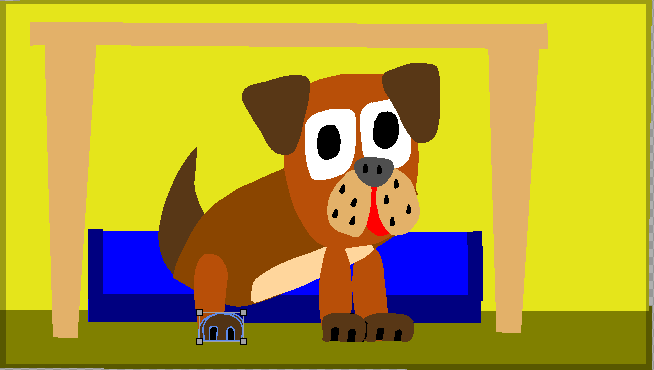
The illustration above is the final drawing, with the hind legs in the desired position. The previous view has a dotted circle, this is caused by the use of the smudge tool. This is used to cancel the selection of vectort drawing elements.

Stop Frame Pencil2D Animation Using Bitmapped Images

This is essentially the same process, as doing it with Vector images. Your first task is to load Smuffy-Start.pclx (571.6 KB) This contains a foreground Layer, Smiffy parts, there are 3 frames of parts, with which you can make a drawing of Smiffy in different poses.

It also contains the background image.

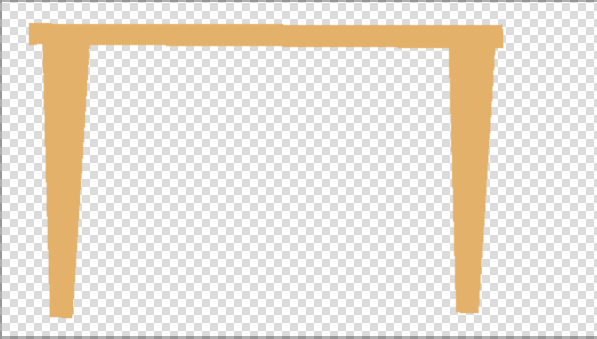
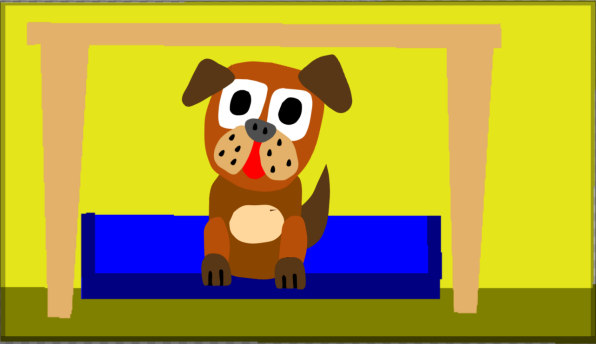
Foreground

A foreground image is an image at the front of the animation stage. This means that your animated character can pass behind it.

In this instance we are going to use the foreground to give our animation stage depth.

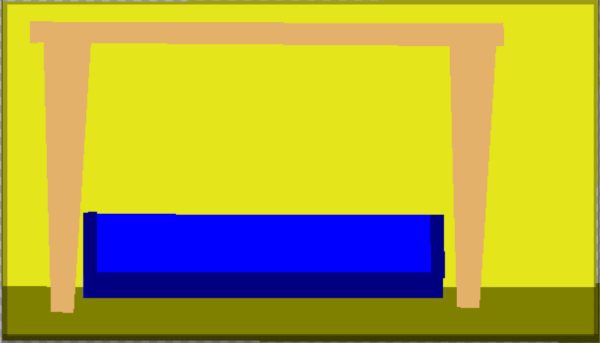
Below is shown the background layer.

Background

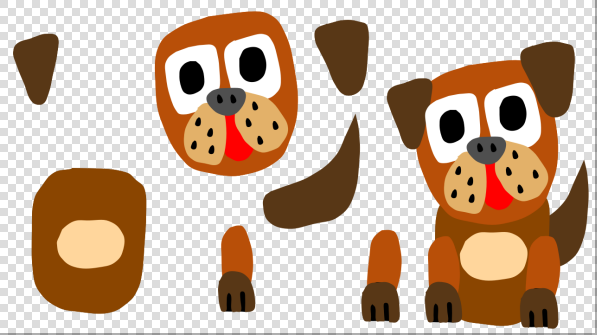
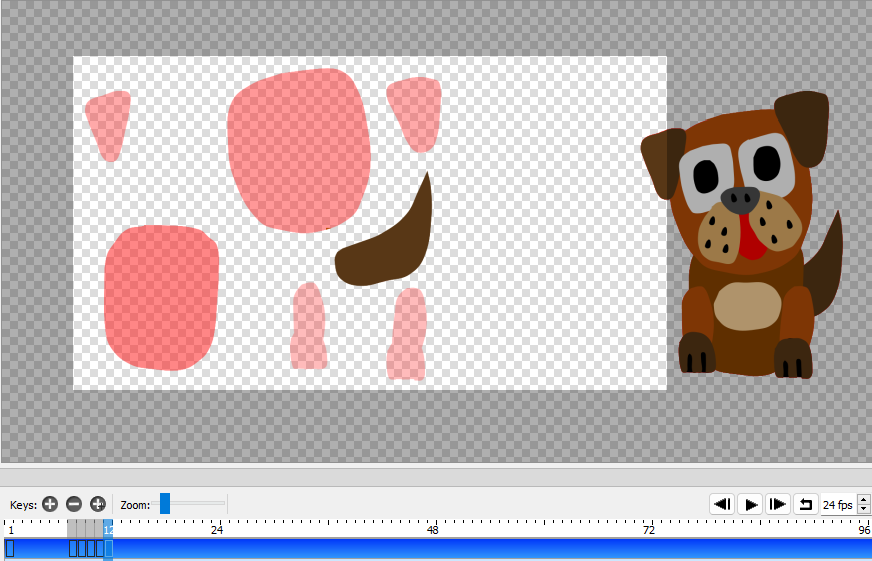
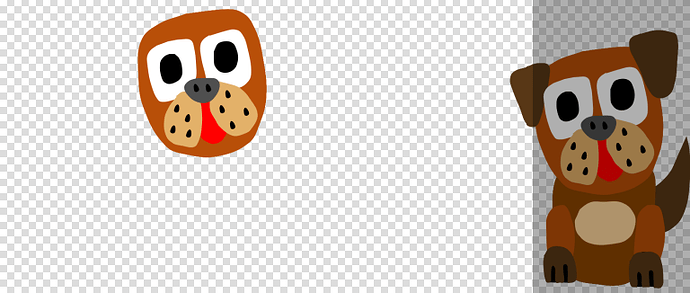
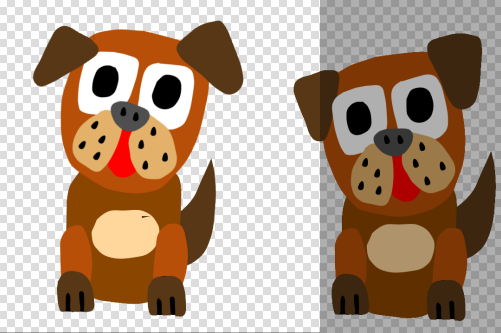
The illustration below is the contents of frame 1 on the Smiffy layer. The character on the right is the start image of your sequence. To the left are the components which you can use to form your working image.

Smiffy_Frame-1

Having the components allows you the animator to make modifications, such as having Smiffy’s head turned to the right, rather than the left.

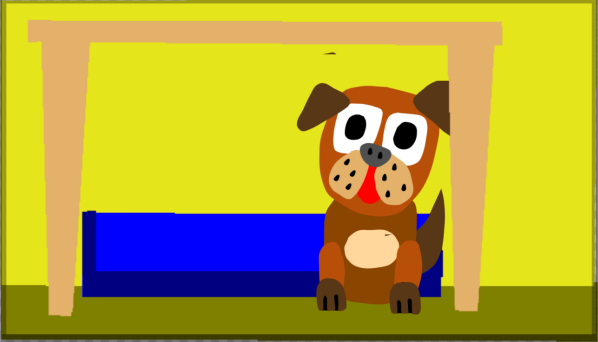
The image below Smiffy parts is the background. This is placed behind the action. The table on both the Foreground and the Background are the same size.

Complet_Smiffy+Back&Fore

This allows the character to move in the Z direction, the depth of the scene. Your next task is to compose your initial position for Smiffy in your animation.

For simplicity you can initially consider Smiffy to be composed of Face, ears, tail, body and legs. Drawing order is critical in this process.

I would advise that you use bottom to top, tail, body, face, ears and legs. I recommend this order because I find it conceptually easier.

Create a new bitmapped layer called My Smiffy and Import Smiffy_Frame-1.png into the first frame, then proceed to make 4 duplicate copies using the Duplicate button above the Timeline.

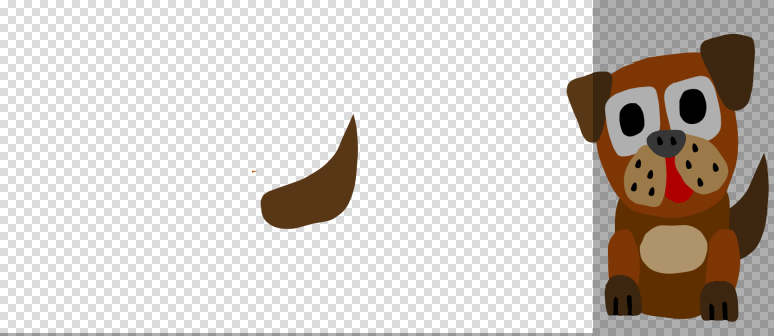
After you have moved the guide image slightly off screen on the right hand side, delete all parts except the tail on the right hand frame.

The bottom image is shown below.

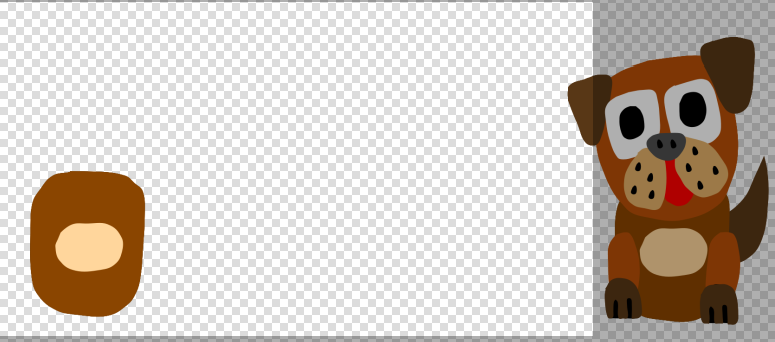
Below this picture is a stack of images, each of these is a layer of the image and together they form the complete image of Smiffy.

2nd Smiffy image

3rd Smiffy image

4th Smiffy image

Top Smiffy image

The image below shows the completed image, of Smiffy, in the new frame that you created for this purpose.

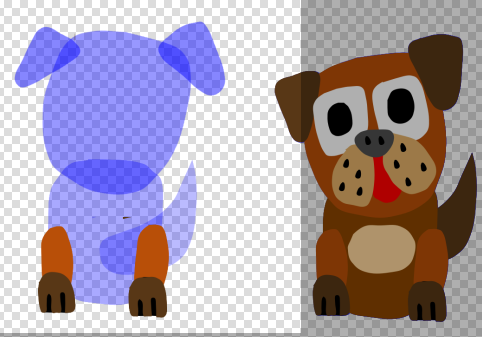
When the layers are all moved into position, as desired by you, the image below shows the position of the parts, but not the final image.

All_Layers

There’s 1 stage to go, and this is combine the images from the frames into a single image. This is done by copy the tail image, then the body image, then the head image, followed by the Ears and finally the legs.

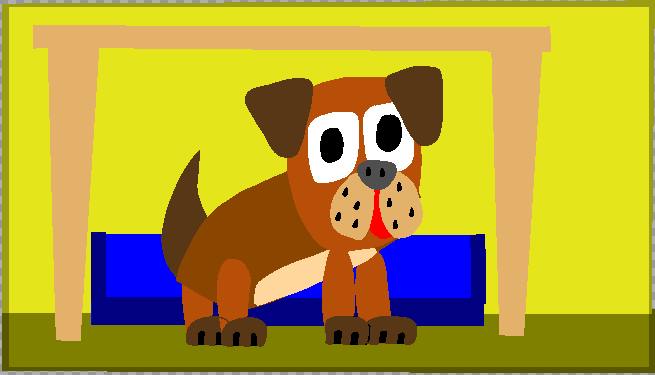
Complete_Smiffy

The reason that you create the new frame, instead of overwriting and existing frame, is because, if your not happy with the result, you can change it easily!

finally you need to delete the provided image of Smiffy, leaving your image only.

Smiffy_Before_move

If your happy with your work, you can delete, my image in the off stage position and keep your.

The illustration below shows the completed Smiffy, together with From this point you can either use the image Given_Final_Pos.png or develop your own pose using the techniques you’ve been shown.

I’ve used a different start frame, in this exercise from my demonstration, to give you more of a challenge!

You’ll need to develop a standing pose from the sitting one you developed in the start of this exercise, followed by a turn pose between the standing pose and the final pose, shown to the right.

I have reduced the size of Smiffy, and moved her to the center of the animation stage.

Complet_Smiffy+Back&Fore

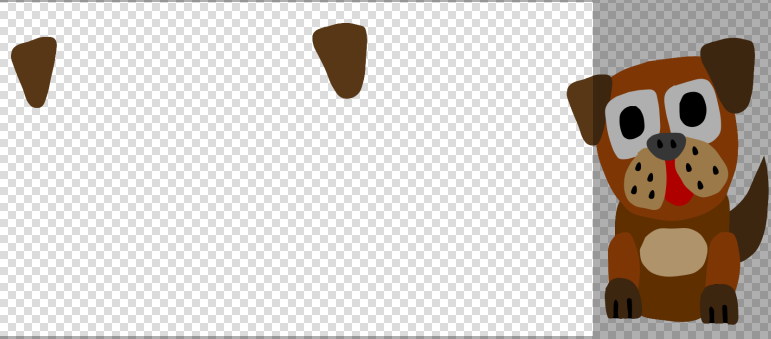
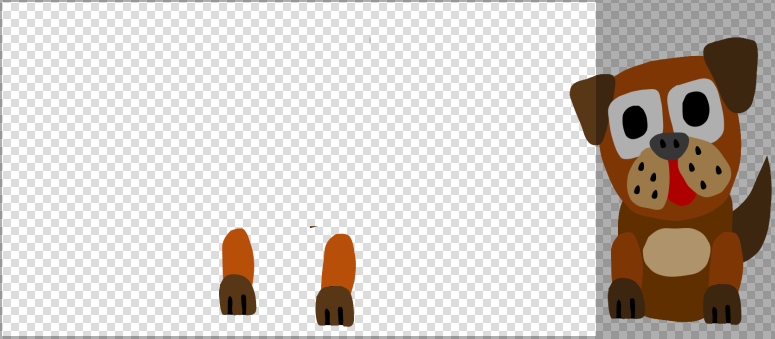
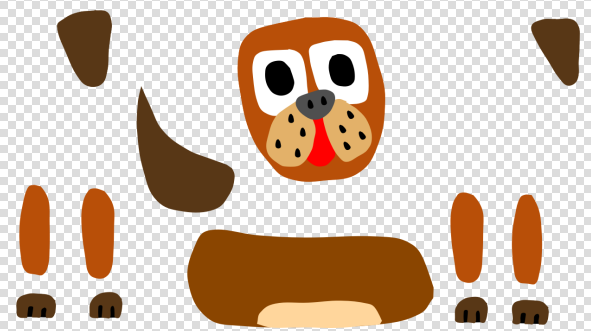
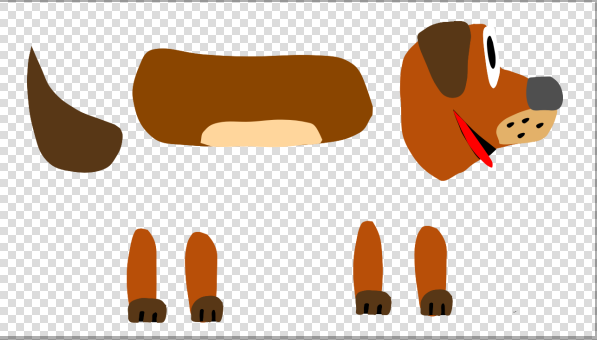
Good luck, with the exercise, I hope it provides you with a challenge. I am expecting a minium frame animation, not a flowing animation. Below are the other 2 models sheets provided in the Smiffy_Start_Bitmap.pclx file.

Smiffy_Frame-33

Smiffy_Frame-45