Low quality video export

Hi! I’m a new user and have created several short animations using almost exclusively imported png files. I believe I am using the camera layer correctly- I have it set to 1280 x 720, and zoom in/out on that layer to have a nice view of the most important image (like the background). As I import other images, I scale them a bit to fit the size of the important image.

Everything looks nice, and I’ve tried exporting both movies and gifs of my animations, but they all really clearly are reducing the resolution. My export size matches the camera dimensions, 1280 x 720.

Why might this be? How can I fix this? I’m working on a four year old thinkpad laptop.

I will add that even though I’m working in 12 fps, playing the animation in the application is slow enough that to get a good preview of my progress I have to export to a movie to see what it really looks like. For instance, an animation with 36 frames should be 3 seconds long at 12 fps, but it takes around 11 seconds if I play it in the application. I say this to suggest that maybe my computer is the one fudging the quality of the export? Is that possible?

=

@corbing Honestly if you are zooming in the camera, that’s enough reason for the quality to drop if the original image is only at the base resolution.

The trick to get crispy artwork when zooming in with any software camera that uses raster graphics, is to create an image that is at minimum twice (2X) but preferrably three times (3X) larger than the base resolution.

e.g If your base is 720p then a good size for an image that will be used for close ups is 3840 x 2160, basically Digital 4K (True 4K is 4096 x 2160)

If you don’t do that the image will get blurry or even pixelated since the program is scaling the image.

Sincerely, without taking a look at the file itself I can’t say if the problem is the file setup, the actual PNG files, the software or even your computer.

If you are able to share the project please upload it on a place like wetransfer.com with their anonymous link option and share it with us (privately if you want via DM), so in case there’s a software issue I can quickly ask the developers to look into it.

Thanks for replying so quickly! Is what you’re describing true even if the entire thing looks good on my screen? It’ll only scale upon export?

And the background image I’m using is 5541 x 8540, so I don’t think its resolution is the issue.

Here’s the file: WeTransfer - Send Large Files & Share Photos Online - Up to 2GB Free

Its an animation for a medical engineering project lol.

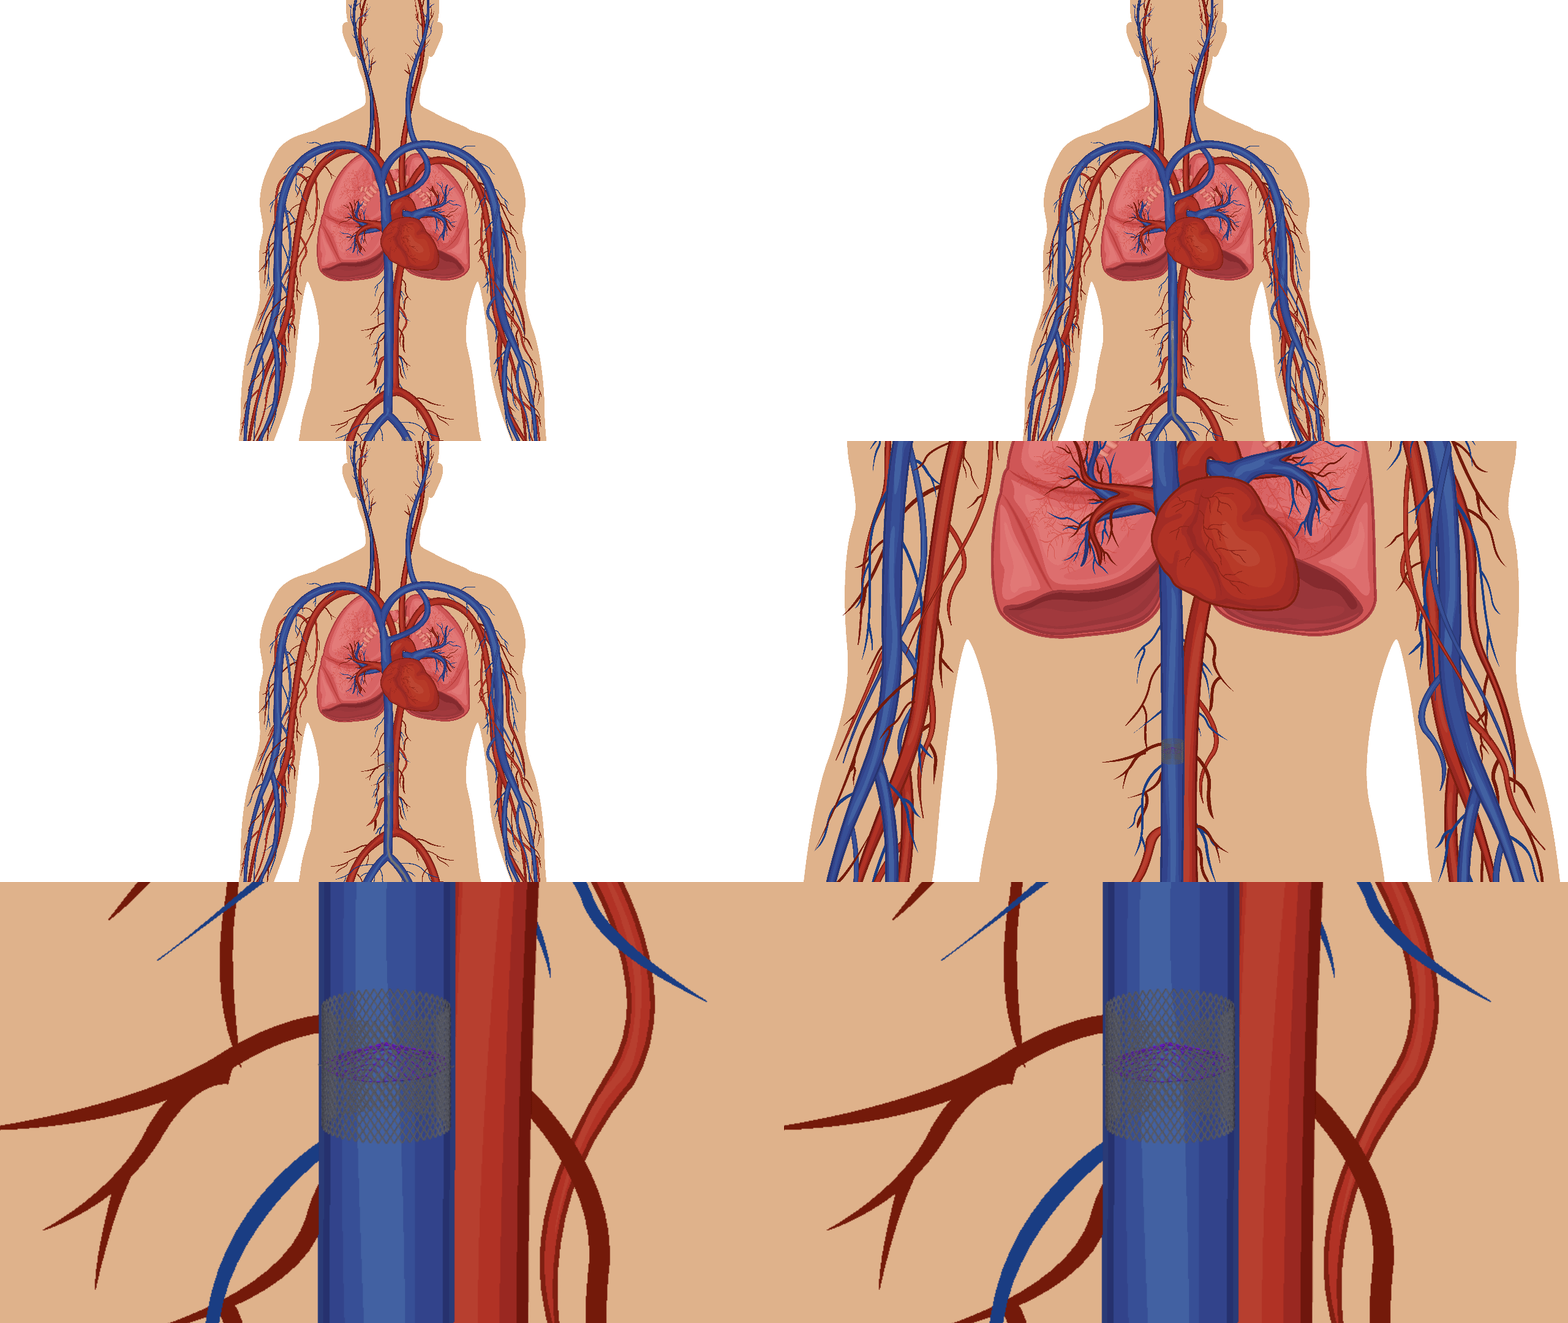
There are many things that affect the quality of exported files. In this case, what you are probably taking issue with is the interpolation method used. In the canvas, a nearest neighbour interpolation is used, which is very fast and simple, and is good for preserving the jagged edges of pixel art. During export, another interpolation method is used (bilinear I believe), which is slower, but scales more accurately (mathematically speaking) and looks substantially better with basically everything that isn’t pixel art. Antialiasing is applied as well which has a similar, but typically less pronounced effect.

Here is what your animation looks like with bilinear interpolation: medtest_st_on
And here’s what it looks like with nearest-neighbour interpolation: medtest_st_off
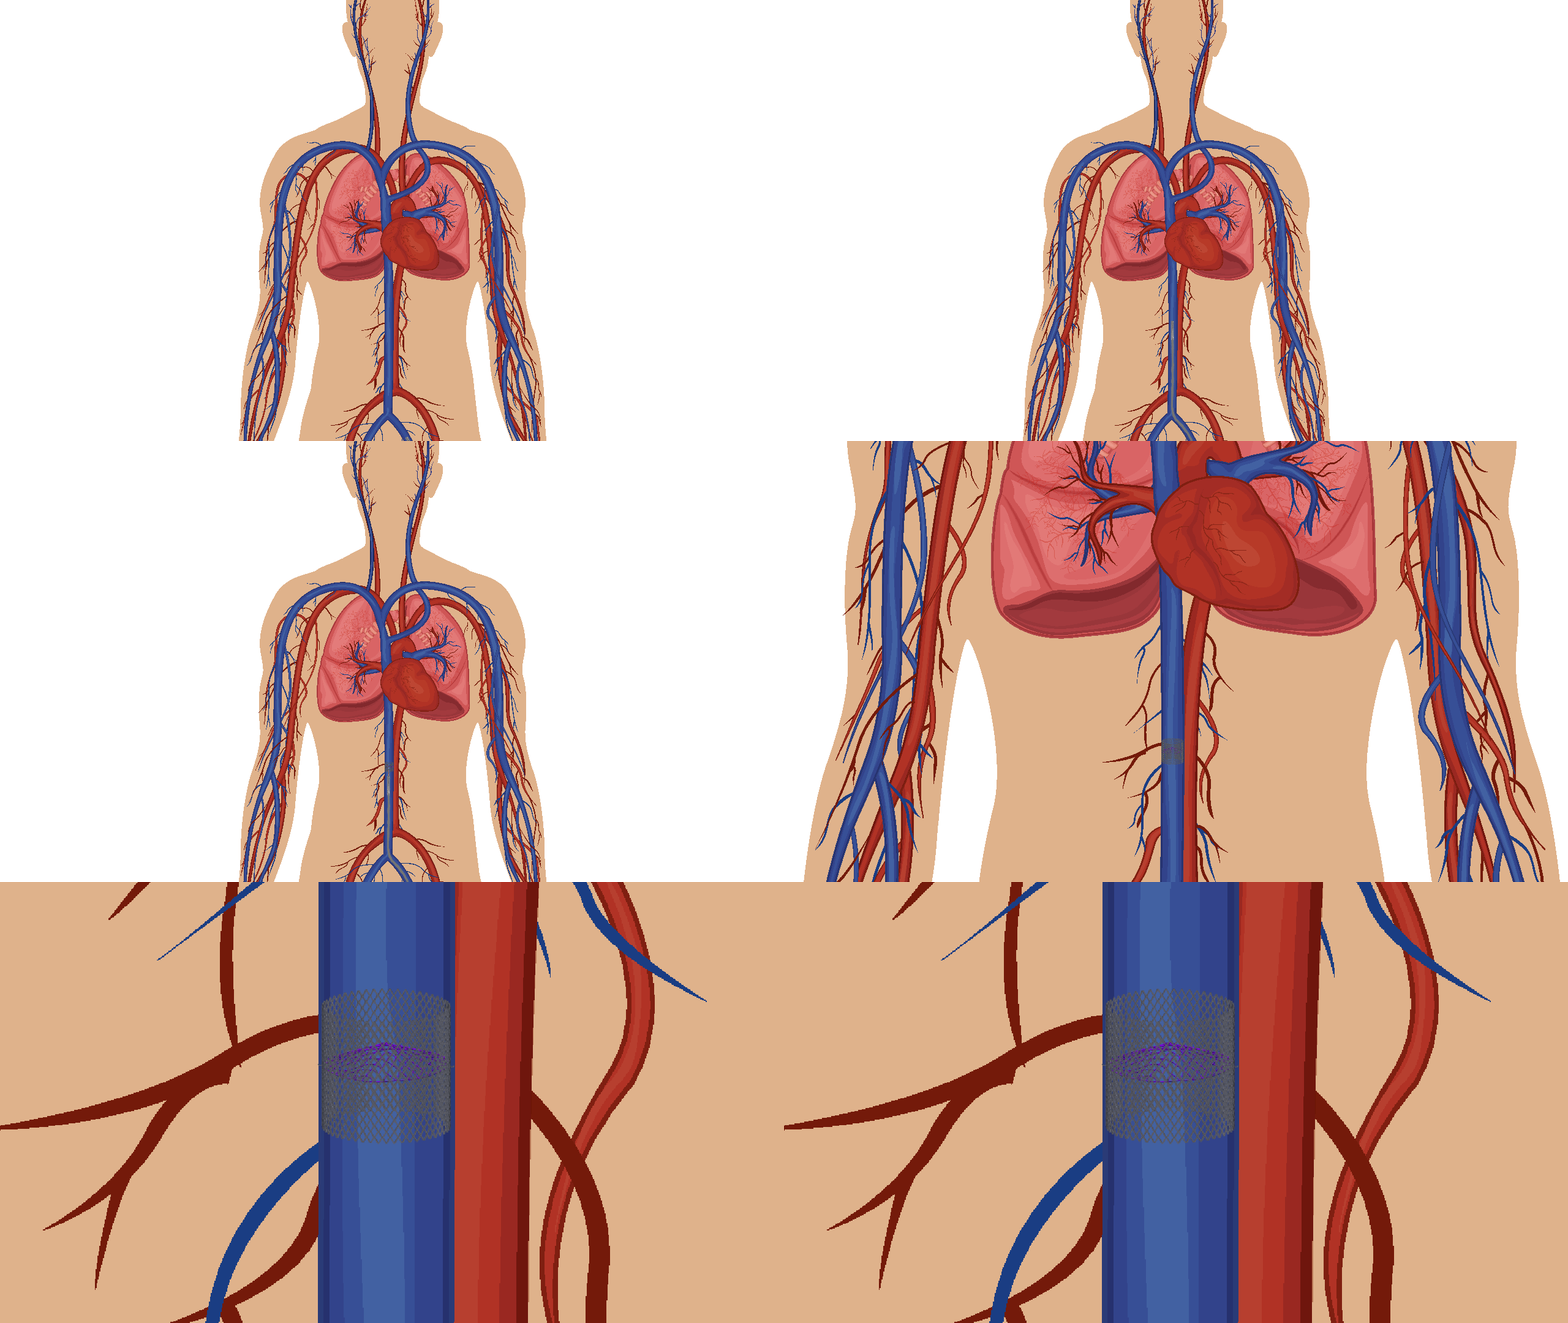
Unfortunately, there is no export option to change this currently. As @JoseMoreno touched upon, carefully choosing your image resolution, canvas resolution, and zoom level carefully can help some. In our nightly builds you specify the exact zoom level you want or choose from a dropdown which makes it much easier to choose a good zoom level. 100% or 150% would both be better than your current zoom level at the end. For now I’ll offer to export your project with the interpolation mode changed like above if you want.

It should be noted there are other common sources of quality loss when exporting. With the movie export in Pencil2D, none of the options are lossless, so there will be some degradation simply by encoding the video. This is typically visually lossless except in extreme scenarios/very discerning eyes. With gifs the same thing applies, although in that case the loss in quality comes from a reduced color palette, not from video artefacts. Generally you do not want to use lossless videos as they grow very large in file size very quickly. Exporting as a PNG sequence avoids this and is helpful for transferring your animation to other animation programs or video compositors/editors. Another source of quality loss is when viewing the videos. If you are not viewing it at exactly 100% resolution, your video player/browser will scale the videos to fit, often using the exact same scaling algorithm you are wanting to avoid.

I will add that even though I’m working in 12 fps, playing the animation in the application is slow enough that to get a good preview of my progress I have to export to a movie to see what it really looks like.

Unfortunately this is probably a limitation of your hardware. Exporting is the right way to preview the animation as accurately as possible obviously. Chances are Pencil2D would be able to playback faster if you were working with smaller images, but of course that will just make your quality problem worse. If you haven’t tried already, do trying playing through twice, as Pencil2D does cache frames after viewing them which helps significantly with playback. When you make a modification, cached frames in the affected area will need to be re-generated.

Thank you SO much for taking the time to explain this. I will be careful with zoom and image resolution in future projects.

For now, if you could interpolate them, my project includes three more videos:

Because I can only post two links at once, here’s the third:

Enjoy a glimpse into my senior design project!

What format do you want them exported to?

Mp4 or mp3 would be ideal

Hi, is there any way these files could be sent to me today? I appreciate it.

Here you go: WeTransfer - Send Large Files & Share Photos Online - Up to 2GB Free

Unfortunately it seems in some of these you’ve scaled the images rather than the camera transform that you provided in the initial example. You can tell these ones from the others because they appear blurry even when previewing in Pencil2D. In those cases, the same bilinear interpolation is used, but it it is applied as soon as the transformation is applied, meaning you can’t simply revert it by changing a setting. You can work around this issue in the future by scaling the image tod the desired size externally in an image editing program that supports changing the interpolation mode (virtually all of them do) before importing it into Pencil2D.

Personally I would recommend not worrying too much about it. Could it look better? Probably yes. But your videos are still quite clear and get your ideas across well I think.

I’ll certainly know how to better adjust my images for next time. Thank you again!

This topic was automatically closed 14 days after the last reply. New replies are no longer allowed.