The work file for you to edit, for this tutorial is, Work_File-4.pclx (977.4 KB)
If you haven’t done the initial exercise Lets start animating with Pencil2D, then I suggest that you do it before proceeding to this one.
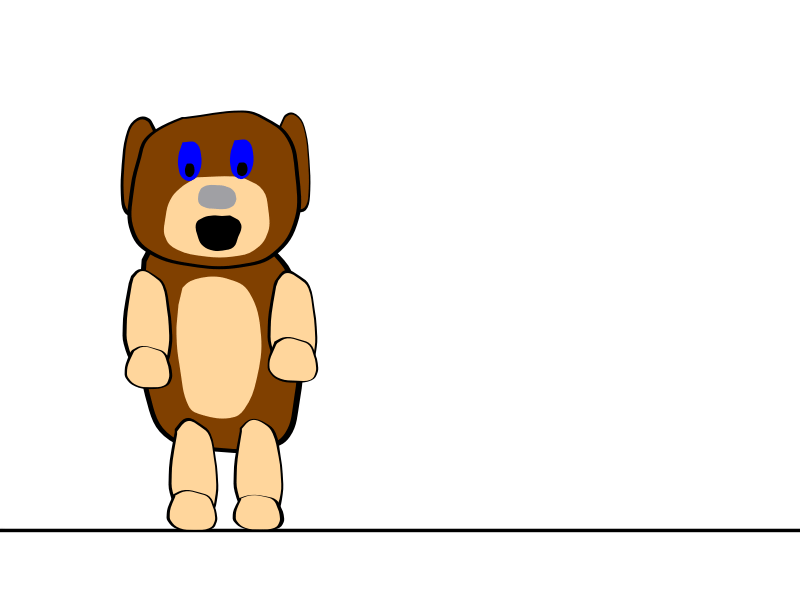
We are going to make an animation which takes Ms Pepper from looking towards the camera, then turn around and walk towards the second position.
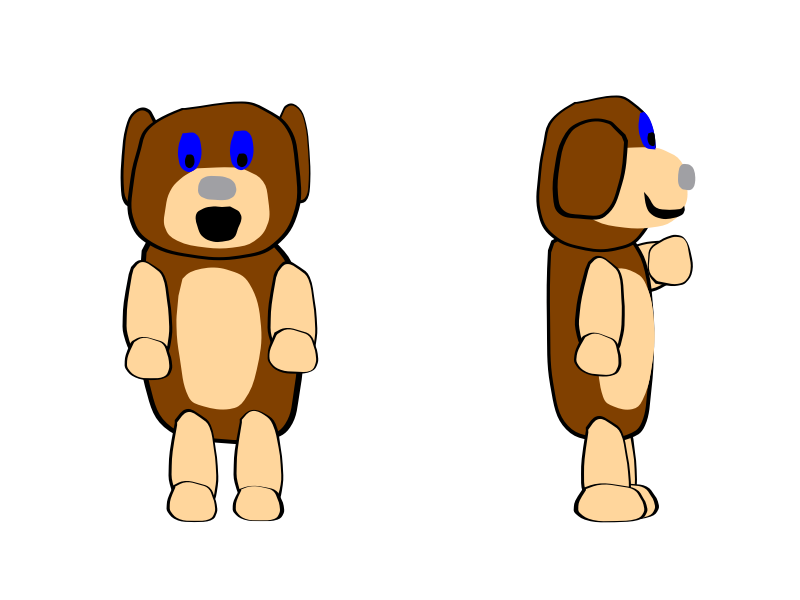
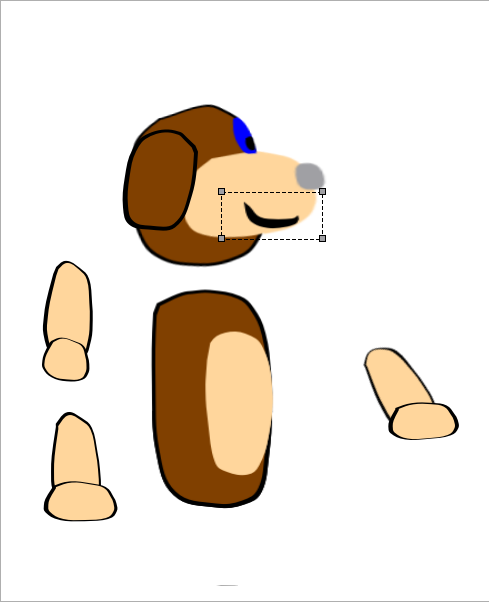
The first drawing in the required sequence ia the left hand drawing above, this can simply be include by copying Pepper_Both.png in the Images layer to frame 1 of Working-2 and adjusting it’s position.
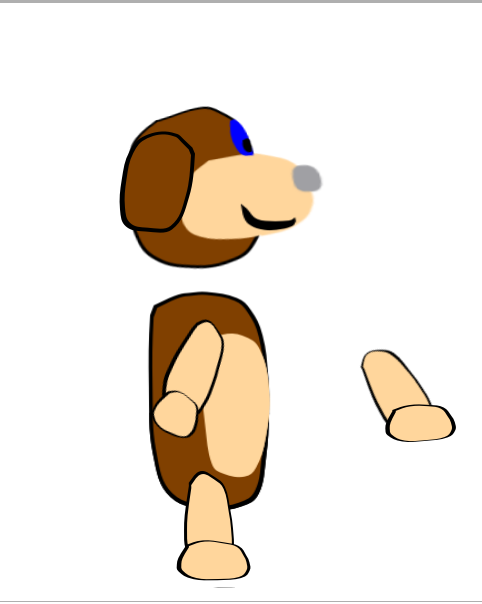
The frame show below is the tween between the front view and the right side view at Frame 26. Notice that the left leg, in this view moved to behind the body has started the walk to turn her body around.
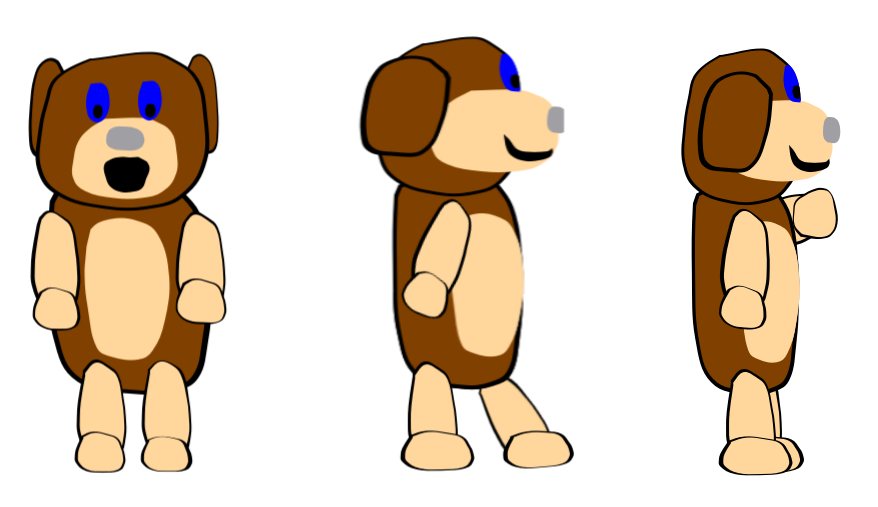
As we change the direction of movement, we need to also move the left arm behind the body too. We also see the ears smaller than right side view side and nearer to the back of her head.
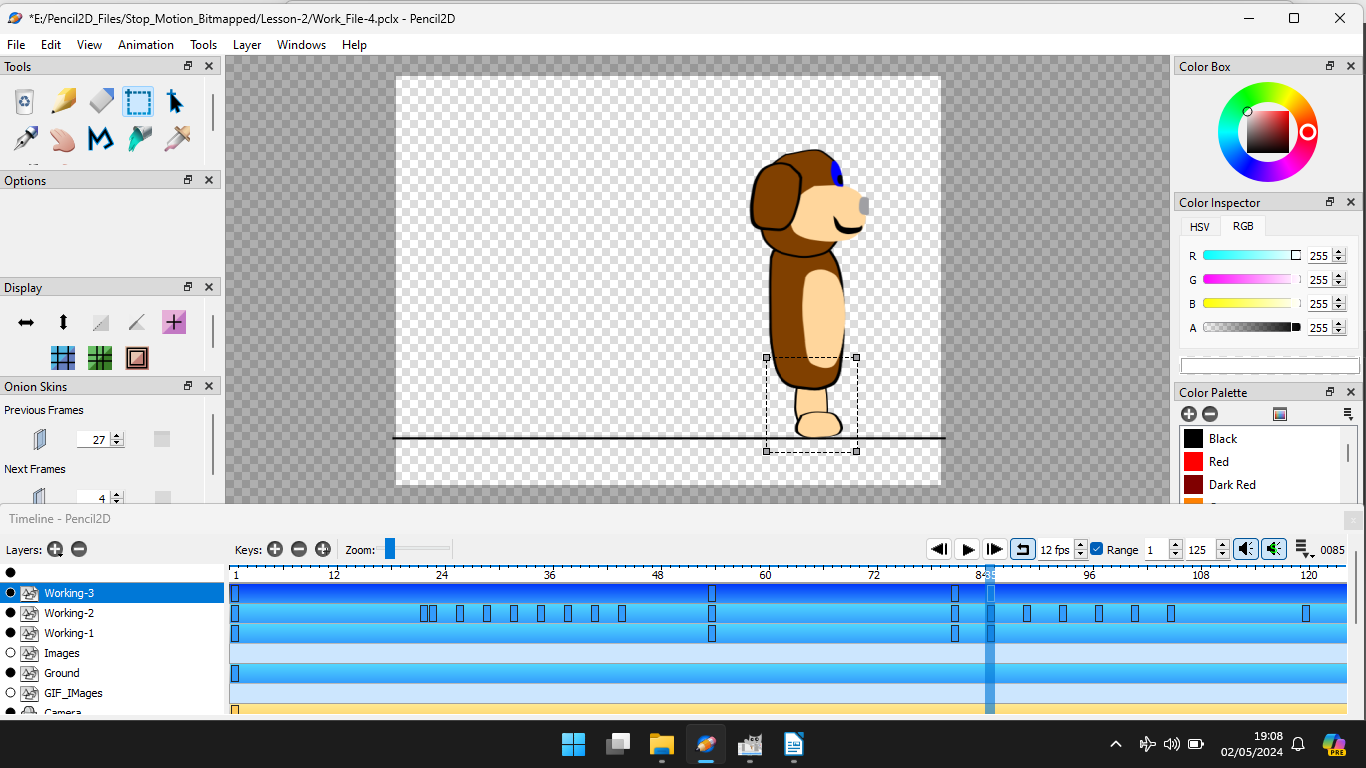
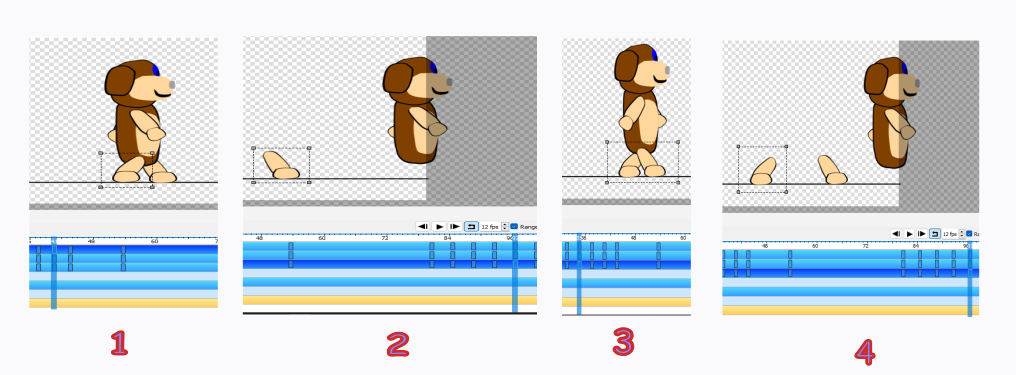
The next frame to work on is Frame 54 copy the Body from the Image Frame 7 layer. And position in frame 54. Then copy from frame 4 of the Image layer the forward facing head.
The mode the head into position on top of the body. Then copy a leg including paw from Frame 4. Make a frame in layers Working-1 and Working-3 and copy this leg into both.
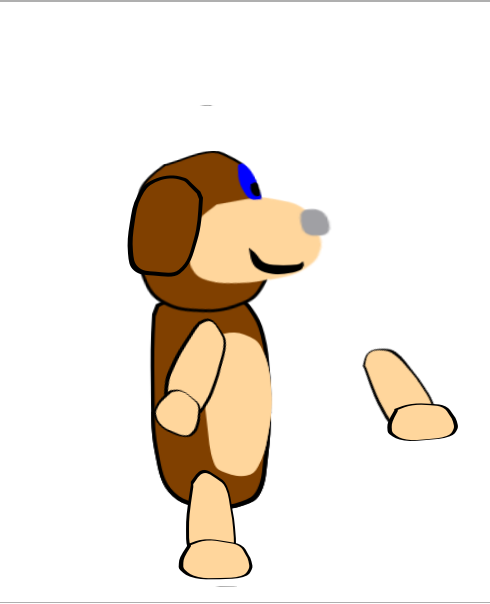
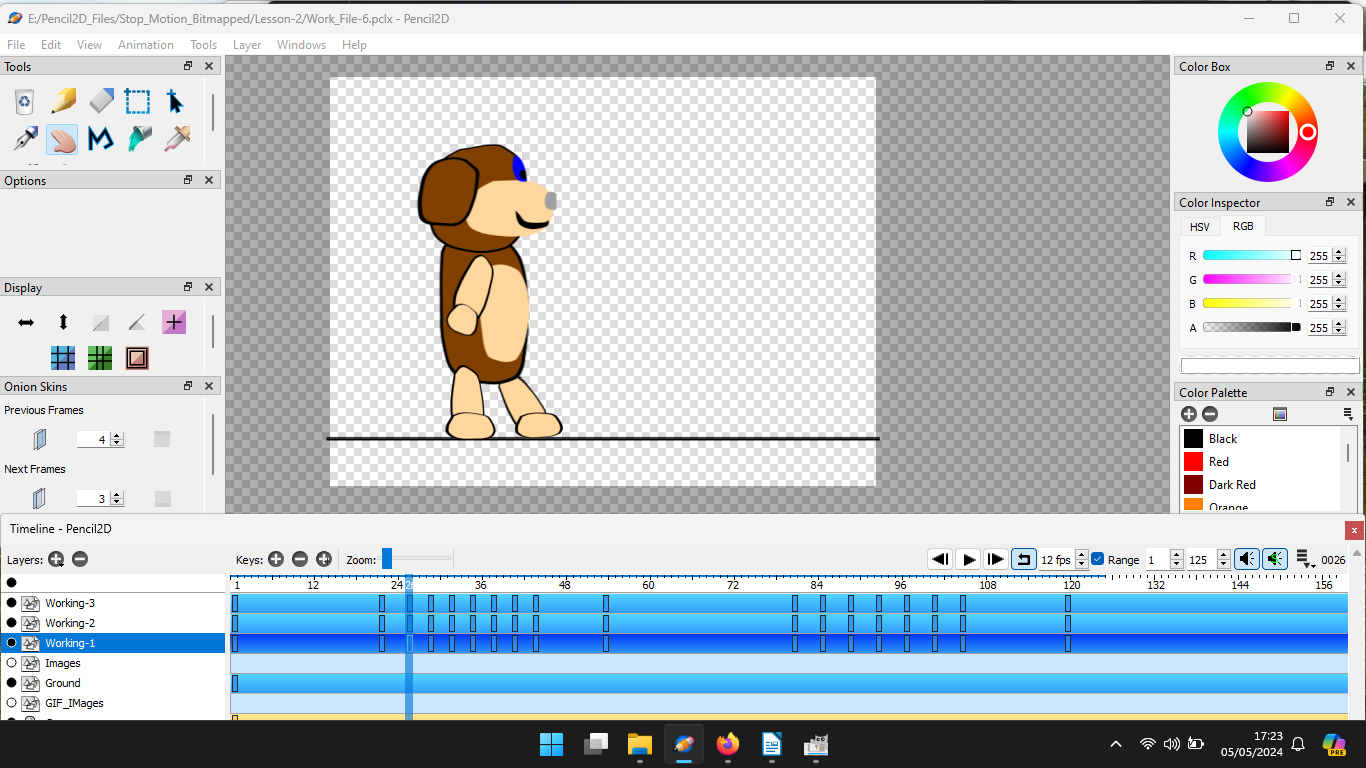
Your Pencil2D should now look as shown above.
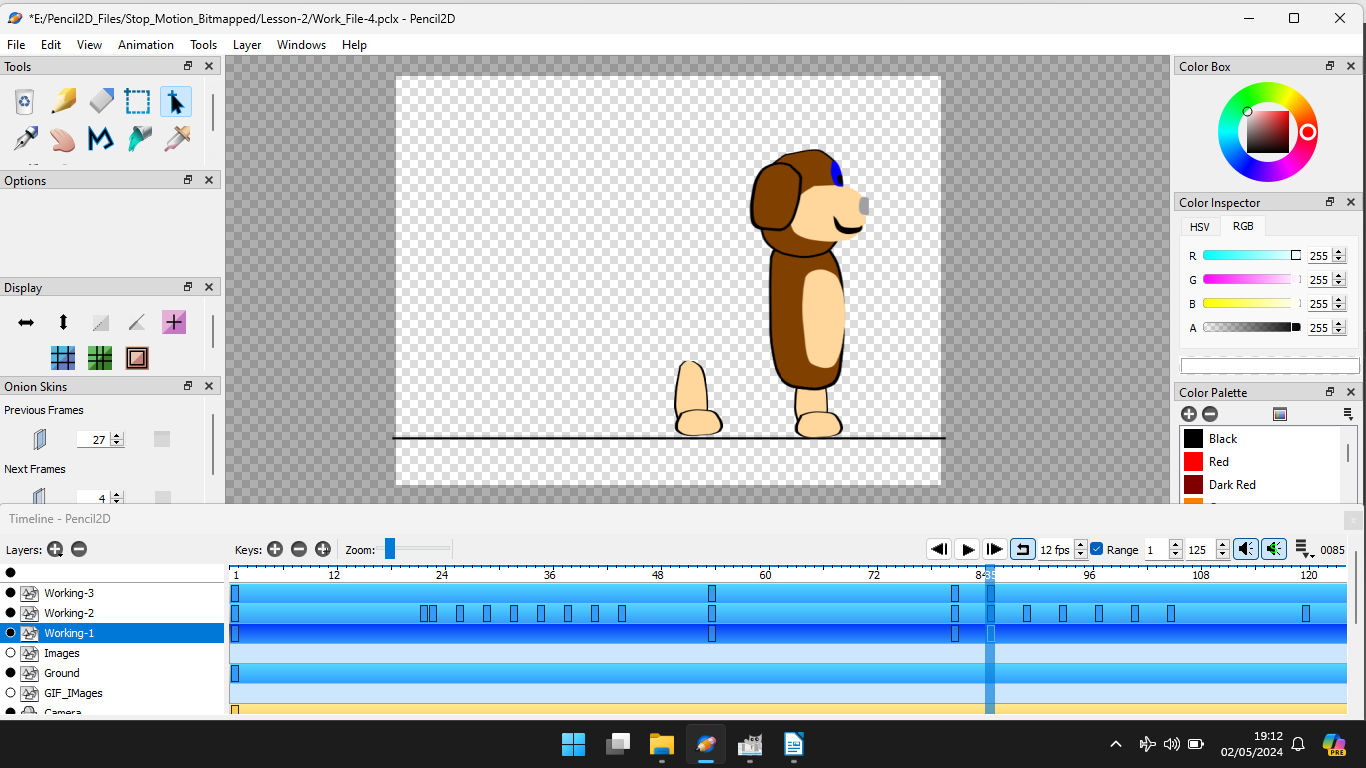
Now create frame at position 81 on layers Working-1 and Working-3 and copy this images in these layers from Frame 54.
There is an animation Pepper-2.gif which shows the sort of animation that you’re aiming for, but there’s a deliberate errors. What is wrong with it?
For the leg and Paw in front you’ll need to obtain this image from the Image layer frame 4, you’ll need to rotate it to an appropriate angle. Where else might you get this image?
That’s right you can copy it from frame 54 Working-3 layer, but you need to be careful.


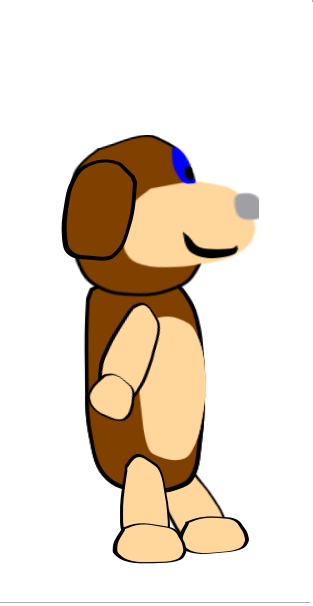
This drawing in Frame 85 should look like the image below.
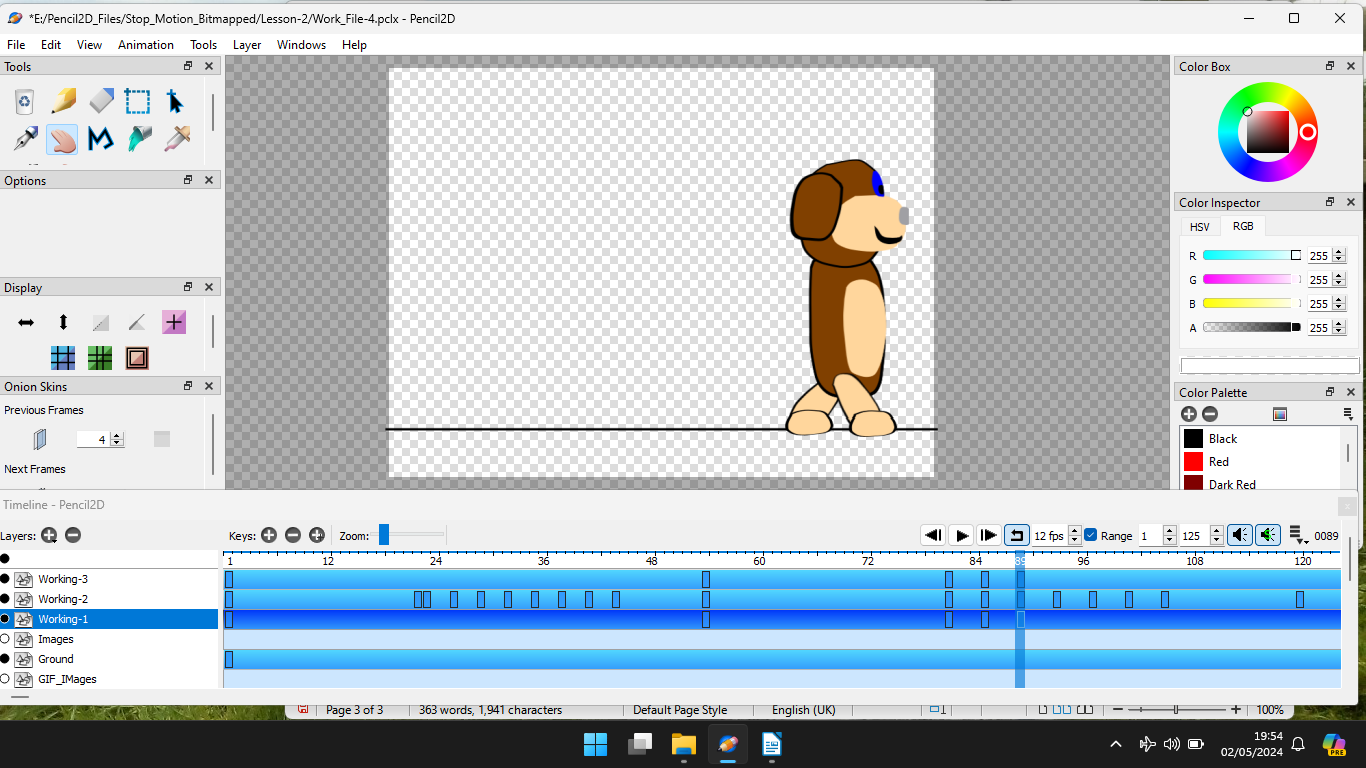
By picking up the leg and paws from Frame 81 and rotating them, by selecting them using the Selection tool and then pressing the key you can rotate to the desired angle.
But when you walk, do you walk on your heels, probably not. We tend to have our feet flat in this position.
From Frame 10 on the Image Layer, you’ll find the leg and paw separate. Rotate the leg to the desired angle and place the paw into position. Change the feet in Frame 89 with these new drawings.
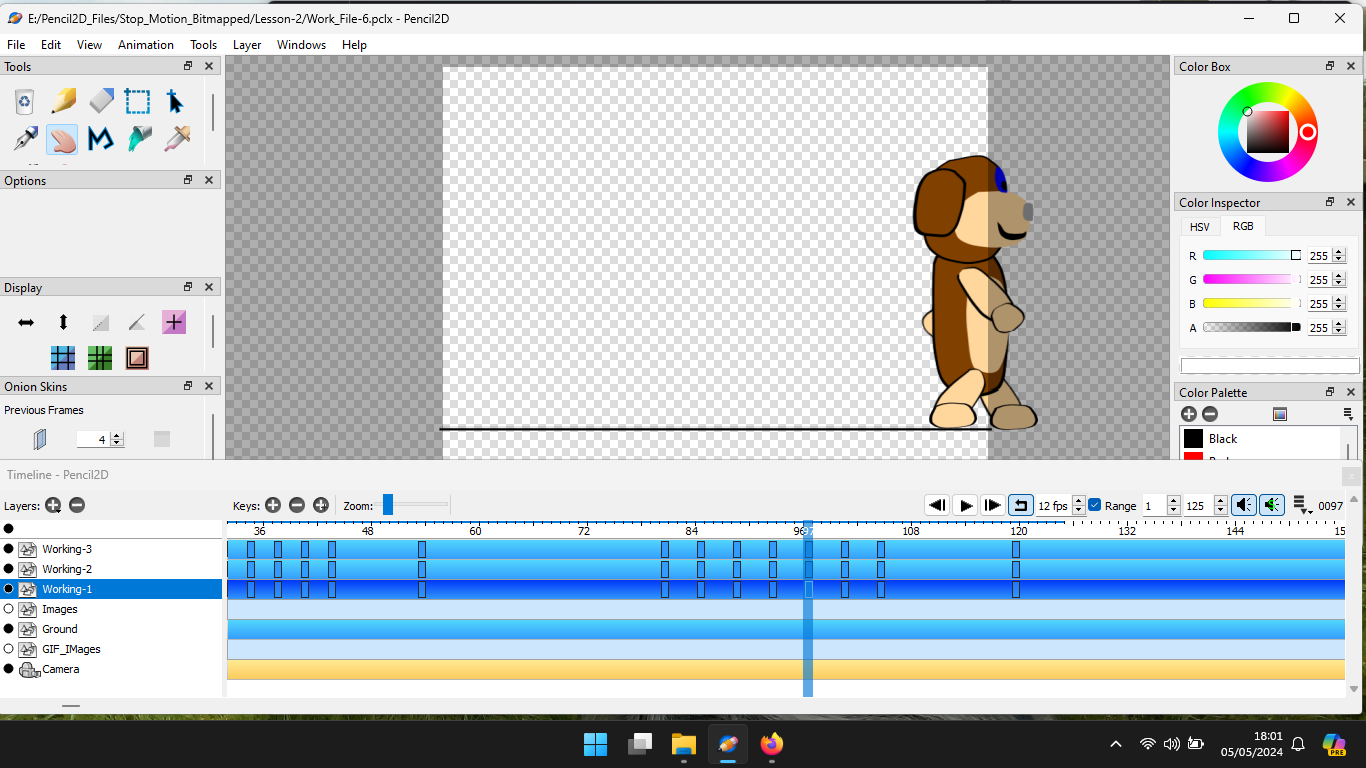
Frame 85 is what animators call a passing frame, Frame 93 is a pass frame too, nut the opposite way around. The front leg is the one carrying the weight and the back is the moving one and not in contact with the ground.
Frame 97 is a stride pose, with the feet apart, but with the back foot forward. Frame 101 is a passing pose identical to Frame 81.
Now apply the same process to Frames 26 to 44.
Currently Peppermint is armless. Quite literally! The arms on a creature that walks on two feet are used to aid balance. When the foot say nearest to the camera is facing forward the arm is facing backwards.
Copy the paws to Working-1 and Working-3 and then move to the correct position, On the passing poses the arms are in the vertical position. Add the arms to all the poses that currently don’t have them.
My final Pencil2D project file when exported as a .GIF file,