I’ve heard of people using a method to animate using “Keyframes.” I’ve also heard of a process called “tweening” in animation but have absolutely no idea what it is other than the fact that it may have something to do with keyframing.
Can someone explain what “tweening” is to me and explain whether or not keyframing is possible in Pencil2D?
So, in short, automatic tweening (in 2D animation) is when you give an object two points on different keyframes, and the software/renderer will automatically move the object from point A to point B in all of the frames between the two keyframes. Pencil 2D does not have a feature for automatic tweening for drawings, but the camera layer does tween by itself when you tell it to. Pencil 2D keyframes are just drawing changes/checkpoints- and two keyframes in Pencil2D have no connection with each other. This is why Pencil2D is more for animators who tween things manually, by filling in the between-frames themselves. (By the way, most people will think of automatic tweening when they hear just the word “tweening”, maybe I’m weird)
Does this make sense? I’m not sure I explained it perfectly… Any questions?
The previous contributor is correct, but if you draw a walk sequence with the actor in one position. This is called walking on the spot.
The camera layer can be used to create the illusion of walking the actor across the screen.
With the current version of Pencil2D each movement step will be equal.
You can make the effects look more realistic adding an extra drawing at the start and finish of the sequence to simulate starting and stopping.
No character goes from stationary to full walking speed instantaneously. The start slow and speed up to the full walking speed and then slow down as they approach the stopping position.
NB you place the first drawing in the start position and the final one in the final position.
If each move is too long, the actor appears to slide after each move!
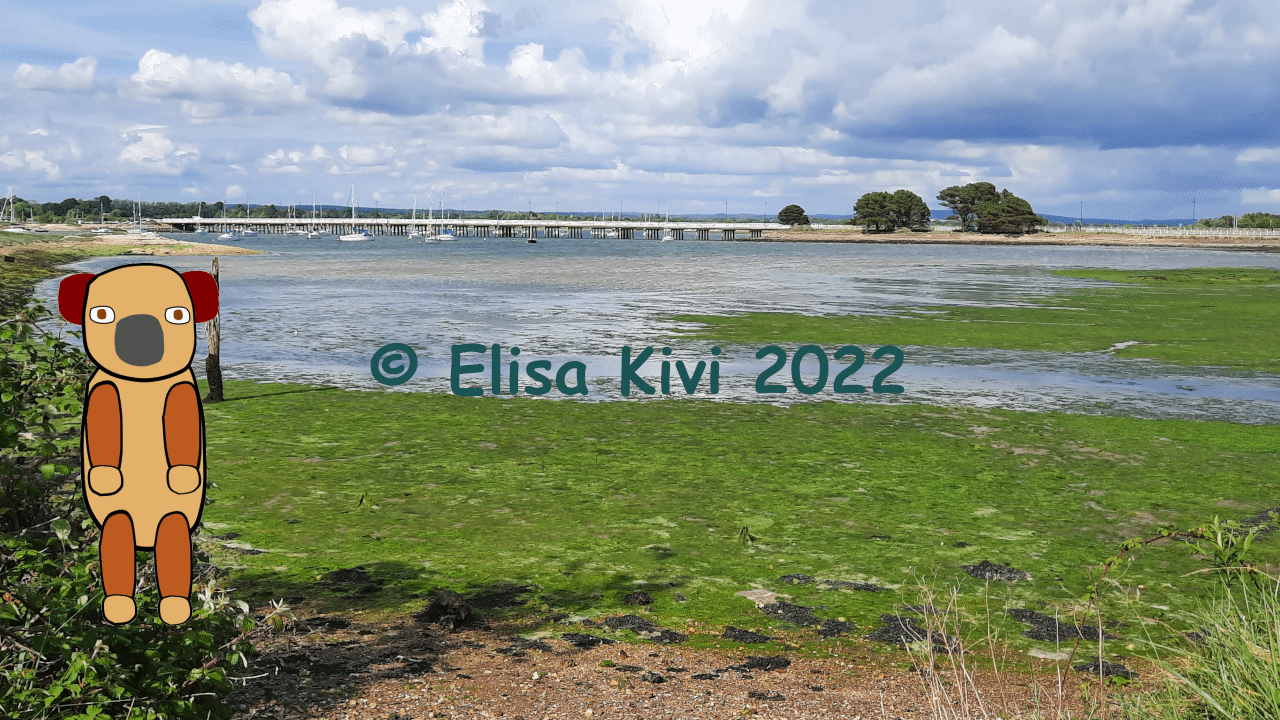
I’ve used a variation of this technique to scroll the Credits up the screen.
I drew the first frame black on Background layer, the text was on a layer above called Credits, below both was the Camera layer.
The text was prepared in Illustrator.
Set the Camera layer up to see the desired view, in my case complete frame.
Goto the last frame of the sequence, say 20 frames in advance of the start frame.
I then inserted a new frame in the Camera layer at this position.
Position the Camera view to see the final view, in my case the view with the copyright statement in the middle.
I then extended the background, black square to cover the entire Camera view area.
I saved the file and then exported it as a .gif animated gif format.
Your in essence changing the Camera view, not moving the actors or in my case text.
If you want the animation to play correct within the edit environment of Pencil2D, then on another layer insert a frame in all locations from 1 to 20. I did this in the Vector Layer.
Don’t be tempted to do this in either the Background or the Credits layers, as this will complicate the edit process!
These empty frames trigger the player to work correctly, the Pencil2D Team are aware if the bug.
The same process can be used to move a character across the stage. I’ve used a single image, this can be replaced with a series of images, say a walk cycle.
The first part of the process is to move the character across the screen, sometimes called the stage. The frames can then be exported as a series of png files. I export these to a separate directory.
I then import the background and the series of png images and superimpose on the background. I then export them either as an animated gif or as a movie, possibly with added sound.
I know I’m a little bit late here but there some additional things I would like to add. First off, the word “tween” comes from “inbetween” and refers to the intermediates frames that are inbetween keyframes. And “tweening” is short for “inbetweening”, which is the creation of these intermediary frames, but has come to specifically refer to the automatic creation of the inbetweens when used in a digital context.
Keyframes are the critical points of your animation. Usually they are beginning and ends of motions, as well as the important poses you want to hit during the motion. They are part of a very common process of animating called pose-to-pose animation, where you start by drawing the keyframes of an animation, spacing them out to get the desired timing, and then filling in the frames inbetween to get the desired framerate and smooth out the motion. With this approach it allows you to see and get feedback on the animation very early on in the process and make tweaks to it without having to redraw so much. It also can help to keep proportions and volume consistent across the entire animation. This is in contrast to straight ahead animation where you draw the first frame, then the second, and so on. Each approach has its advantages and disadvantages and is best for different scenarios.
The descriptions provided already about moving objects or the camera from point A to B are all good common examples of tweening. However I understand it as more generally any interpolated property, not just position. So for instance a fade-in transition is tweening the opacity of the image from fully transparent to fully opaque. Most programs (or ones more advanced than Pencil2D anyway) will also let you tween the size and rotation of objects. Automatic interpolation between different shapes (also known as morphing) would be a more advanced type of tweening. When you have rigged objects, the properties of individual parts can also be tweened. For example, you could set the arm of a stick figure as down in one keyframe, up in the next keyframe, and the frames inbetween could be automatically tweened by software you are using.
You’ll also see keyframes called extremes. In a walk cycle the extremes are obvious the two frames where the legs are the widest apart.
In practice we add another keyframe, in the middle called a passing frame, where the leg off the ground passes the one in contact, usually vertical.
The first tweeting is referred to as easing out and the other easing in. This is because the first foot is accelerating from stationary and the other decelerating to stationary.
This happens because of the laws of physics, objects do not instantaneously move from stationary to full speed, rather they accelerate gradually until the maximum speed is reached, then continue at this speed for a while. Deceleration is the mirror image.