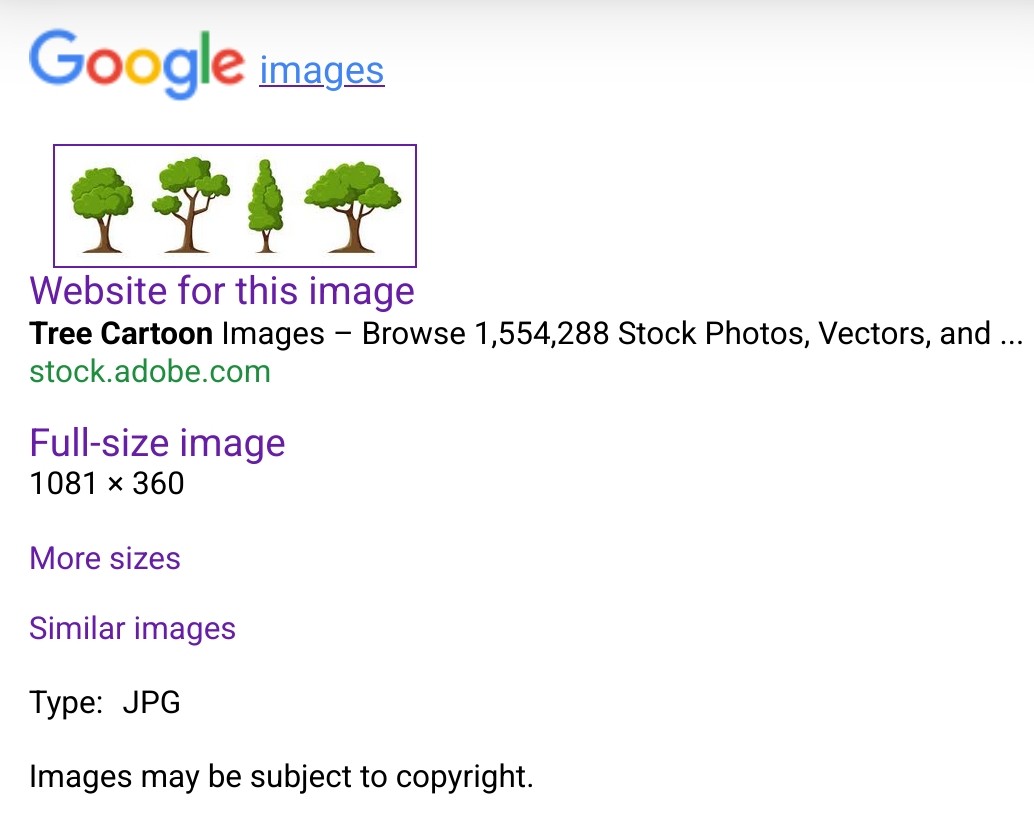
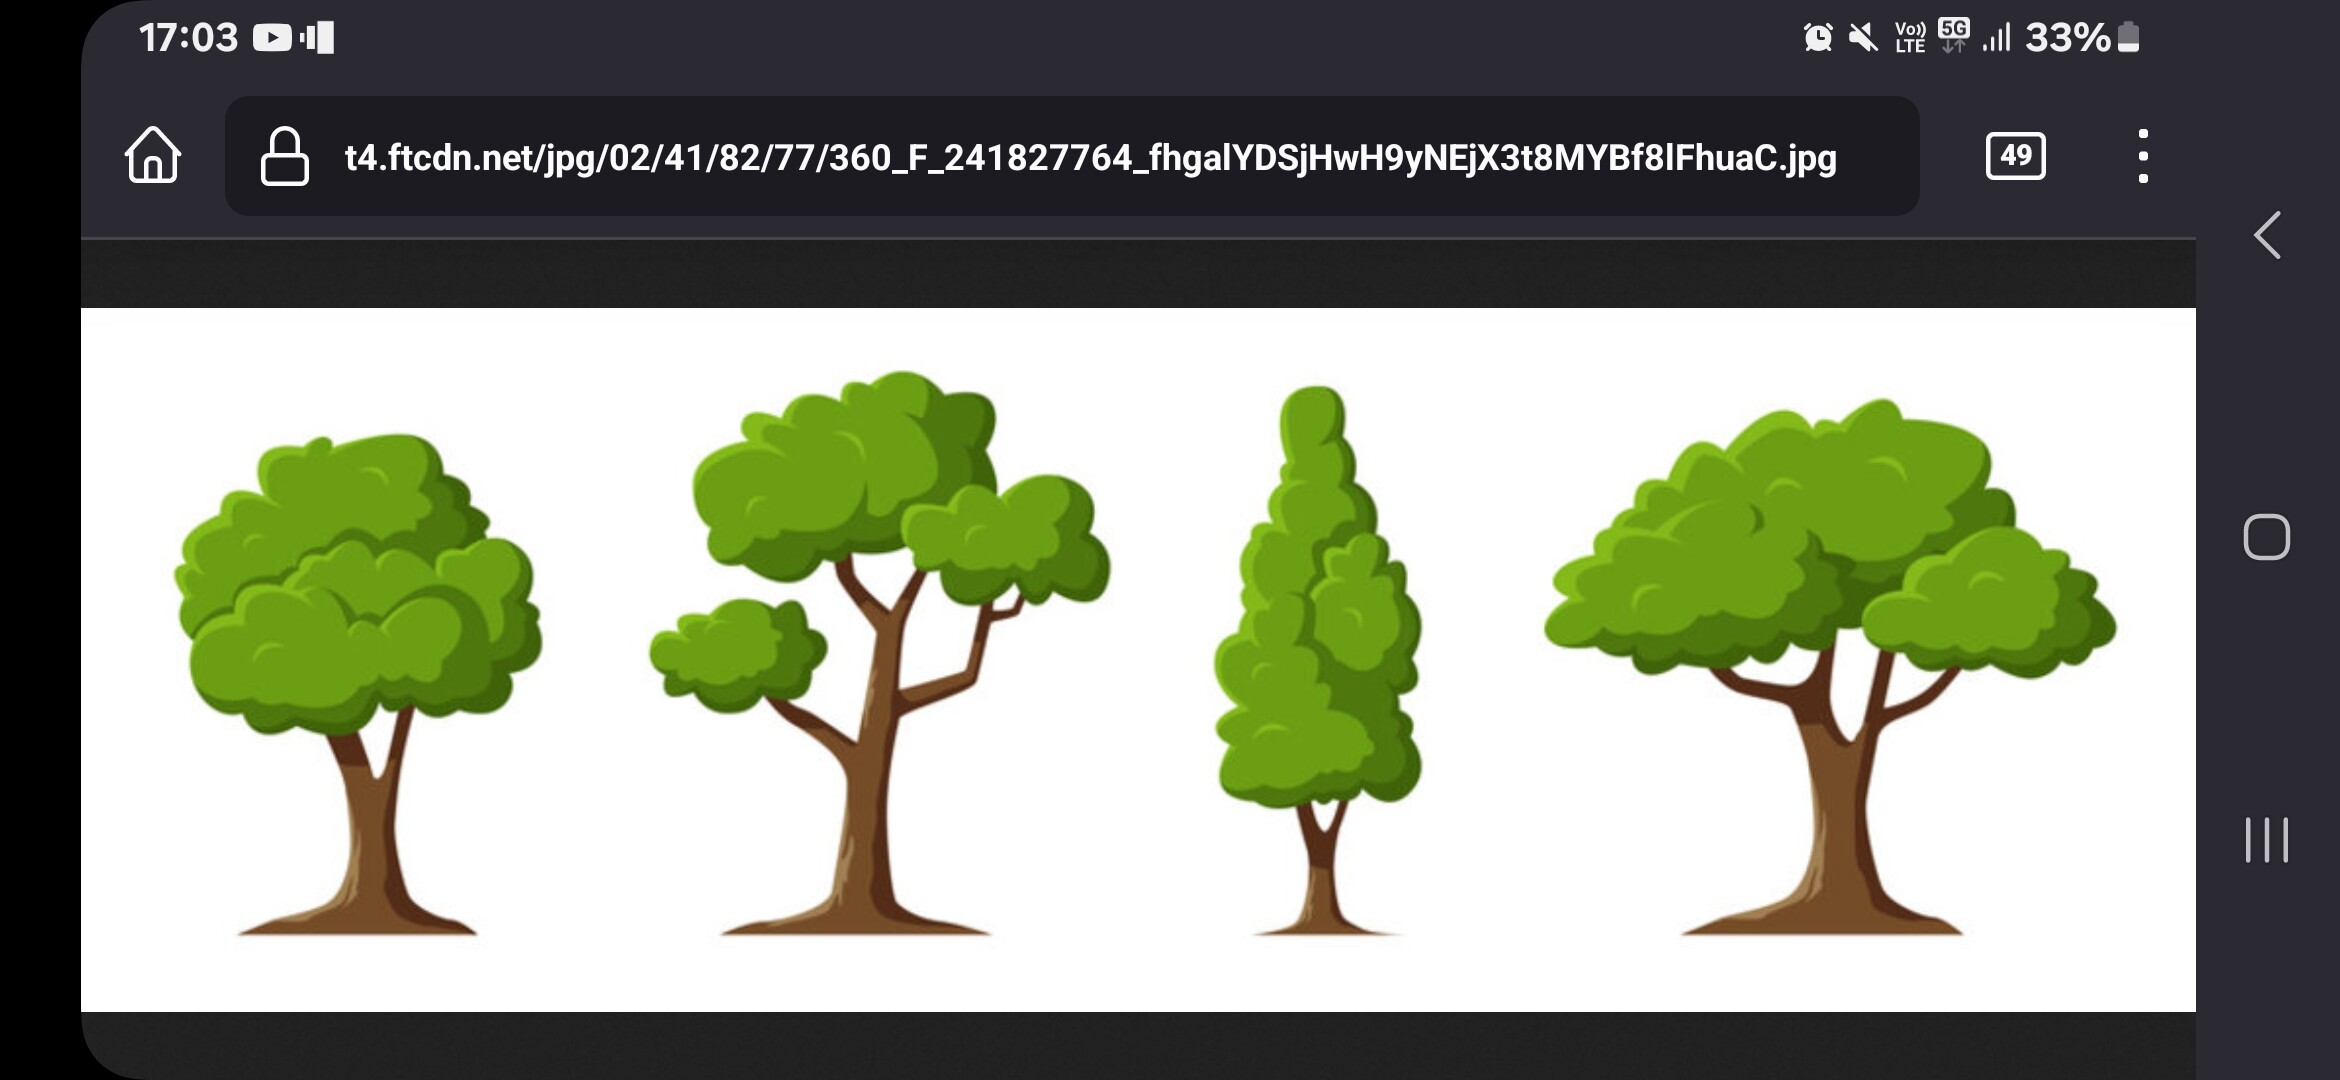
The image below is a screenshot of a page of stock images download from the Internet. I used 1 of these as inspiration for a drawing.
Since these are copyright, they cannot be copied and used for a professional project. If you copy such images for a school or college project, you would be advised to acknowledge their ownership and that they are copyright. I think that ypur tutor will award extra marks, as a result of owning up to being honest!
The interesting fact, is that the computer that the drawing of the tree used in the Pencil2D animation project isn’t large enough to display the Camera Layer @ 100%.
Therefor the zoom isn’t possible to generate the .GIF file or display the frames correctly, but if you save the project, then transfer the files to a computer that can display the Camera Layer @ 100%
The set up and check the camera zoom. The project can be saved and transferred back to the original computer it displays correctly and also exports to .GIF correctly too!
You can edit any other aspect of the project, except the Camera Layer on a computer that cannot display it at 100%. Note that @ 100% there needs to be a boarder around the edge of the camera area, within the main work area.
The Pencil2D project file is Throu_Woods-5.pclx (650.4 KB)
I understand that the Pencil2D developers are aware of the problem of having to display the Camera Layer @ 100% and they are working to overcome it!
The animation below is the previous animation, with Mary added standing between the trees.
The modified project file with Mary added standing between the trees. Throu_Woods-6.pclx (664.6 KB)