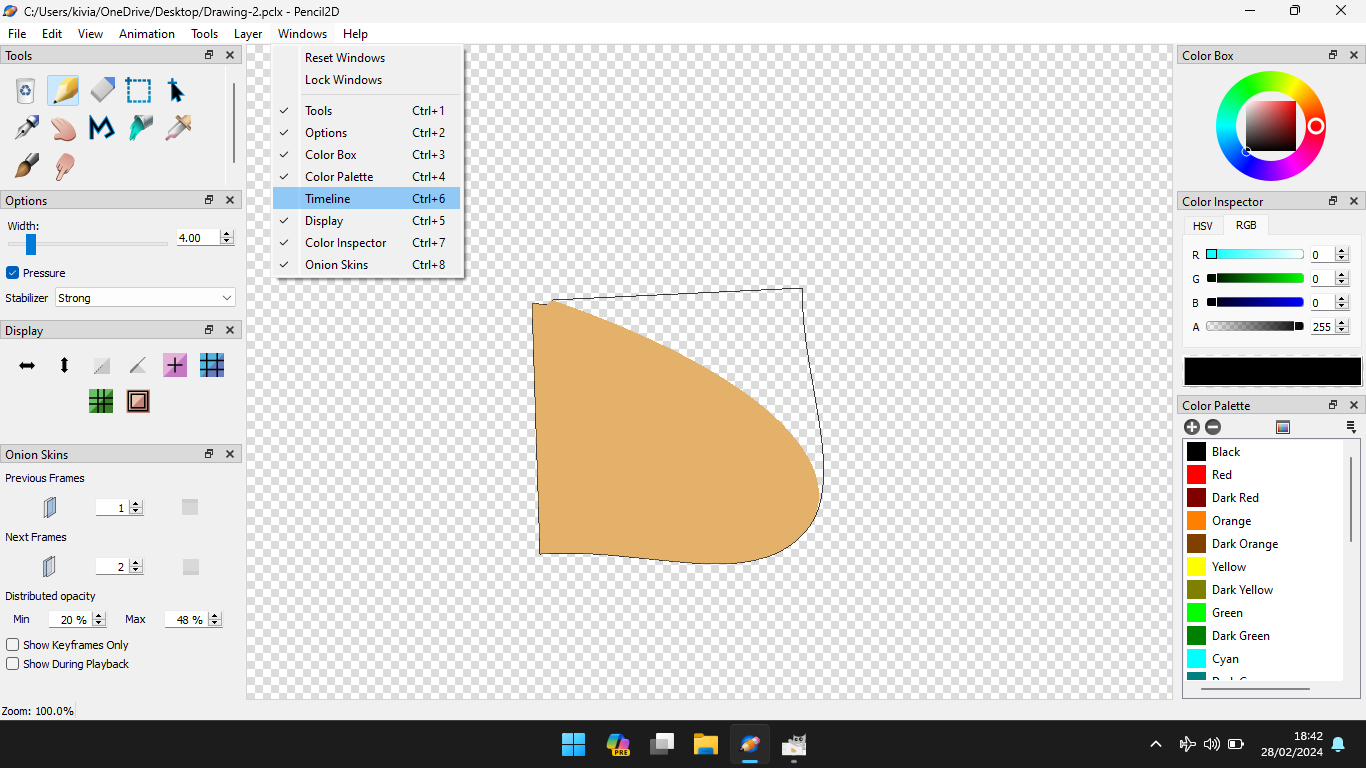
When using Pencil2D how large is my computers desktop?
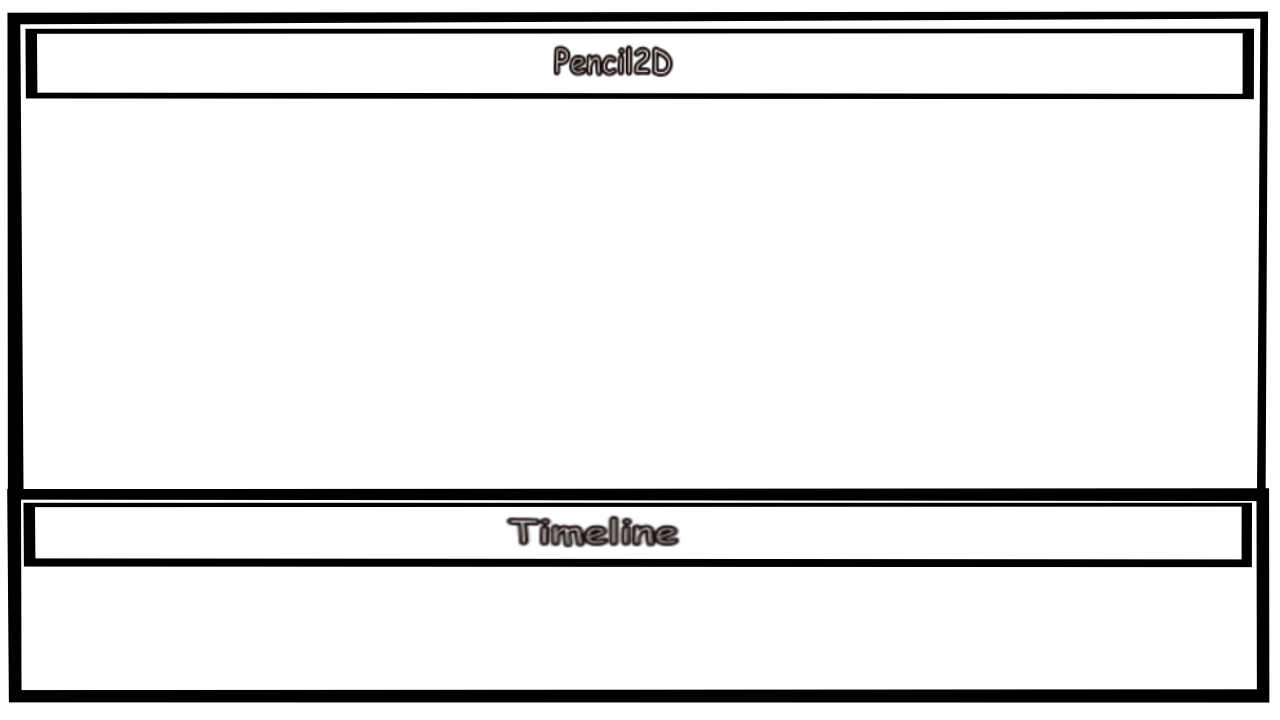
The width and depth of your computer desktop is in theory infinite, but there is a limit in practical terms. Your screen displays part of the desktop and provided that a small part of the window concerned, in this case the Timeline window, then you can have a timeline area larger then you might initially think that you can. The illustration below shows the configuration of the desktop when you launch Pencil2D.
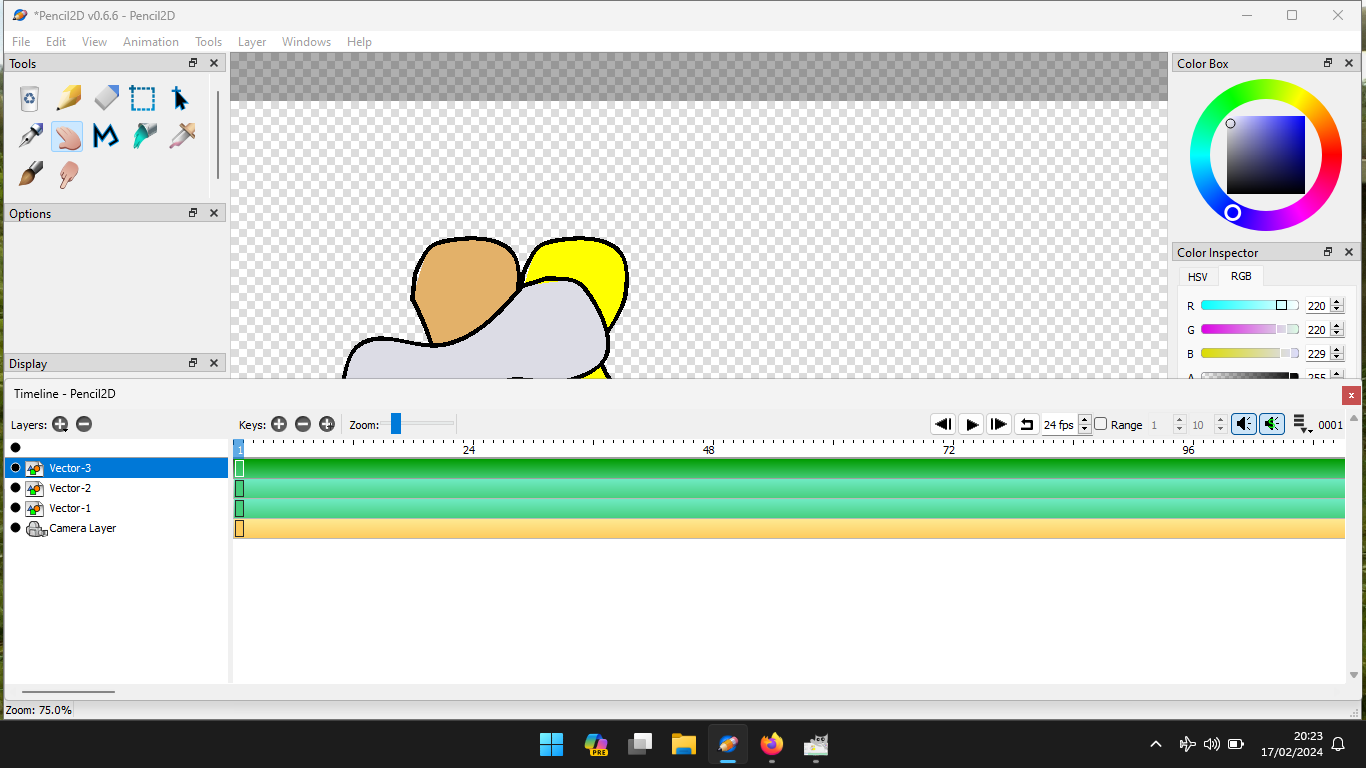
The screen shot below the screen split into two independent windows, the top one contains all the Pencil2D windows, with the exception of the Timeline window.
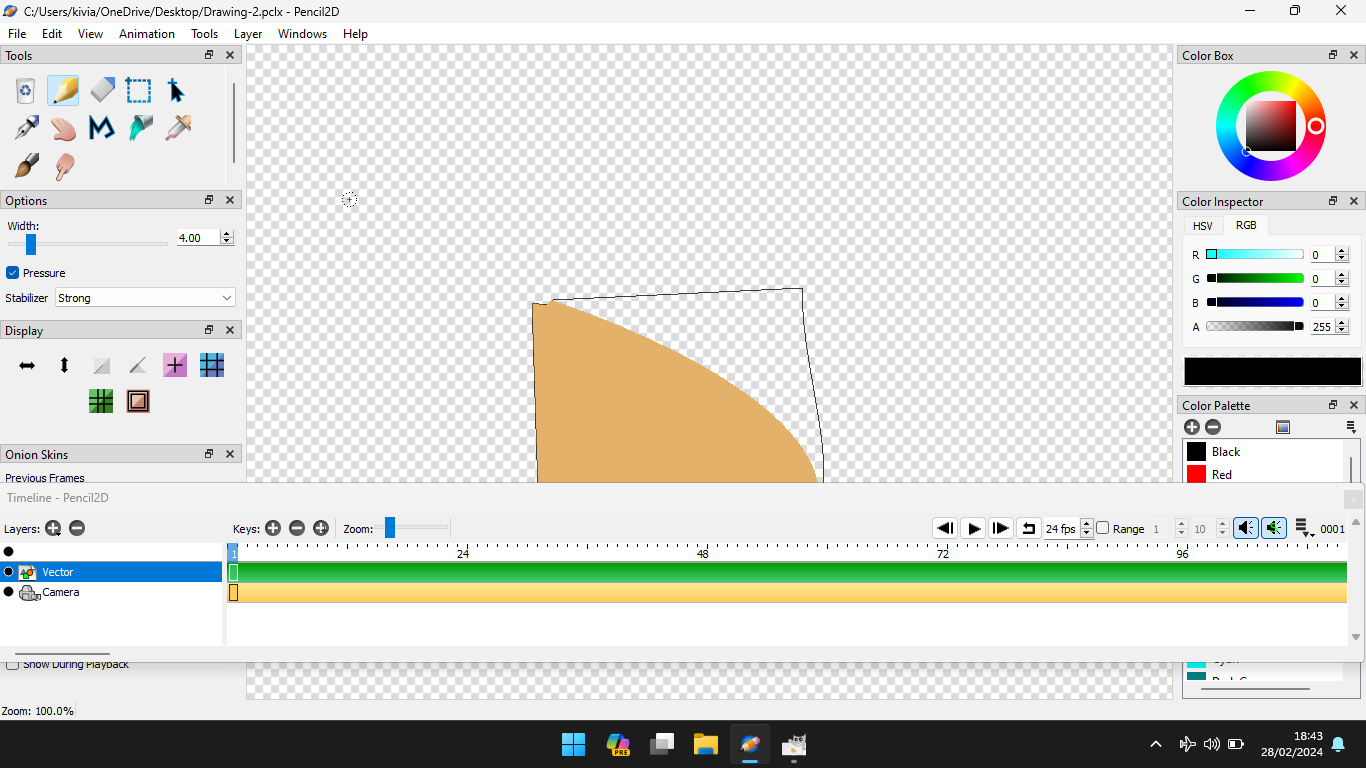
The illustration below shows the timeline window expanded and overlaid over the other windows within Pencil2D. Moving the menu bar, at the bottom of the screen will hide the Timeline window under the main part of Pencil2D.
You are only limited, in the number of timeine layers that you can display by the height of your computers screen, unlike when you use the standard configuration of Pencil2D to half your screen height.
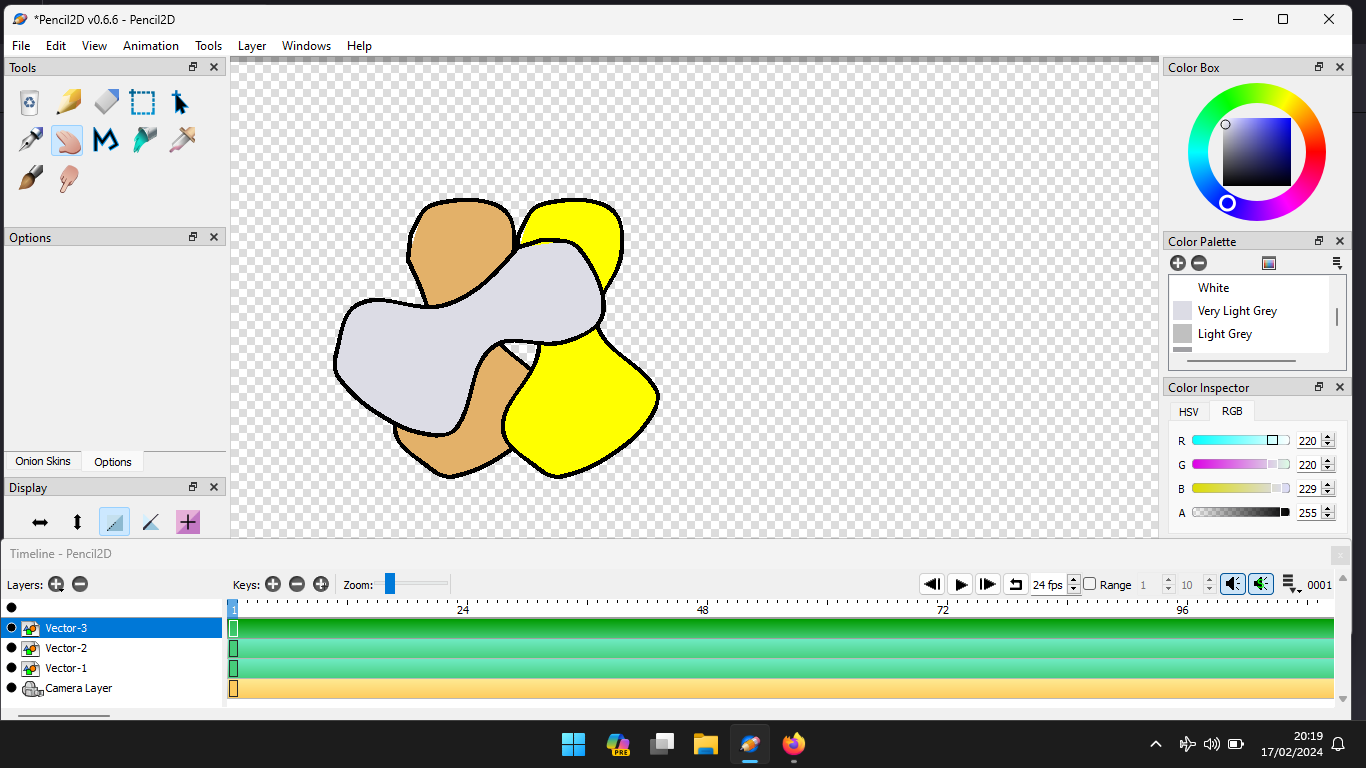
Why would you want to exploit this facility? The answer is if you have a project that has a larger number of layers, than can be displayed normally. If you have a large screen, in terms of pixels you’ll have less requirement to use this technique. If your producing a ‘stop frame animation’ using bitmapped images, you’ll require a layer for each image that you need to manipulate.
You can display the number of drawings and their timing relationships using this technique.
When you are using the drawing tools, you can minimise the Timeline window, as shown above.
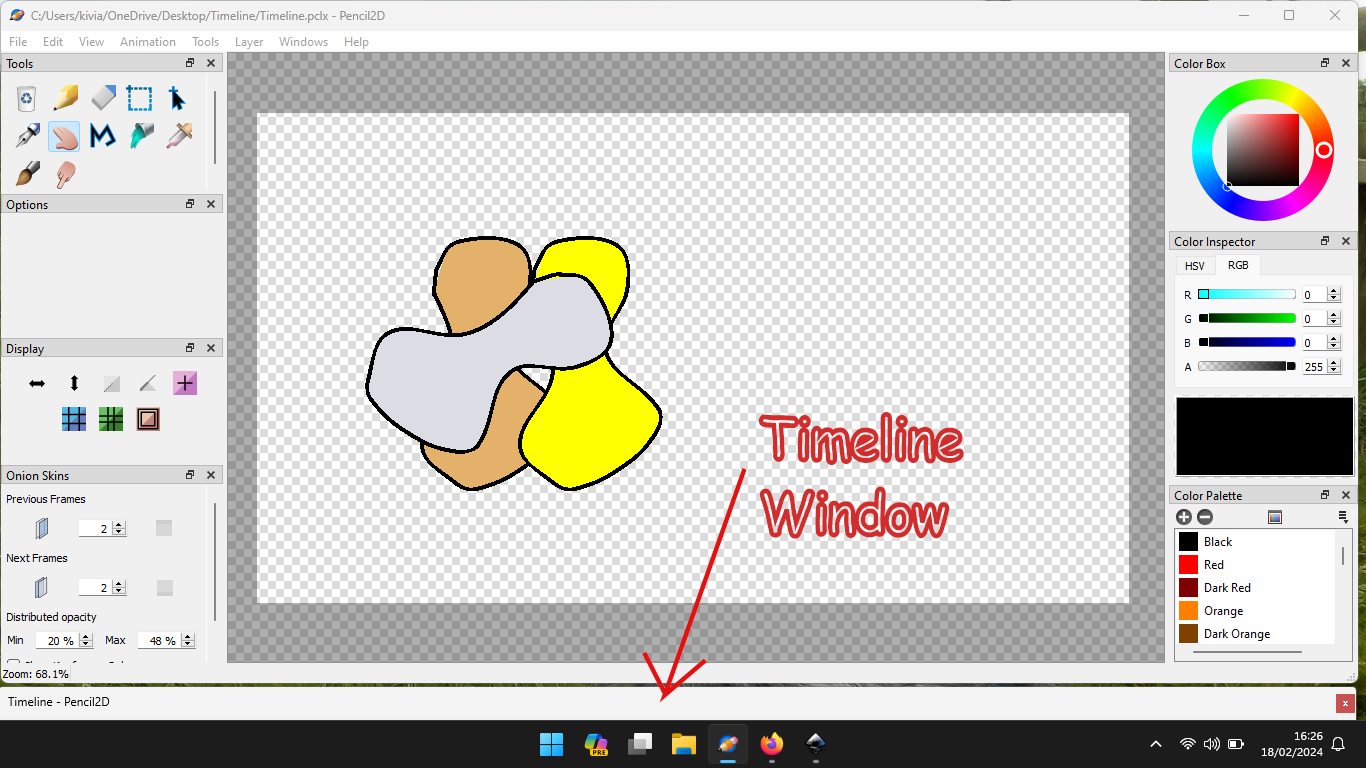
The Pencil2D project file is Timeline.pclx (3.9 KB)
Below is an animation that explaines the process, that allows you to maximise the drawing space, whilst allowing the maxium number of layers to be displayed in the Timeline window.
NOTE this project uses Vector drawings, which may be unfamiliar to most Pencil2D users. They are often much smaller than the equivalent bitmapped ones. Also the individual shapes could be drawn on a single layer and independantly manipulated.