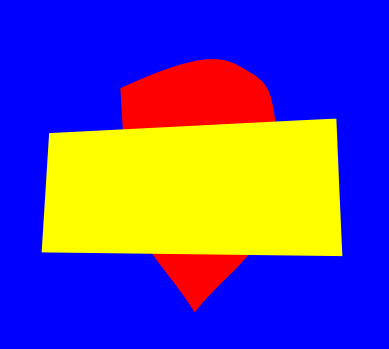
I’m still experimenting with Pencil2D and I’m learning how to harness, what to others might seem like bugs to improve my vector work flow.
If you draw two shapes as shown below, in bitmapped mode users will see five shapes which they will attempt to fill with colour. This doesn’t include the surrounding area.
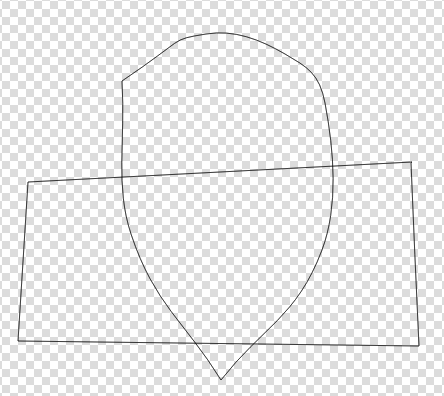
In vector graphics there are only two shapes, which can be filled with colour. These two shapes are drawn on separate sub layers and thus there are no intersections.
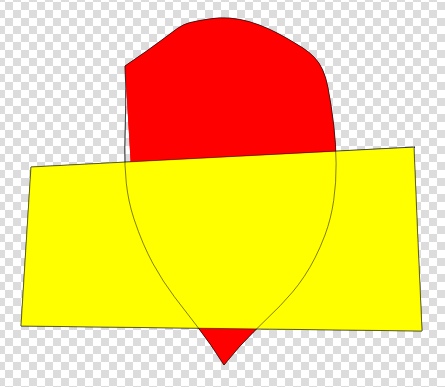
Incidently the gap between the outline and the fill is caused because Pencil2D uses 1st generation vector graphics methods.
The bottom layer was drawn first and then the second shape was drawn on top.
The fact that both outlines appear on top is a minor bug within the implementation.
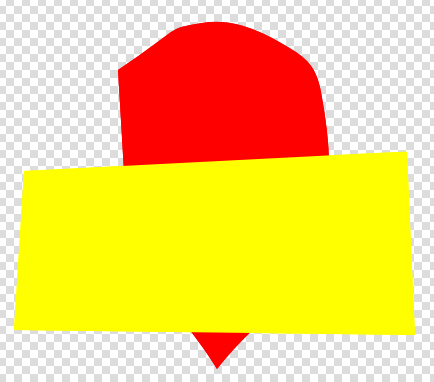
The outlines can be hidden by creating a hidden colour. I usually start off with a pink colour and then set it’s Alpha Value to 0.
You can see an example of my Pencil2D vector animation in Your Stuff, Hand drawn animation using the Vector tools.
To fill the surrounding area you need to draw a shape to fill. You cannot simply fill by clicking on the surrounding area to fill it as you can in Pencil2D bitmapped mode.
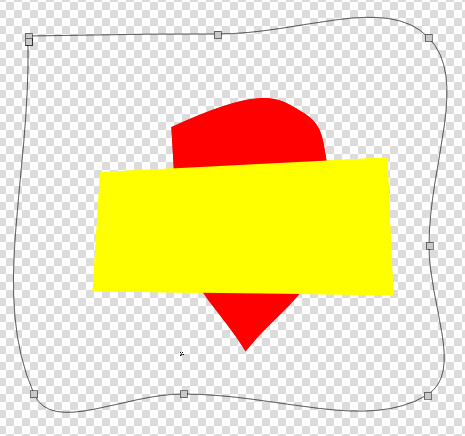
You’ll notice that the shape of the surrounding area is not a rectangle, I want it to become one. To do this is move the mid point over the right corner, the mid point on the virtual over the bottom corner and the same with the mid point on the bottom line.
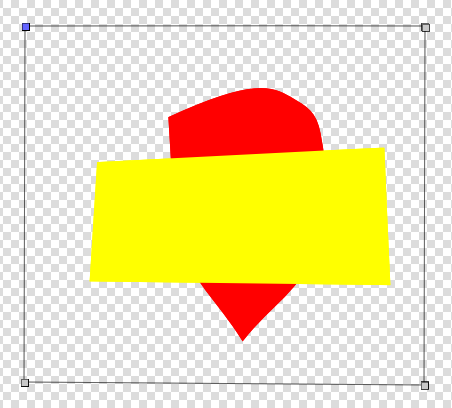
This oroduces a rectangle which can now be filled.
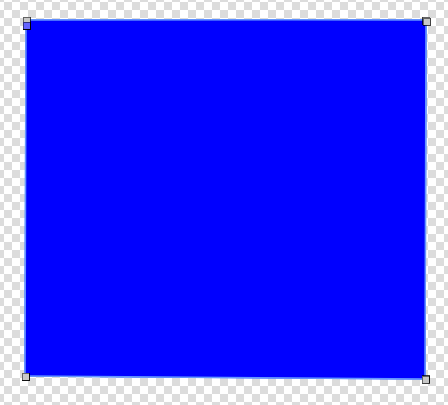
The rectangle is over the top of the two other shapes because it was drawn last. If I had drawn the rectangle first the other shapes would be on top of the rectangle.
To get the desired result, I make a duplicate using the duplicate button next to the delete frame button.
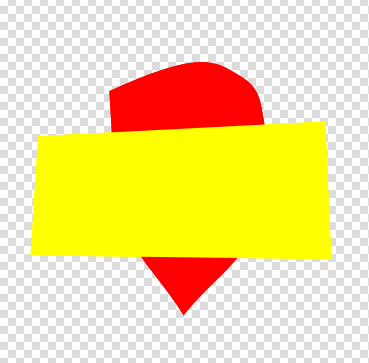
I then delete the blue rectangle on the original frame, move the blue rectangle away to the right on the duplicate and then delete the two other shapes.
Then I copy the badge shape and yellow rectangle over the blue rectangle.
